Making a light box
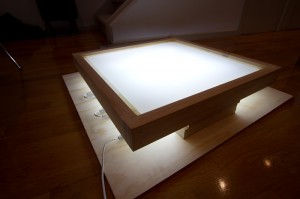
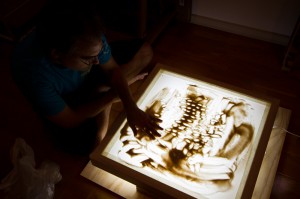
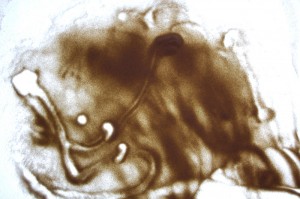
As I was working through look development, I realised that I needed to paint up quite a few starting position masks for a number of the particle setups. Rather than spend lots of time in Photoshop producing masks that may not end up looking exactly what I wanted, I decided to photograph some naturally created sand splashes of my own. So I needed a light box specifically used for sand animation. Rather than buy one, let alone actually trying to find one, I decided to build one instead. Not only would it end up cheaper, but I get to build something real, which is something that digital based animators never get to do!
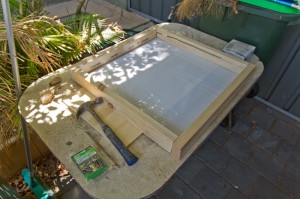
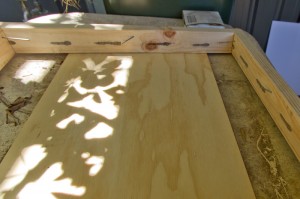
I bought a custom cut piece of translucent Perspex from a local plastics shop, and some treated pine cut to four specific lengths. All I then needed was a hammer and some nails.
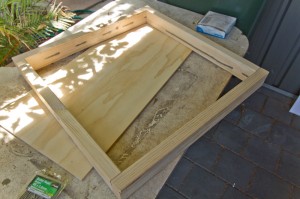
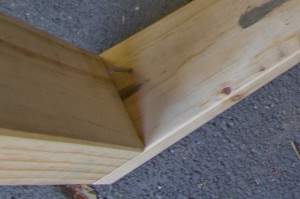
After putting the frame together, I thought the best way to hold up the Perspex was to put a nail inside each corner.
But when I placed the Perspex on the nails, I found the sides were sagging. So I added a few more nails along the edge, and it seemed to work great.
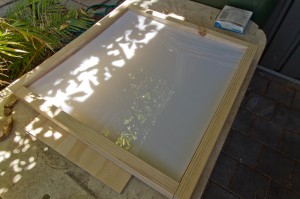
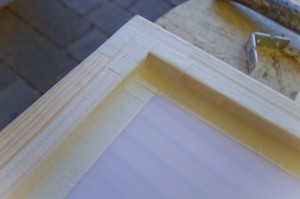
I then sealed the Perspex with some extra wide masking tape, taking care to make sure that there were no tiny gaps in the corners where sand might find a way through.
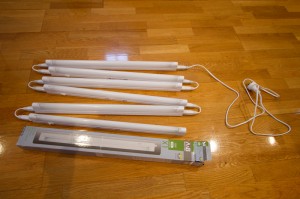
I searched a few different lighting shops and hardware stores for the right type of lighting solution. I was fully prepared to have a whole bunch of cords all hooked up a multi plug adapter until I came across these:
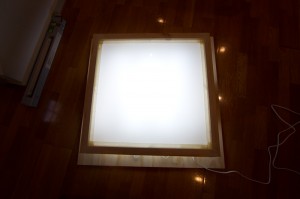
What makes these perfect is how they can be daisy-chained together, and I only need a single plug. I bought four, but after a quick test at home, realised that the dark spots between the lights were too noticeable, so I decided to buy a few more. Plus having the extra light means that I can shoot with a lower ISO and a smaller f-stop, both resulting in a sharper image.
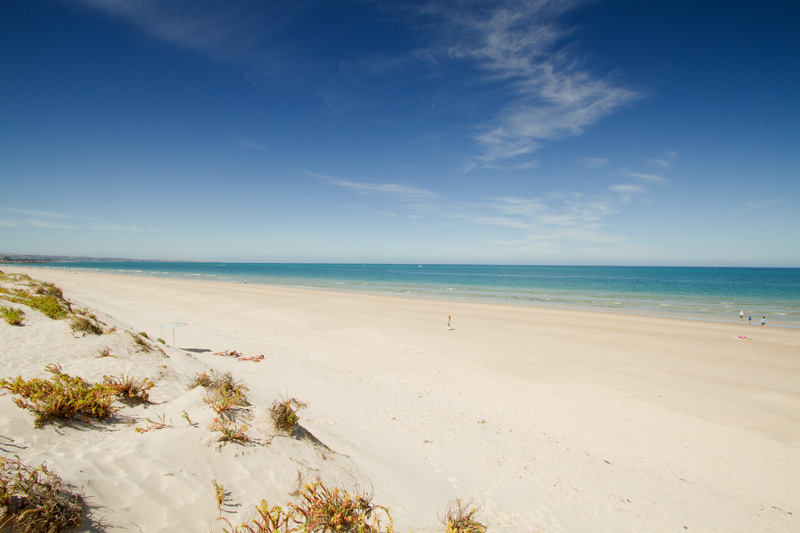
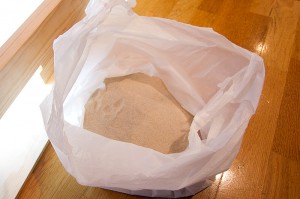
Finally, I needed sand. The best quality sand I knew of was from the dunes of Henley Beach, so off I went!
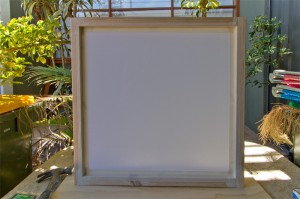
I now had everything I needed, so I put it all together. I found that the Perspex was too close to the lights which caused obvious bright lines when seen from above. Raising the whole frame a little diffused the light perfectly.
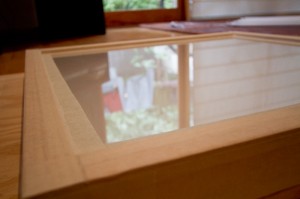
After I tried it out, I found out that the Perspex was causing a static electricity effect, so that when I was manipulating the sand, a small portion of the sand would jump around after being moved. I then figured that I needed some glass on top. So I called a local glass shop to order a pane glass with a low amount of iron so that it was as clear as possible without any of the greenish tinge. I removed the original masking tape sealing, laid the glass on top of the Perspex and resealed it all up.
With the glass on top, the sand reacted very much as expected.
All in all a successful endeavour costing me around $150 all up. Now to put it all to some good use!
February 21, 2012 at 12:46 am
Impressive ..! Really nice job ! I can’t wait to see what will come out from that … will you be the next Alexander Petrov ? 🙂
February 21, 2012 at 2:27 am
Heh, thanks! Hopefully if I can stick to my schedule you will see soon.
February 21, 2012 at 6:21 pm
I _just_ built a lightbox two weeks ago, for doing slide photography. 🙂 Funny co-incidence. 🙂 I’ll be sure to send you some pictures soon, for comparison purposes. 🙂
February 22, 2012 at 12:39 am
It must be light box building season 🙂 I can’t wait to see your photos!