|
|
· Synopsis
|
|
Based on a true story set in 17th century Latvia, The Rose of Turaida tells of a baby found after a battle that is adopted by the clerk of Turaida castle who was out searching for survivors. The baby, named Maija Roze, grew into a beautiful young woman who then draws the unwanted attention of a man that has nefarious plans in store for her. Maija then makes the ultimate sacrifice for love and honour.
|
|
|
· Presskit
|
3 pages, A4 print sized pdf (3mb). Download it here.
|
|
|
· Brief Production Overview
|
For a long while, I have been wanting to find out more about the country that my grandparents came from, Latvia. So after I finished Sneeze Me Away, I decided that for my next film, I wanted to do something related to Latvia. After researching all kinds of folk tales and stories from the region, I came across an intriguing account of a true story that is the meaning behind a beautiful tradition where many newly weds in Latvia visit the town of Turaida to lay flowers at a grave. After reading the story, I knew that this is what I wanted to make for my next film. In many ways, this story is the polar opposite of Sneeze Me Away, and has been an enjoyable story to craft.
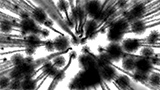
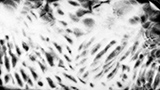
With such a powerful and moving story, I wanted to have a strong and unique visual style to match. I went through many different options until I settled on a wonderful sand animation type look. But as I started to build a system to emulate the look of sand animation using CG, I realised that I had the opportunity to do something more than pure emulation. I spent almost a year on look development of this short as I tried many different visual experiments and variations, and another two years on the actual production (six months of which were full time). I think it is interesting to note that this film is made entirely with CG particles only, there is no modelling, rigging, animation or lighting. It is also worth mentioning that the film is just a single six minute shot, which presented it's own set of technical challenges. While there still remains a visual link to the original sand animation style, the resulting look has it's own unique visual qualities, and I am very happy with the outcome.
|
|
|
· Early Development
|
I have always wanted to find out more about the country that my grandparents came from, Latvia. So as the production on my first animated short film, Sneeze Me Away, was nearing an end, I decided that my next film would have something to do with Latvia. I also decided that I wanted to come up with a unique visual style that had never been done before, no small feat, right? But what's the point of staying safe, especially in the realm of animated short films, if there ever was an avenue to take risks, this was it. I still needed a visual reference point, a starting position from where I could begin my image explorations, and that came from "sand animation". Sand animation is commonly referred to as the process by which an animator draws images directly in sand that is scattered on top of a light box. I love the whole aspect of this style of animation, how one image turns into another in real time, one might even call this a type of performance art as the imagery is created in real time and is usually recorded by an overhead camera. I am fascinated by the fact that each image only exists for a fraction of time, then is gone forever, and even though the animator may repeat a performance that describes the same content, no two performances will ever be exactly the same. For some reason, I always have associated sand animation as sort of European in origin, and since Latvia is part of Europe, it became as good a visual reference point as any to start from.
To find the story I wanted to tell, I then delved into the many myths, fairy tales and legends of Latvia, eventually paring down the list of options to two final candidates. One candidate told of the well known history behind the Latvian ring that many Latvian people wear today (including myself).
|
|

|
|
|
My Latvian ring that I received when I was 16 years old.
|
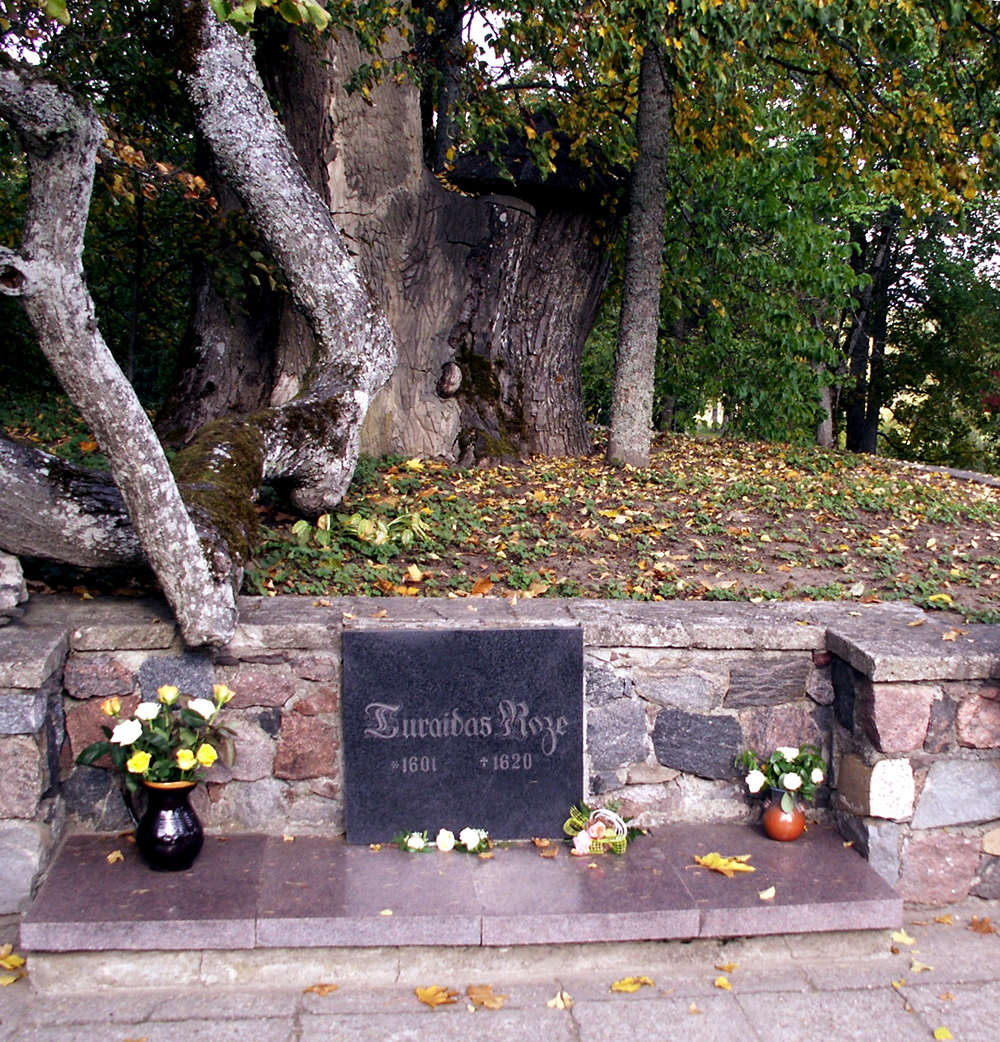
The other candidate was about the tragic tale based on a true story about a young and beautiful woman who sacrifices herself to maintain her honour. In the end, I chose the tragedy, because I wanted to tell a type story that I have never told before. I researched more about the story of The Rose of Turaida, and realised that like much long past history, there were several different versions of the story, and I then had to decide on the version that I felt would be the best one to explore.
|
|

|
|
|
The grave of Turaidas Roze.
|
With a story now in mind, I unconventionally began to simultaneously write the script, work on the previs and start to plan that the film might look like. This was an experimental film in every sense of the word, as I decided to not structure the film in many ways, hoping that out of the chaos, something wonderful would emerge.
In traditional sand animation, the animator would draw some imagery, scatter more sand on top to "reset" the frame, then draw some more imagery. At first I was thinking of ways to emulate something similar, coming up with examples of a scattering system over existing simulations in much the same way. Until it dawned on me that I should take advantage of the fact that I can do whatever I want with the camera in a way that traditional sand animation never could. The idea of a dynamic camera diving from layer to layer of sand not only would create a fantastic sense of movement. It would also help develop the uniqueness of the style, and solve the problem of find an easy and simple way of "resetting the imagery" of the particles by simply moving though the layer of sand to another layer beneath, and ignoring the need to "reset" the layer of particles altogether! This was a key inspirational idea, and would further drive months of solid look development. All I had to do now, was to get it out of my head
I ended up spending almost a year on look development and pre-production, exploring many techniques and ending up with quite a few dead ends and failed experiments. I was living and working in Korea at the time, and was able to utilise spare cycles on the company's renderfarm to produce these tests. I played with mapped sprites of all different sizes, densities and self painted bitmaps. Higher densities looked good, but when many sprites where overlapping, rendering became painfully slow because the renderer was having difficulty computing the opacity. I tested particle deflectors to the limits, creating countless simulations with various parameters and setups to get the feel I was after.
|
|
|
|
Experimenting with densities and movement.
|
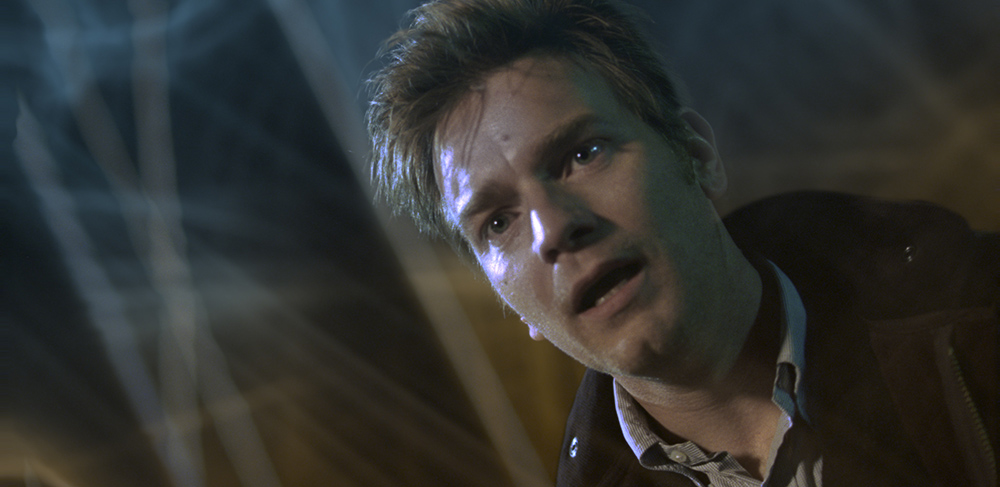
I remembered something from my days working in Winnipeg, Canada at Frantic Films (now part of the Prime Focus group) involving particles. In 2004 we worked on a film titled Stay (directed by Marc Forster), and the climax of the film took place on a bridge and in the background were sinuous waves of colours and shapes made up of literally millions and millions of particles rendered as points but were so fine that they looked like a volume.
|
|

|
|
|
The film, Stay, had millions of rendered particles to form a volume.
|
That's when I remembered about a point based particle renderer for 3DS Max, Krakatoa. So I gave that a go, giving myself a two day crash course in attempting to give the particles a sand-like style. I was able to render out something that looked quite decent with a static camera with render times a fraction of what the sprite particle renders were. But when I animated the camera, the look started to fall apart, as the main strengths of a point based particle renderer is also its weakness, in that no matter how close the camera moves towards the particles, they will always be points relatively sized to the screen resolution. I had great density and a good look from far away, but up close the particles were empty and sparse. Even when using Krakatoa's built in depth of field and motion blur, while producing slightly better results with horrendous render times, still wasn't able to get the look of density I needed. So I shelved the idea to focus back on sprites again.

|
|
|
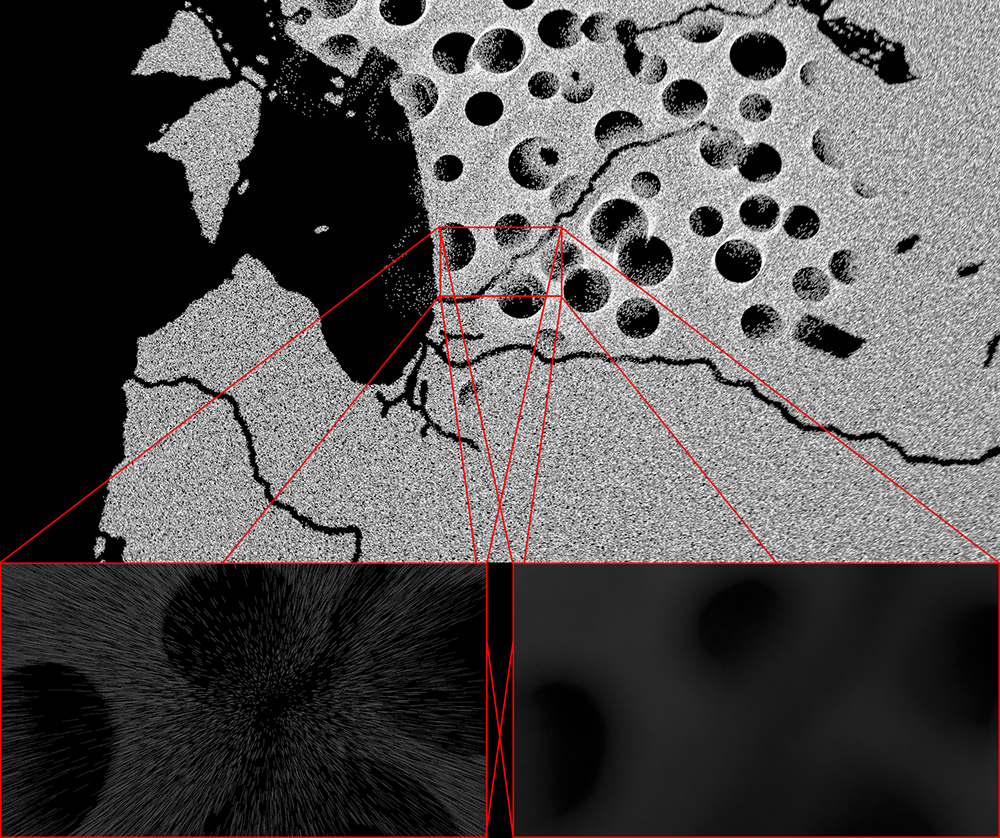
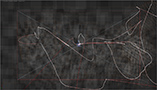
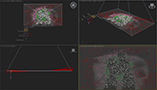
· (Left) This is the first test render using Krakatoa, over 100,000 particles rendered in less than 2 seconds.
· (Centre) Pouring sand in front of the camera, and rendered with a depth-of field effect.
· (Right) I painted a map of Latvia, then used it as a birthing mask for the Krakatoa particles I then animated the camera in 3D space, moving it close to the surface of the particles. Because of the relative size the particles stay to the screen, getting too close to the particles gave off a look of reduced density.
|
|
|
|
· Preproduction
|
Not only was I on my way to developing the look of the particles themselves, but I was also wrestling with how they will be manipulated. In traditional sand animation, the performance is usually live, and the audience can see the fingers of the animator creating the imagery in real time. Did I want visible fake "fingers" to be the driving force of the shapes that form in my particles? No, that would be pointless, why did I have to show the "strings" of the puppet show, so to speak? Plus, while I was using traditional sand animation as stylistic reference, I realised that didn't want to totally recreate it. That would be unnecessary, and ultimately, a waste of time. My film has to look unique and different. I decided that the shapes that form in the particles would appear seemingly driven by invisible objects. I had all sorts of geometry pushing the particles about, and concluded that it didn't look "weird".
|

|
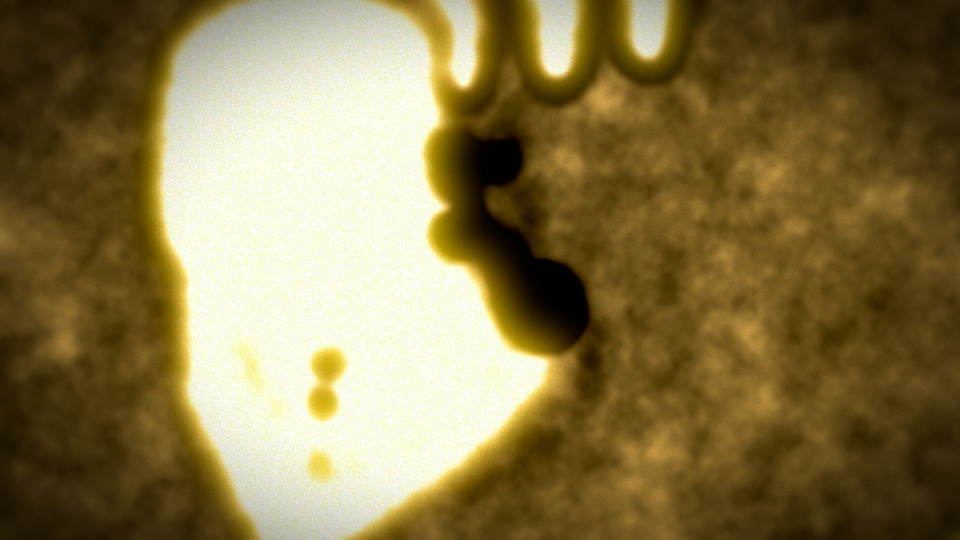
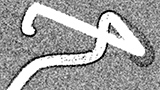
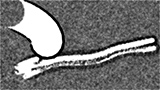
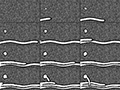
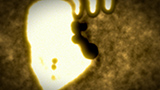
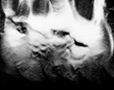
· (Left) A sequence of an animation test.
· (Right) First test in drawing a face.
|
I was having some trouble with how I perceived the particles were interacting with each other, or more to the point, the absolute lack of interaction. I decided that I wanted to mimic how sand particles push each other around when moved on a surface, which meant setting up a physical simulation. I spent a week or so playing around with Nvidia's PhysX for inter-particle collisions, and while I was getting some great looking simulations with small amounts of particles, it was almost completely unusable for the numbers I was looking for. So I had to shelve this idea too. I then came up with the idea of linking a wind force with strong decay to the geometry collision objects, giving me better looking results even though no particles were actually interacting with each other, and for the meantime I was satisfied and moved onto other tasks. Later I would cement the decision to not use physics to simulate particle movement.
I hadn't given myself a timetable for look development, but I was conscious that I after almost a year of it, I was beginning to waste my time going down rabbit holes with no payoff. It is natural that one experiences periods of a lack of motivation on projects, especially when one is working on an animated short film for a few years by one's self. But funnily enough I realised that I hadn't yet fully committed to going through with the decision to finish this film. In the back of my mind, I still had given myself the option to back out and do something different, which, looking back, is why I guess look development did take so long: I wasn't completely serious about the project. It's times like these that I am thankful that my wife can give me the push I need. She totally understands the processes and helped me make the mental commitment to decide to finish the film. I took stock of all of the areas I needed to solve for the style of the film, then ramped up look development heavily in the following weeks.
I came up with the idea of the film being one long shot, and while this added extra complications, it gave the film a feeling of the story continuously flowing in a narrative stream. Because the whole film is a single shot, using a "sequence/shot" folder organisation structure wouldn't work. To organise all of the layers of cards (which I began calling "glass panes") in different particle simulations, I decided on a "sequence/glass pane" directory structure instead. The sequences all overlapped each other, so I divided it up loosely based on the different moods of the story itself. An example 3DS Max file of particle simulations would thus be named "sq01_gp01_face_v001.max".
|
|
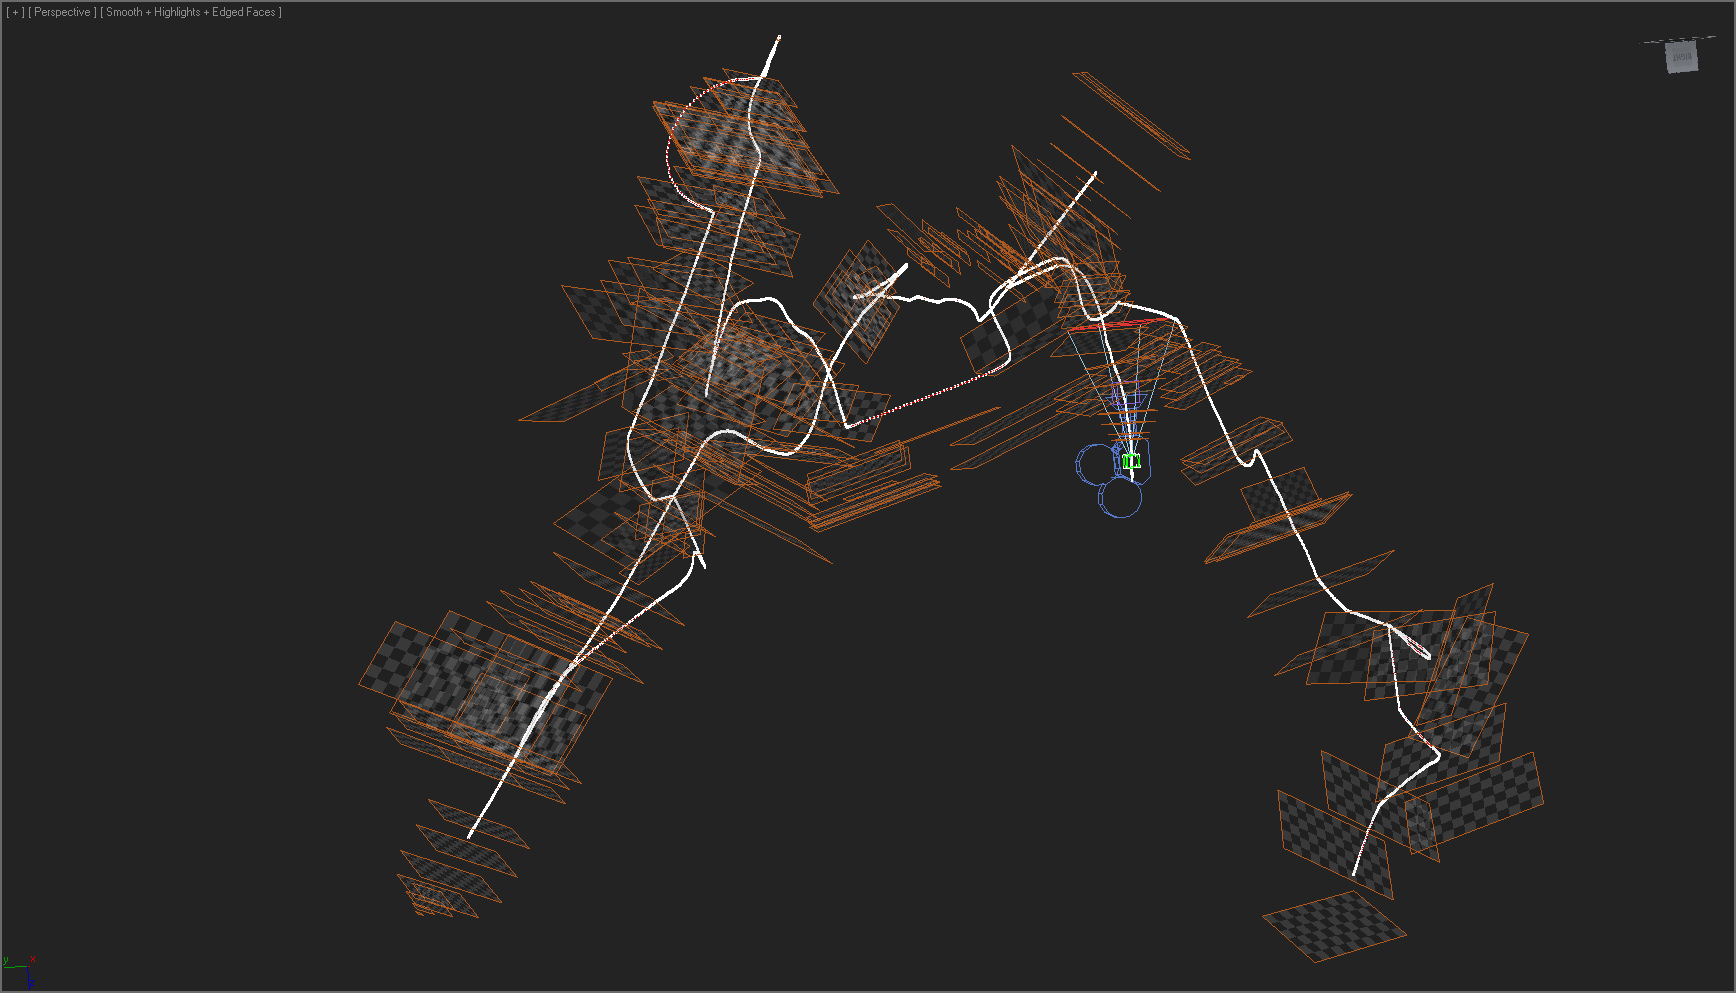
· (Left) The final camera move with all of glass panes in the film in position.
· (Right) Looking through the camera in the master file.
|
The dynamic camera had the potential to provide a great "depth of field" look as the camera passes through various layers of particles that come in and out of focus. Quick tests to render all of the defocusing in the 3D camera, proved time consuming and complicated to maintain, in that multiple particle simulations need to exist in a single 3D file, slowing everything down. The solution turned out to be to render out each of the particle simulations separately from a static camera in a separate file, map them onto geometry cards in Nuke. Then I generated a zdepth image sequence from each of the particle simulation's file, that used the position of the camera in relation to where the glass pane was in space. This zdepth image sequence was also used to grade the particle renders, giving the effect that the glass panes appear from a depth fog. Feeding the resulting image sequence into a ZFDefocus node in Nuke gave a beautiful look to the dynamic camera. Generating motion blur from mapped cards in Nuke with a 3D camera was also a lot faster than if I had to do it all in Max. Finally the style was beginning to properly coalesce, finally I could start to see what was in my head in the monitor in front of me. The cards and camera were exported from Max to be used in Nuke. Managing the 3D data then became very easy: I had a "master" 3DS Max file that will contain the animated camera and all of the glass panes, and each glass panes particle simulation was able to exist in it's own separate file.
|
|

|
· (Left) The rendered particle sequence was mapped onto a 3D geometry card in Nuke.
· (Centre) Grade density test in Nuke.
· (Right) Experimenting with a subtler grade and defocus.
|
|
|

|
|
|
Multiple geometry cards in Nuke with a moving camera and an early defocusing test.
|
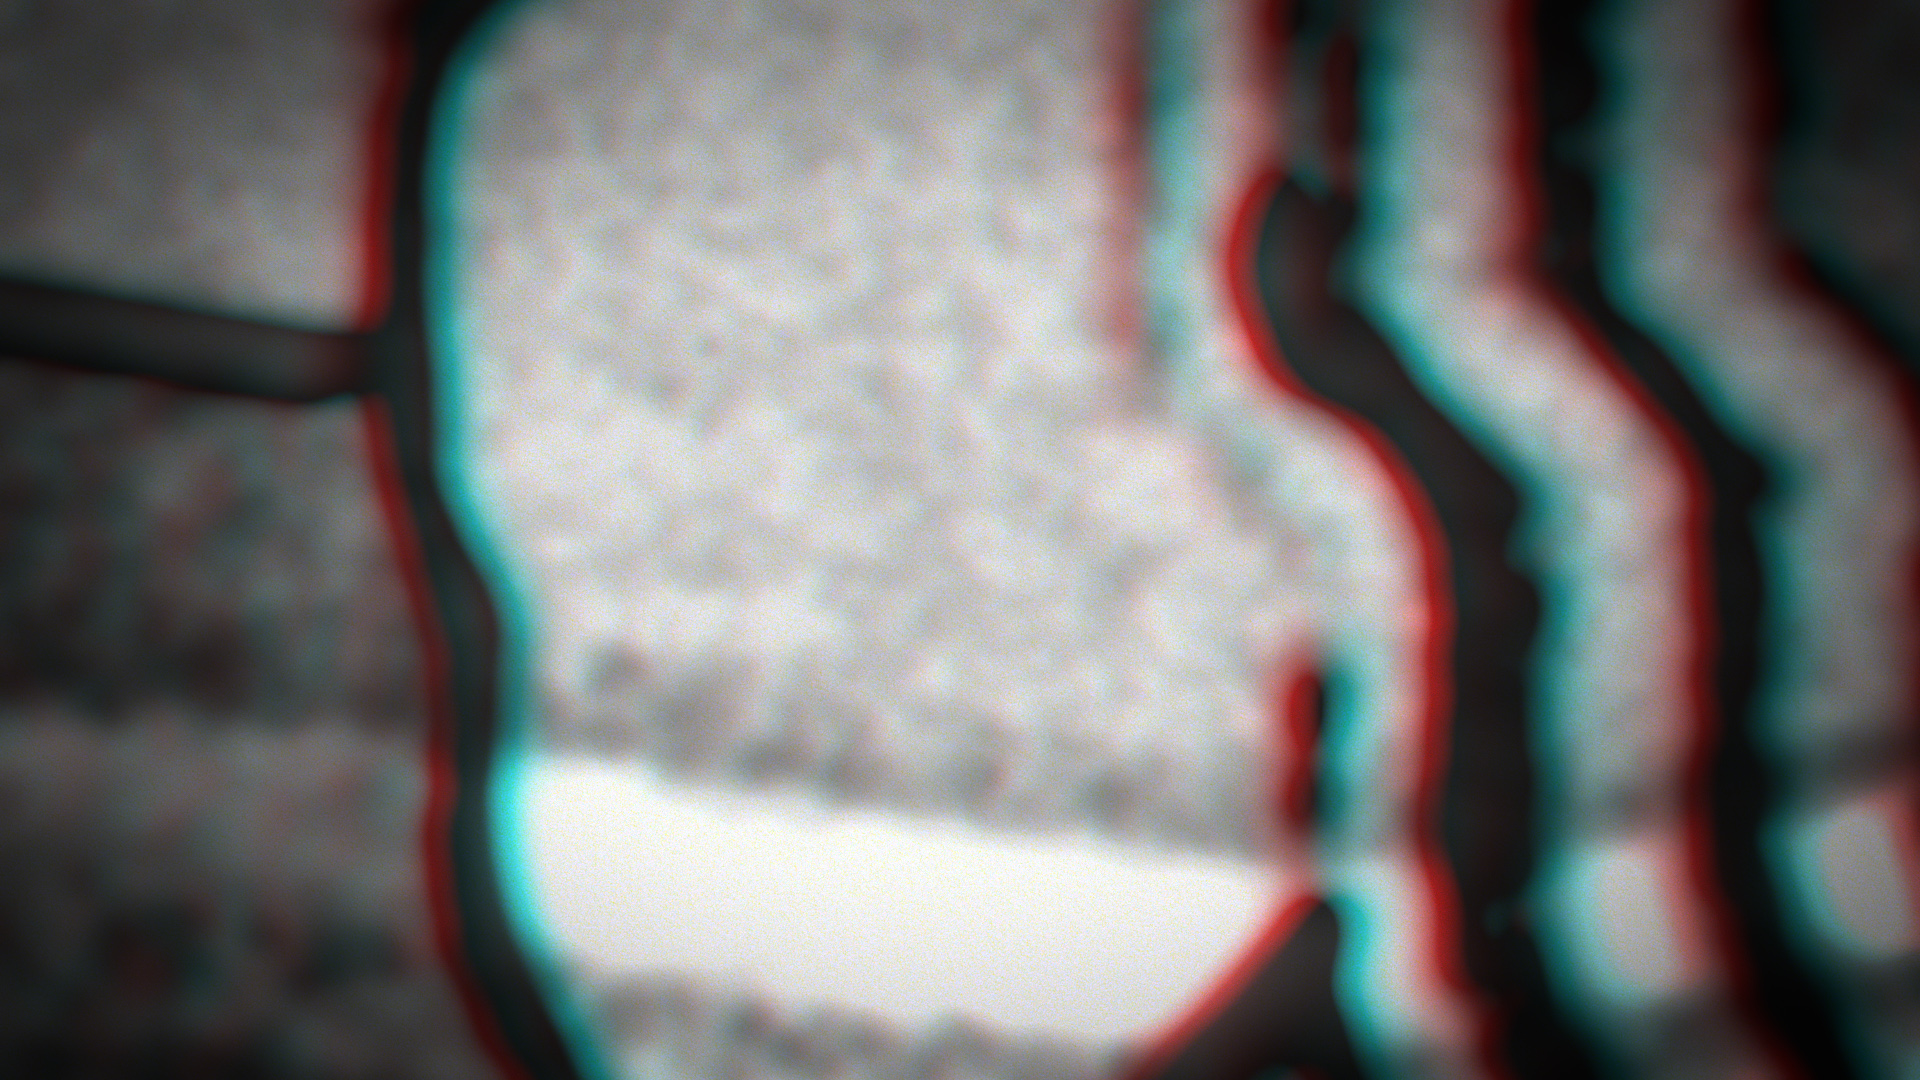
With stereoscopic (3D) films all the rage at the time, I realised that with having a 3D camera in Nuke with mapped cards in 3D space, I could output a stereoscopic image quite easily. I even ordered a set of cardboard anaglyph glasses over the internet. It didn't take me long to figure out how to produce anaglyph tests and fine tune a method for generating this setup with minimal human input. I had gotten so caught up in the coolness factor of this idea that I had, in fact, forgotten that I actually hated stereoscopic films! I wear glasses already, and I hate having to wear glasses on top of glasses to see stereoscopic films. I then decided to immediately drop the idea.
|
|

|
|
|
Nuke's stereo tools made it very easy to create a stereo experiment.
|
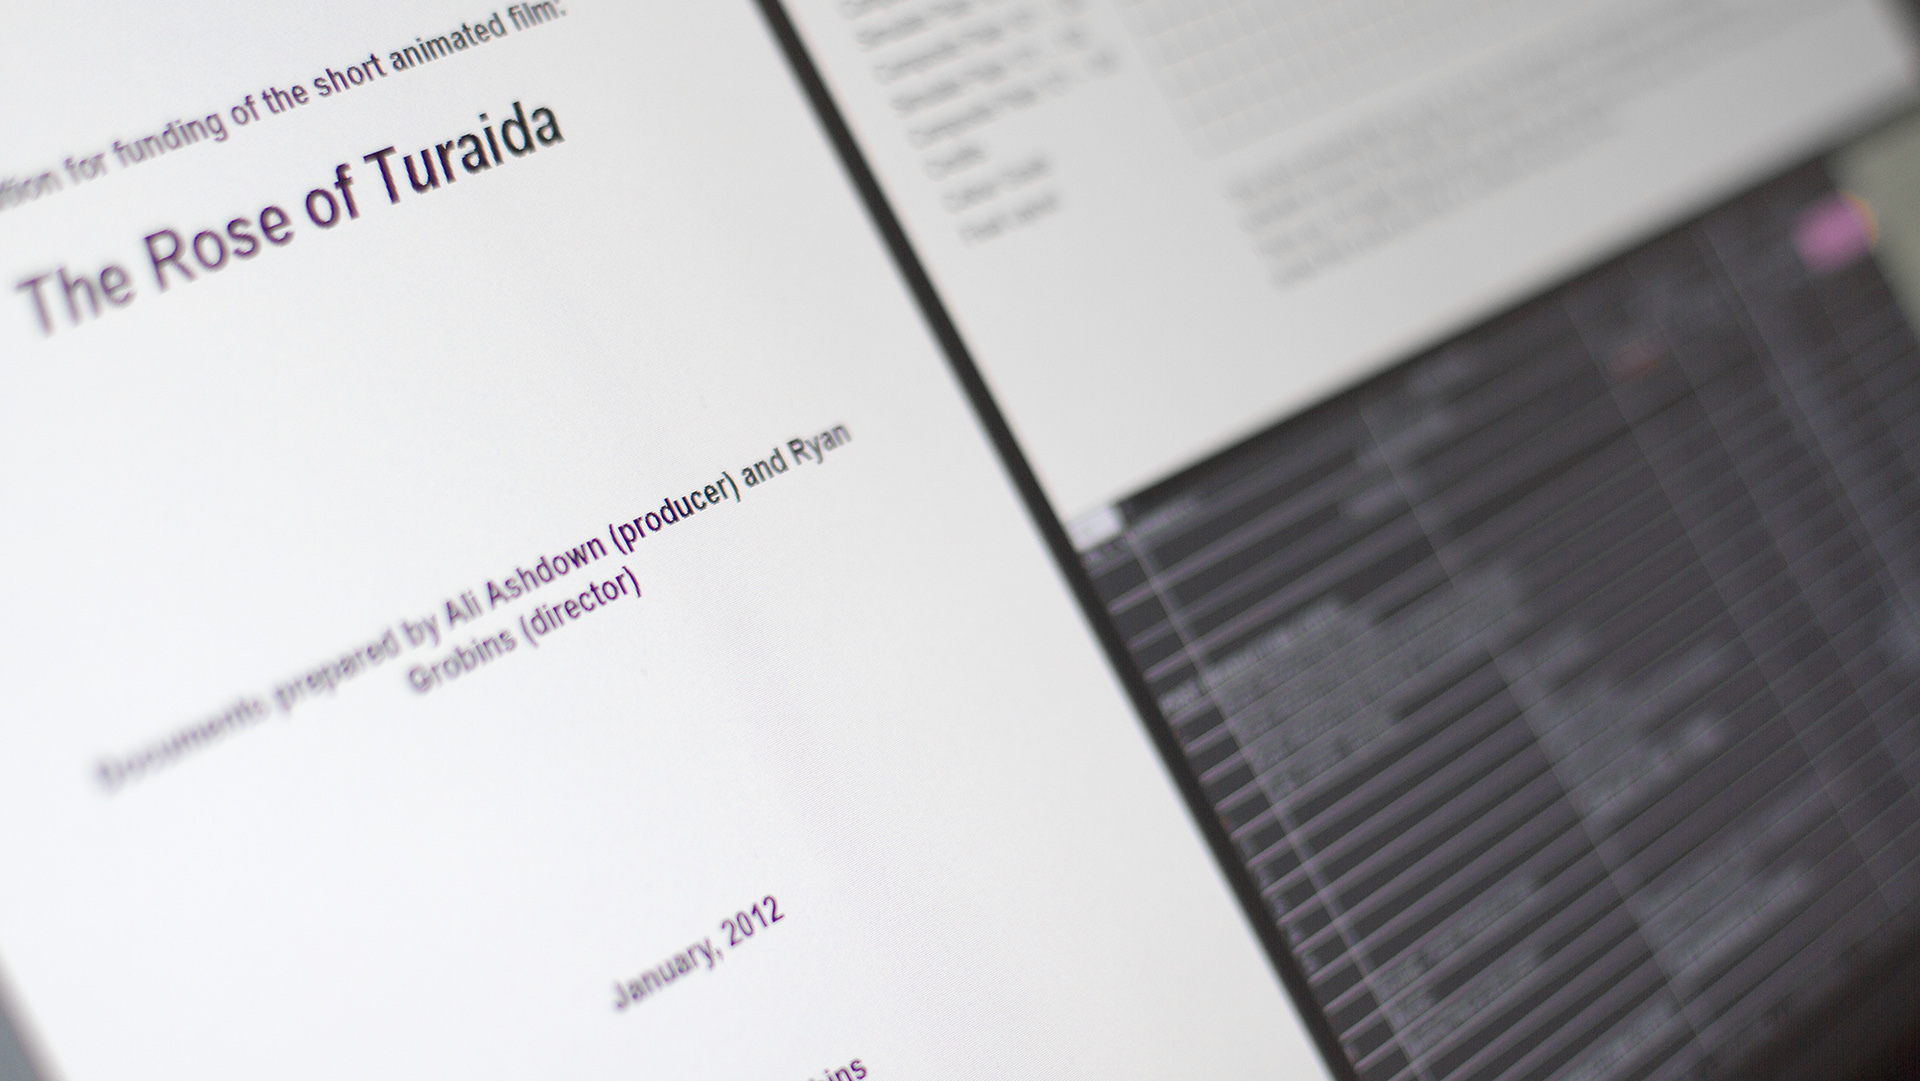
I knew I was going to make The Rose of Turaida no matter what, so why not apply for funding instead of using my own money. I had just changed jobs, moving from Korea to go back to my birth town working at Rising Sun Pictures in Adelaide, which meant I could apply for Australian based funding. Screen Australia is the main government body dealing with funding for film and TV, and every year around January they are open to receive applications for up to AU$150,000 per project, with a maximum funding amount of $300,000 in total for all projects for the year. While I had applied in the past a couple of times before, I had not even made it to the short list. But this time I reckon I had a great shot: I had a moving narrative based on a true story, and I was literally proposing to create a totally unique style of animation that had not been done before. Then combined with my success of my previous, and first, animated short film on the festival circuit (screening in 31 festivals and winning 6 awards) and my 15 years experience in the CG and VFX industry working in six different countries. Admittedly my animatic wasn't as developed as I wanted it to be, but I had comprehensive look development tests and a solid script. The only thing I didn't have was a producer. Screen Australia dictate that applications need to have a producer attached to the film, or else they are ineligible for funding. There can not be one person who is the writer, director and producer. So I sought out for someone local who could help turn my dream into a reality. With not much time left to submit, I put a posting on the DLF, an Australian based mailing list with all sorts of digital related professionals on it. After screening a number of applicants, I found the right person, Ali Ashdown. Together we submitted the application, and I waited patiently by the phone a month later expecting a phone call informing me of making it into the short list with a request for a follow up interview. But I waited, and waited, and no such phone call came. A month later I saw news of the successful applicants for that years Screen Australia funding, and I was devastated. Could they not see brilliance and talent properly? I was annoyed. I will still make the film, and it will be recognised by my peers. Little did I know that almost two and a half years later I will finally get the recognition I was looking for (more on this later).
|
|

|
|
|
Funding application to Screen Australia.
|
In February of 2011, I enthusiastically dove back into look development for another month, the recent rejection from Screen Australia providing me with a strange new gust of motivation. My work flow began to solidify around this time. But I still wasn't getting the sand look I was after with sprite based particles, I wanted more detail and fidelity. The sprite size of the particles decreased as the count was increased, and my simulations were getting slower and slower to test. The look was improving, but not enough. I then realised that if I were going to stay with the setup of rendering the particles as individual layers from a static camera and map them onto cards in Nuke, that I should give Krakatoa another go, as my earlier tests looked great with a static camera, just not so much with a dynamic camera. So I loaded up my demo scenes again, gave them a quick render and did a quick test in Nuke. It looked great! I jacked up the particle counts and rendered more tests, fantastic, and fast!
|
|
|
· Production
|
As I was still making this film in the "straight ahead" method, the process to create this animated short film went roughly as follows: I would imagine a key image or two that would show the next particular story point, then in Photoshop, paint up some rough imagery to be used as a placeholder. Then in a "master" scene in Max, I would play around with the position of cards in 3D space while at the same time experiment with the camera movement for the new part of the film I was focusing on. Quite a lot of tweaking of the camera animation went on here until I was completely happy with the position of the new cards, and how the camera shows them off. I would then export a new version of the camera, open up a default particle template scene in Max that I had previously set up, then experiment with how the imagery should resolve itself in Nuke. I would then paint up an image in Photoshop that looked like a scattering of sand on a lightbox. This was used as a birthing mask for the particle simulation. The final imagery would also be cleaned up in Photoshop at this time too. Next, there were a few rounds of experimentation with the particle simulations, often redoing simulations many times to get the movement I was after. After rendering the particle and zdepth sequences from the static camera files, they would be loaded in Nuke, where I would put together the next group of Nuke nodes that represent the new sequence of particles. I needed to precomp every glass pane, otherwise the Nuke script render time would be completely unmanageable. The precomp graded the particle sequence and applied the depth of field look. Then there may be some effects in Nuke that need to be produced for the new part of the animation, including flares, glints and godrays.
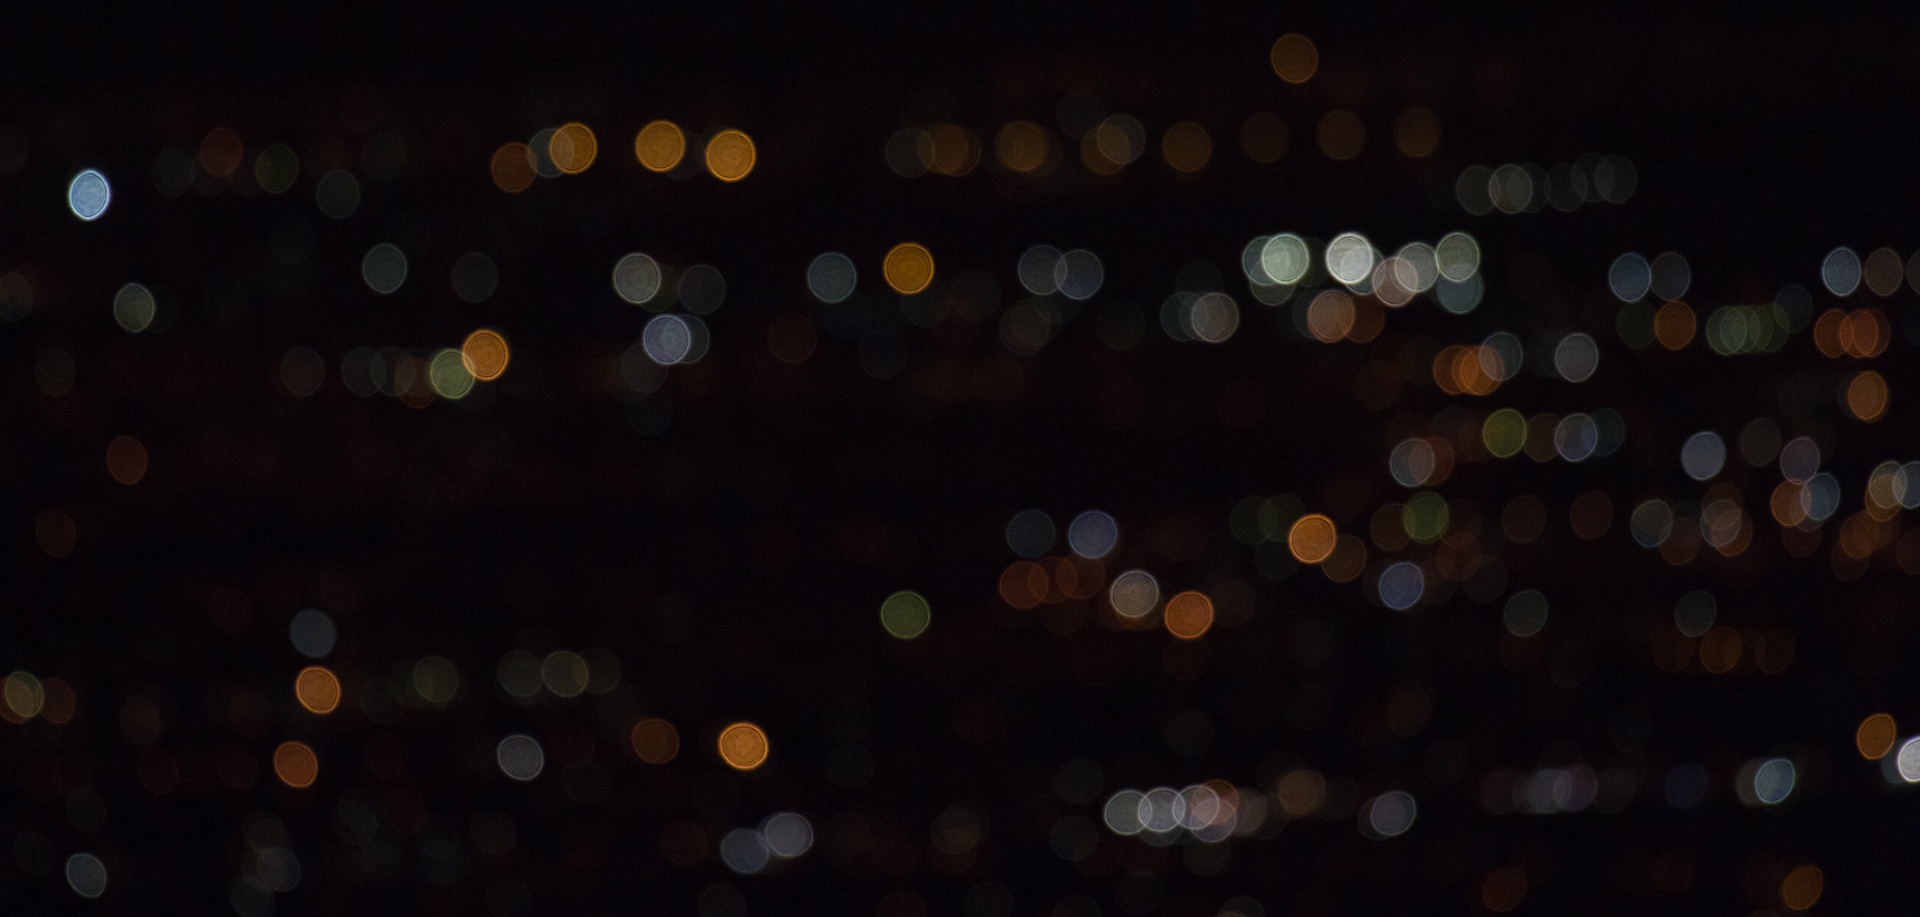
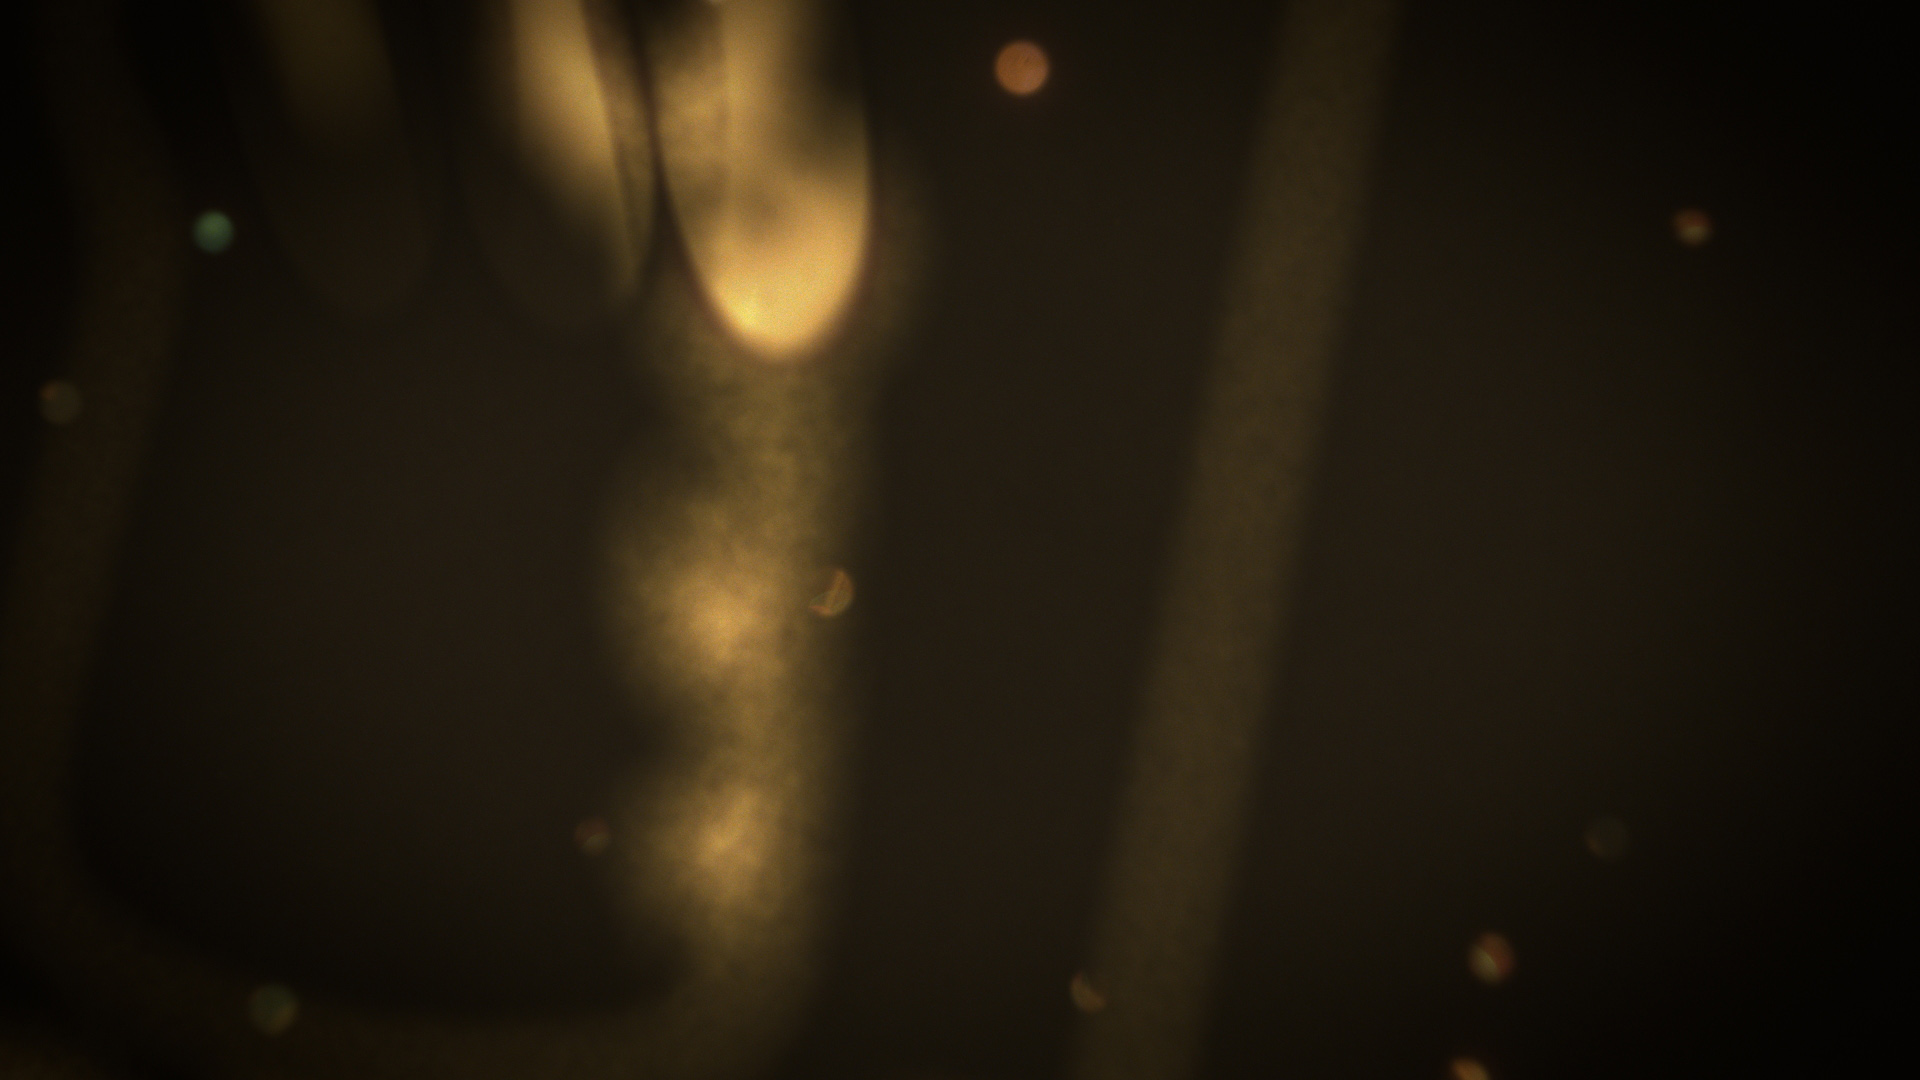
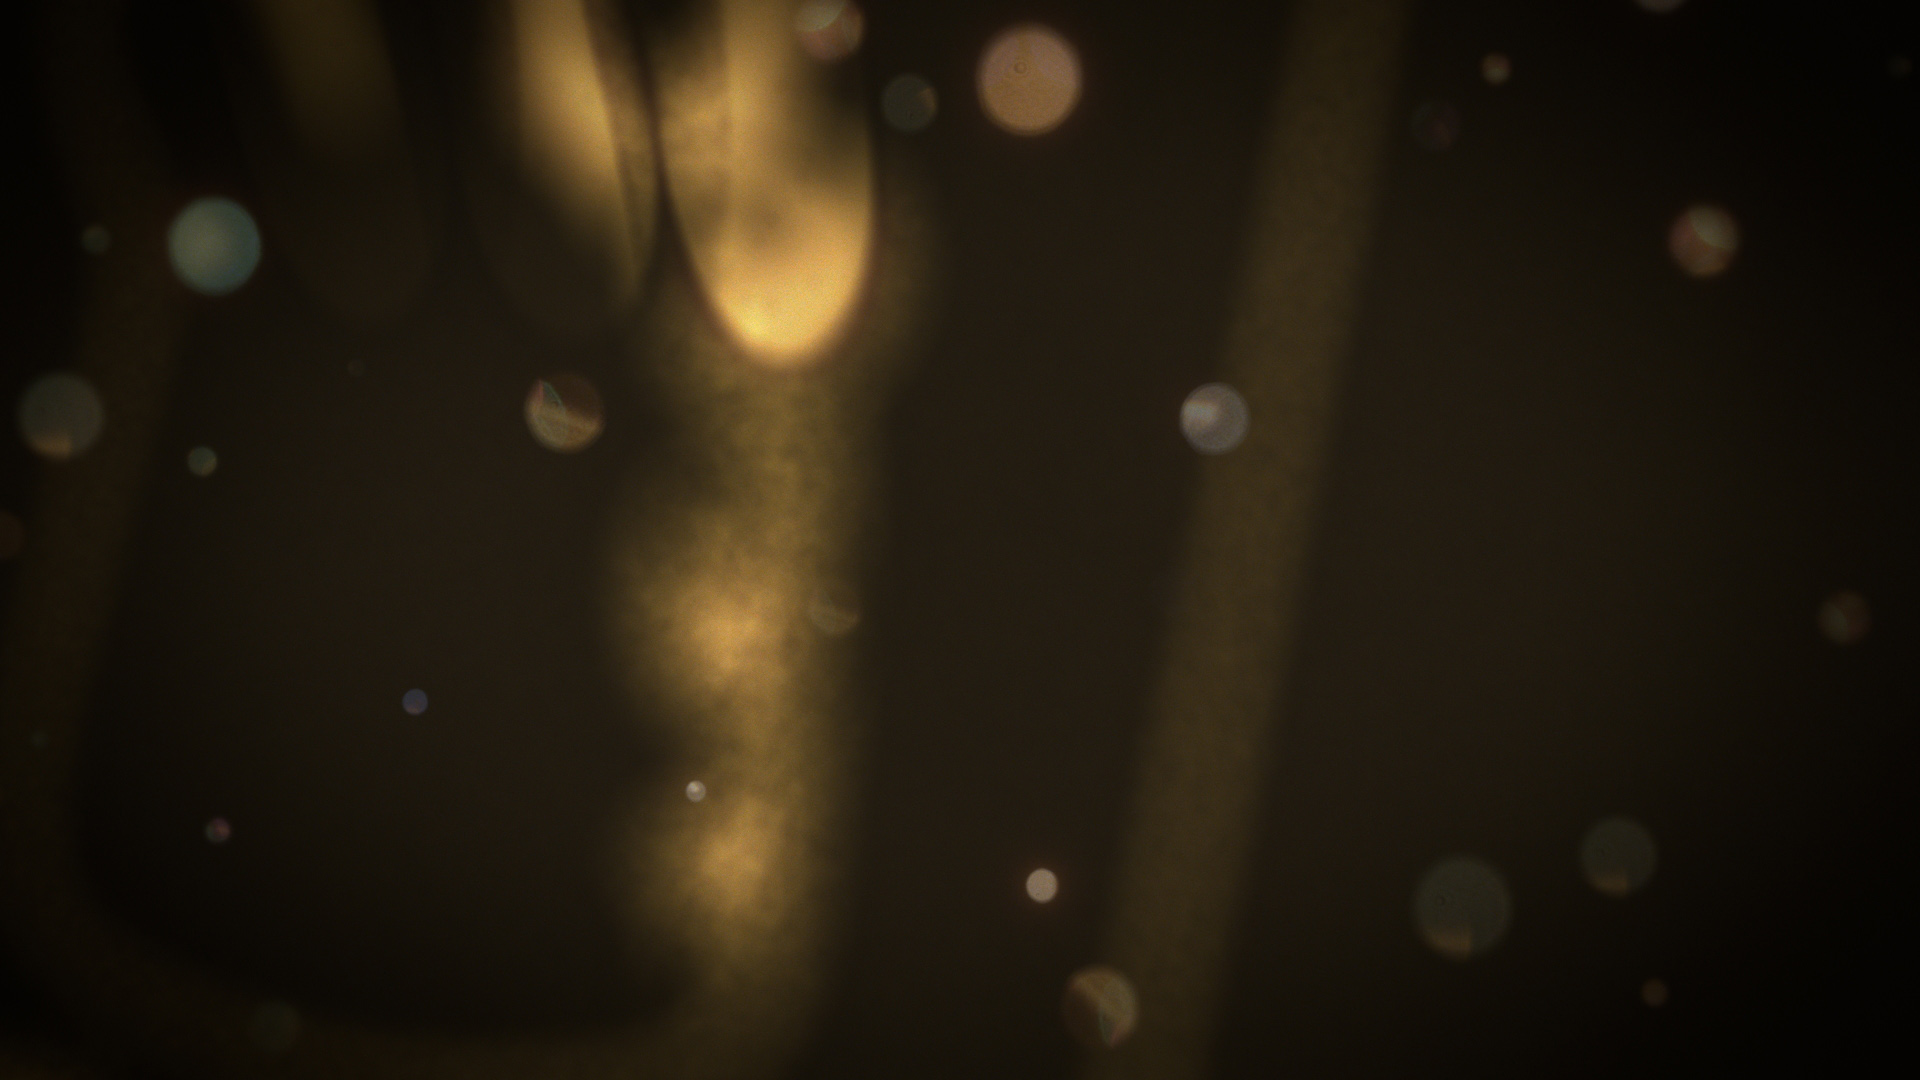
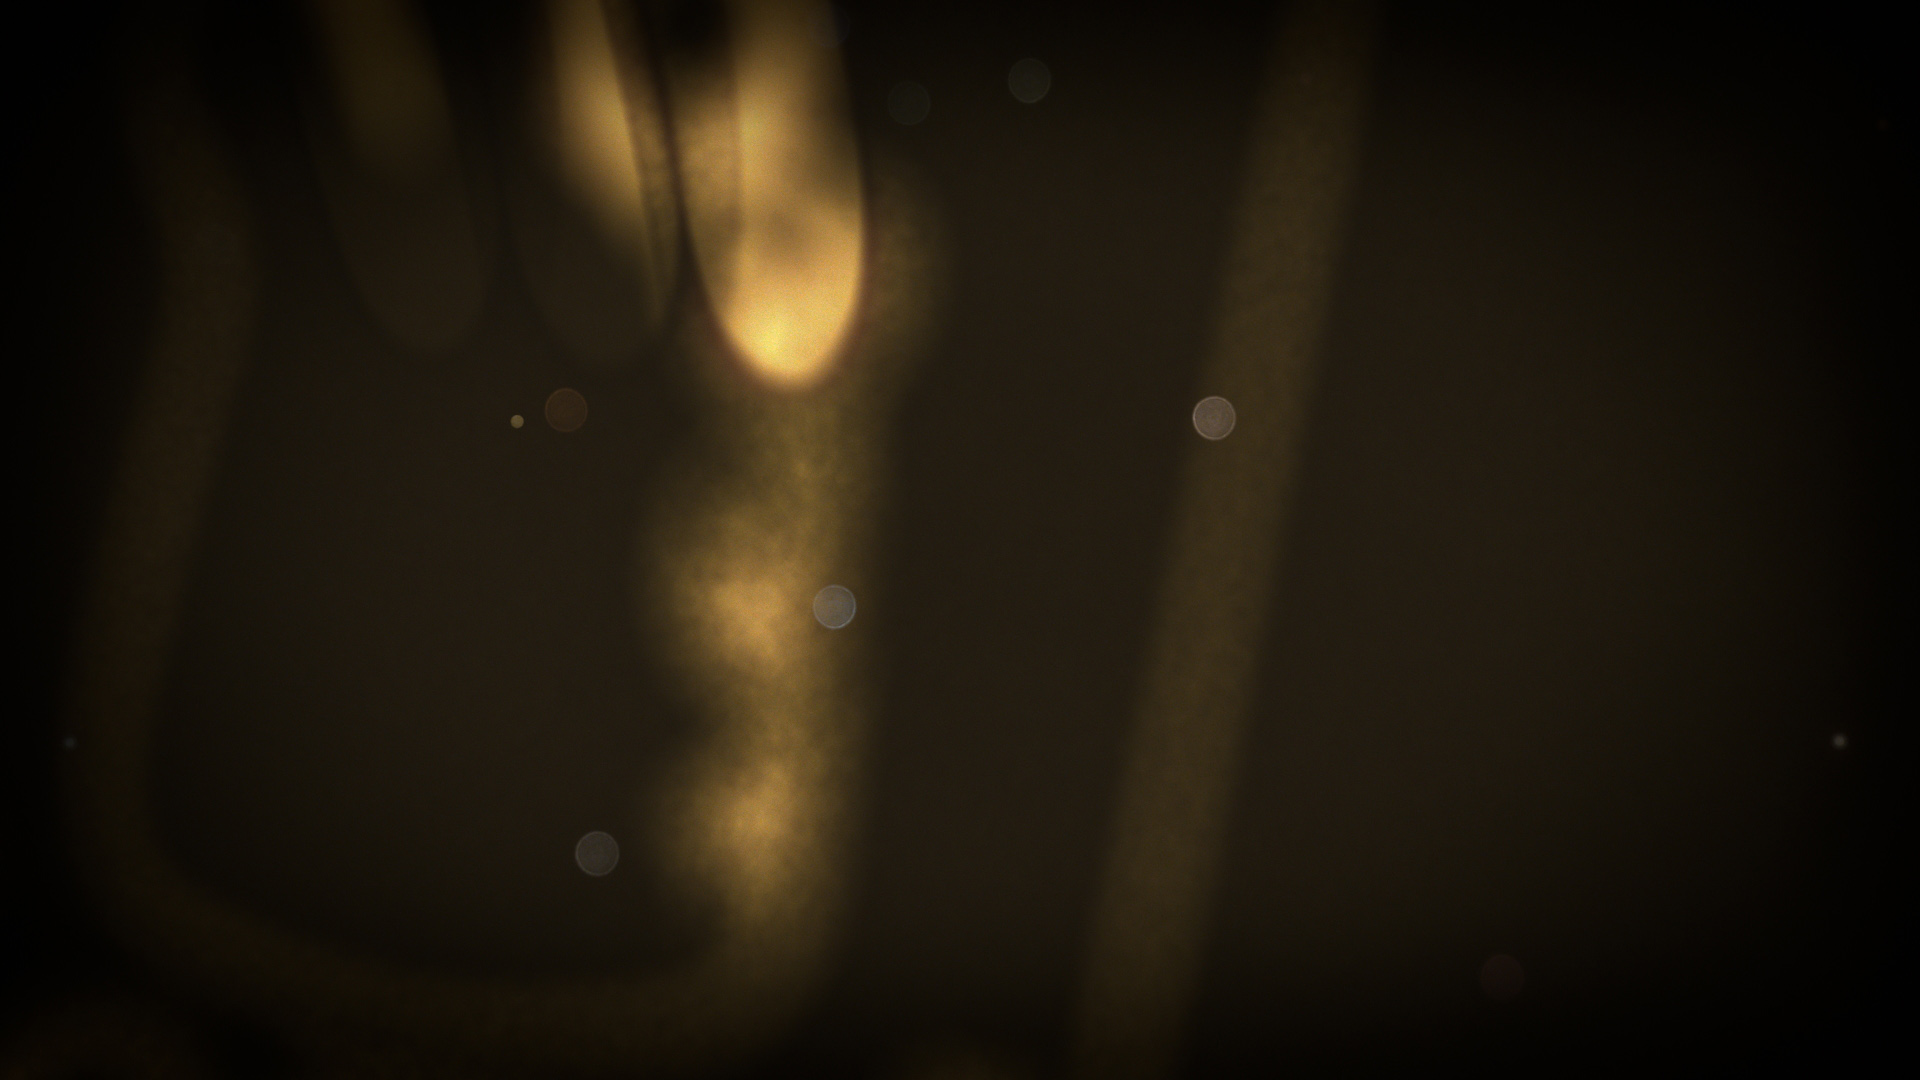
By September, 2011 I had created around one minute and twenty seconds of animation, I was moderately happy with the style, but it definitely needed a few more elements for a more polished look. I remembered that sand can sometimes sparkle and refract light in interesting ways, giving off a range of beautiful tiny flashes. I gave myself the task of having a go at getting these flashes in my film, realising that when defocused, they would create beautiful looking bokeh artifacts. Bokeh can best be describes as what happens to light that is out of focus in a camera. The first version of this effect consisted of painting up a few bokeh images, then mapping them to a sprite particle system that always faced the camera. I scripted a system that would link the size and brightness of a sprite particle in relation to the focal point of the camera, so that when the camera's focal point moves closer to a particle it becomes smaller and brighter, appearing more in focus. This element really gave a beautiful quality to the film. Two months later, as I continued to work through the film, I realised that the bokeh needed to be more dynamic, not only does the size and shape of the bokeh change in relation to how the camera moves, but a grain of sand may refract light for a short part of the camera move only, sometimes fading up and down in brightness (but not size) without even coming into focus; also the colours sometimes change very slightly. So I redesigned the bokeh system by not using sprites, but by basing it off the Krakatoa particles that were already simulated. I first severely reduced the particle count of the particle simulation to roughly 0.01%, then I coloured the points using a few layers of procedural noises in different hues, then multiplied the result with another procedural noise of pure black which simulated the particles going in and out of brightness randomly. The procedural noises were linked in object space to the position of the camera, so that any colour and brightness change would be driven purely by the speed and position of the camera. This layer was rendered, then defocused using the same zdepth image sequence the particle system was using, and merged back on top of the "sand" particles. The result was a much more dynamic look which I was finally completely satisfied with.
|
|

|
|
|
An image I took of the city at night to study the bokeh effect.
|
|
|

|
|
|
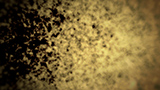
The final bokeh look.
|
Adding the bokeh element made me think about what other visual elements I can add to make the look of the particles more beautiful. By pretending if I were magically able to photograph these many layered particle simulations, it came to me to add a shadow effect, so if it was in the real world and one layer was close to another, the background layer would receive a thin shadow from the foreground layer if there was a light attached to the camera. I ended up using the precomps of the particle simulations from Nuke, mapped onto their respective cards in Max, and use a raytraced light linked to the camera to produce moving shadows from the moving light relative to the stationary cards. While this is a relatively simple effect to set up, it gave the animation a fantastic sense of depth as it now felt like the layers were interacting with each other, and not just existing independently in space.
The final major direct effect that I would give the particles was an embossed illumination look. If a light source existed in the frame, certain particle layers would exhibit a brightening on the edges "facing" the light source. I setup controls in Nuke to be able to control the "depth", brightness and falloff of the illumination effect. This effect I would only use sparingly, just to give the animation an extra dimension here and there.

|

|

|
|
|

|

|
|
|
|
|

|
|
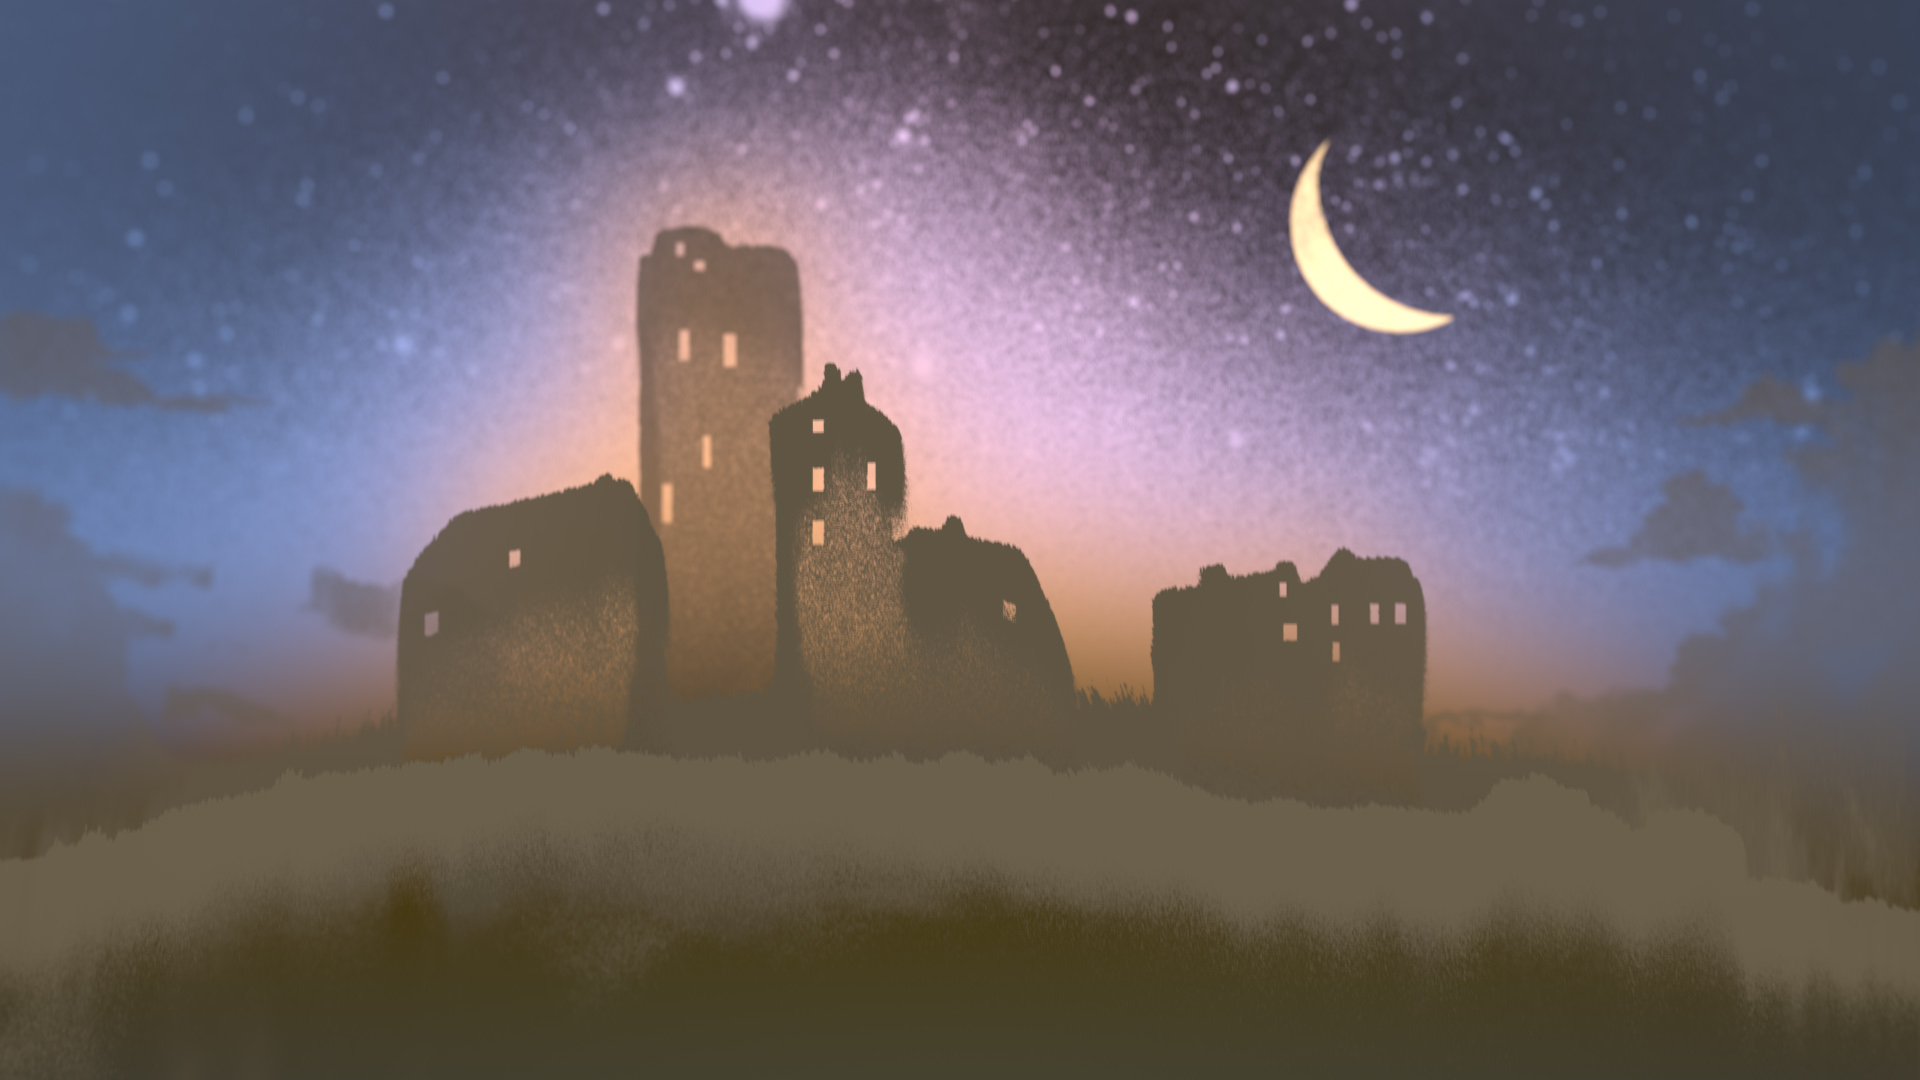
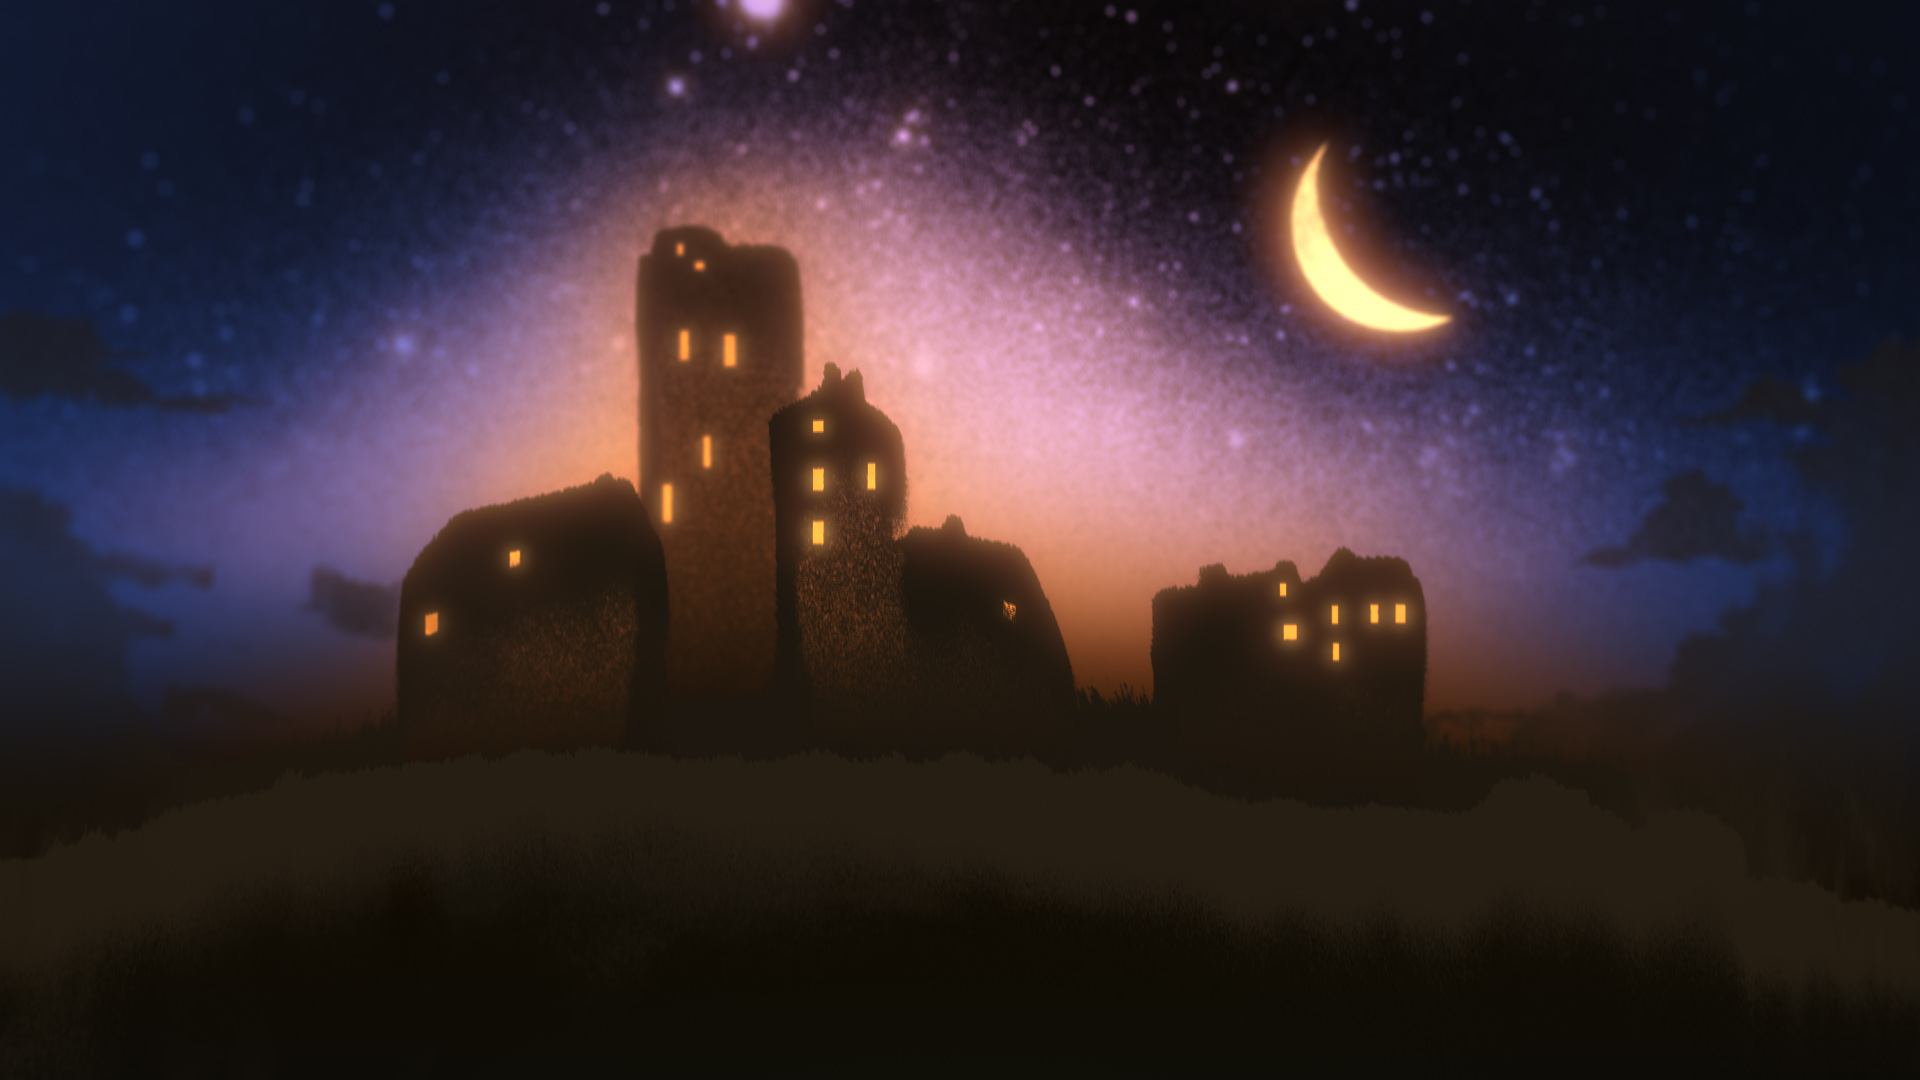
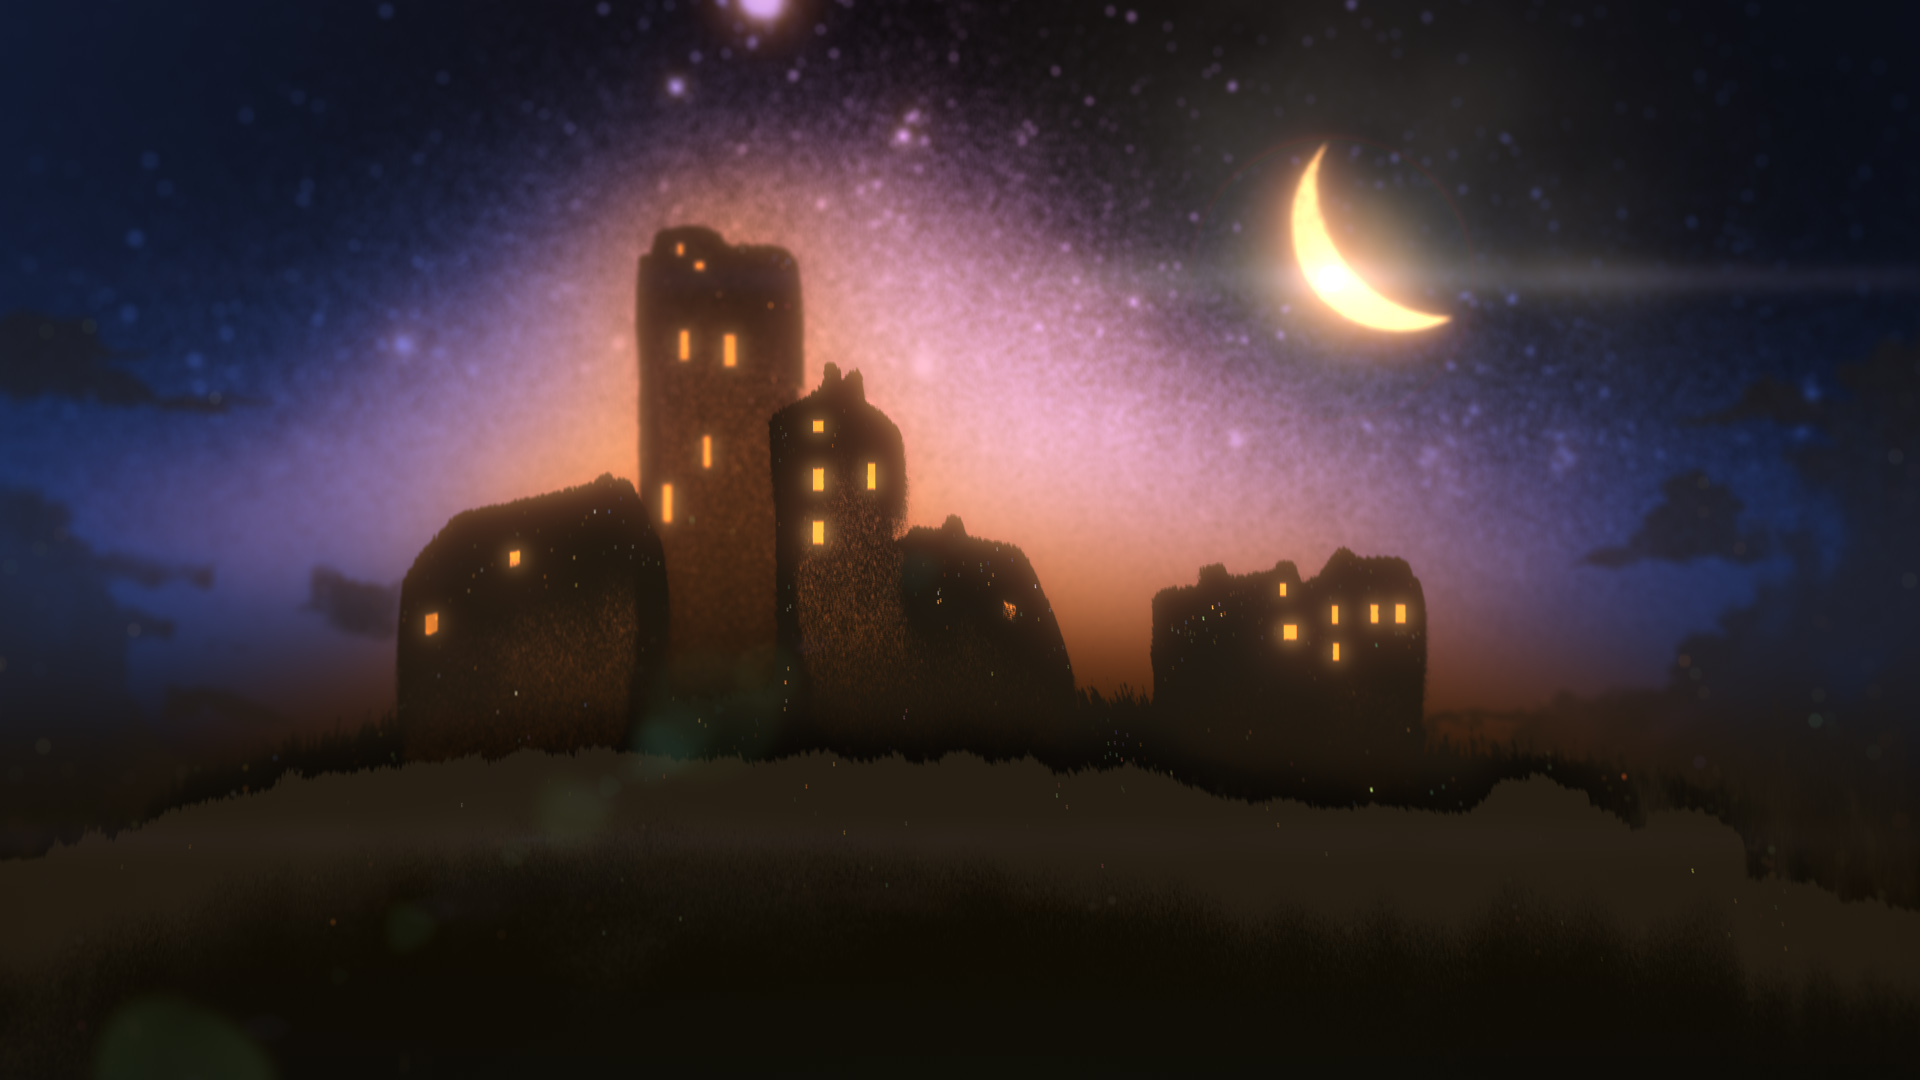
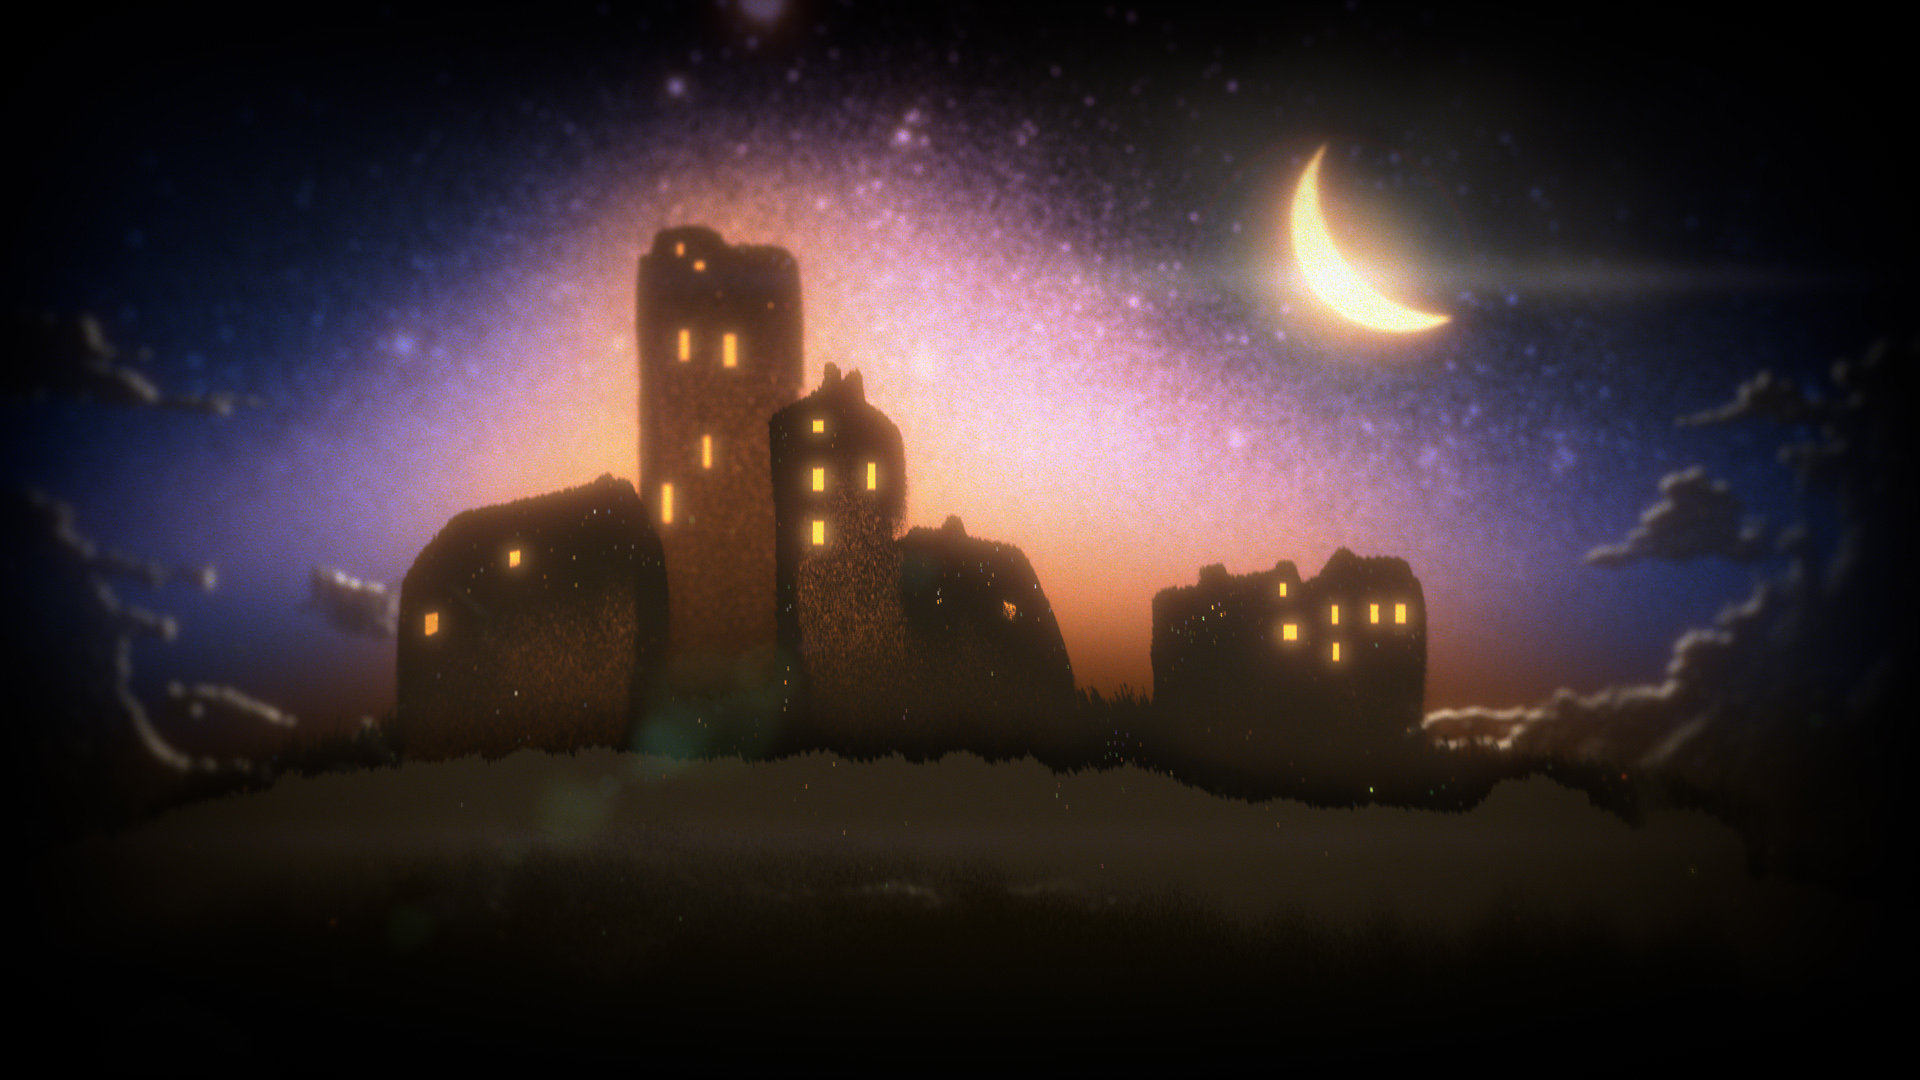
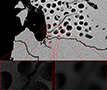
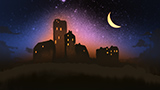
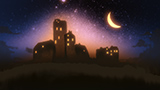
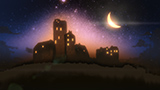
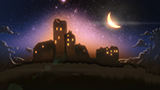
Anatomy of a frame:
· (1) Background colour.
· (2) Add the sand layers.
· (3) Add lights in the windows.
· (4) Convert the colourspace from sRGB to Linear.
· (5) Screen over a few subtle layers of glow.
· (6) Add a lens flare.
· (7) Add the bokeh effect.
· (8) Add the shadow effect.
· (9) Add an illumination effect to the background clouds.
· (10) Finish off the look with some global effects such as vignetting, defocusing, grain and more.
|
I created a number of tools in Nuke and Max that helped me speed up my processes and generally make things easier for myself. These tools were:

|
Import Glass Pane (3ds Max) - From the latest 3DS Max master file, import the glass pane related to the file name of the currently opened 3DS Max file. Also automatically set up the zdepth shader to use the latest camera and set the render resolution of the glass pane.
|

|
Import Camera (3DS Max) - From the latest 3DS Max master file, import the master camera.
|

|
Import Bokeh (3DS Max) - Imports a pre-set up Particle Flow script that enables rendering bokeh for a glass pane.
|

|
Import Shadow Light (3DS Max) - Imports a pre-set up light that is used to create the shadow effect on glass panes.
|

|
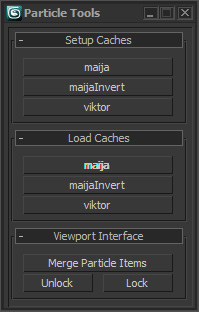
Particle Tools (3DS Max) - This hooks into Krakatoa's caching feature, and with the click of a button, sets up all of the variables and paths to prepare a particle simulation for caching to disk. Then once the cache is complete, clicking another button swaps the live simulation for the cached one, thereby speeding up renders dramatically. This tool also had a few other small features that saved on a number of repetitive tasks, such as viewport selections, mass particle interactions and UI setups.
|
|

|
Camera to Chan (3DS Max) - From the latest 3DS Max master file, bake out the master camera's transform to a file format to be read by Nuke.
|
|
|
Export Glass Pane (3DS Max) - From the currently opened glass pane file, export the geometry to be used as a card by Nuke.
|

|
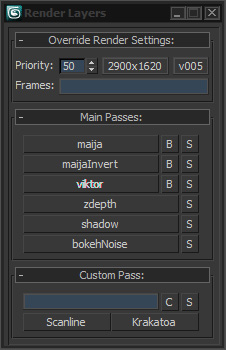
Render Layers (3DS Max) - A tool that specifically automatically sets up and submits the various types of render layers to the renderfarm. This script reads the scene for all of the different particle simulations that need to be rendered. The buttons with the various words on them sets up the scene for that particle system. The "B" button submits a bokeh element for the particle simulation, the "S" button submits the actual simulation. "zdepth", "shadow", and "bokehNoise" are common elements that needed to be rendered for all simulations to be used in Nuke.
|
|
|
|
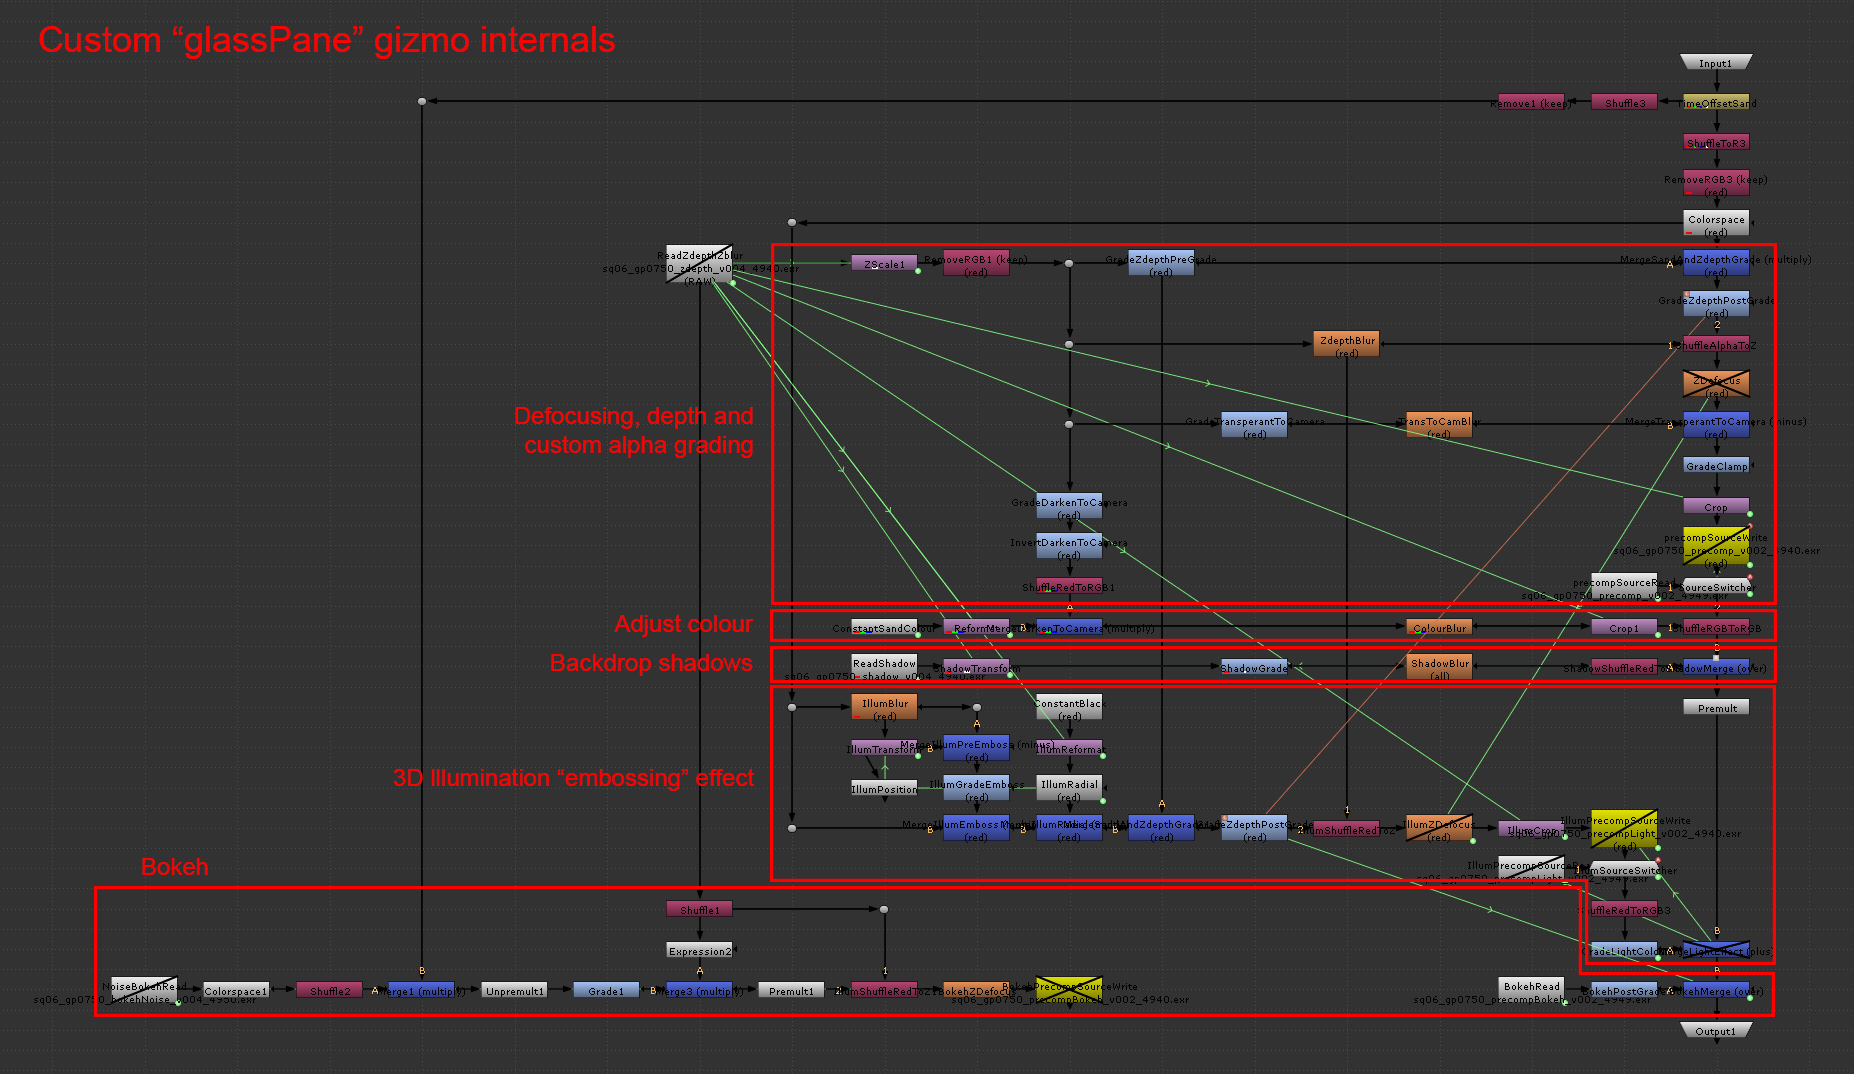
Glass Pane (Nuke) - A tool that reads in the various render layers for a particular glass pane, manipulates them with various controls, submits a precomp of the render layers, and then is able to automatically switch to the precomped version.
|
|
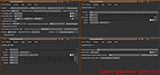
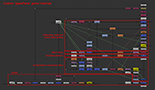
· (Left) The GUI of the Glass Pane tool made for the film.
· (Right) The internals of the Glass Pane tool.
|
|
Altogether I wrote nearly 2000 lines of code. The largest tools to write were the Render Layers and Glass Pane tools, both of which provided a lot of heavy lifting during production. I am not a natural coder, and I spent many late nights researching how to perform various functions, and though some problems might have stumped me sometimes for a number of I always found my answers through meticulous internet searches.
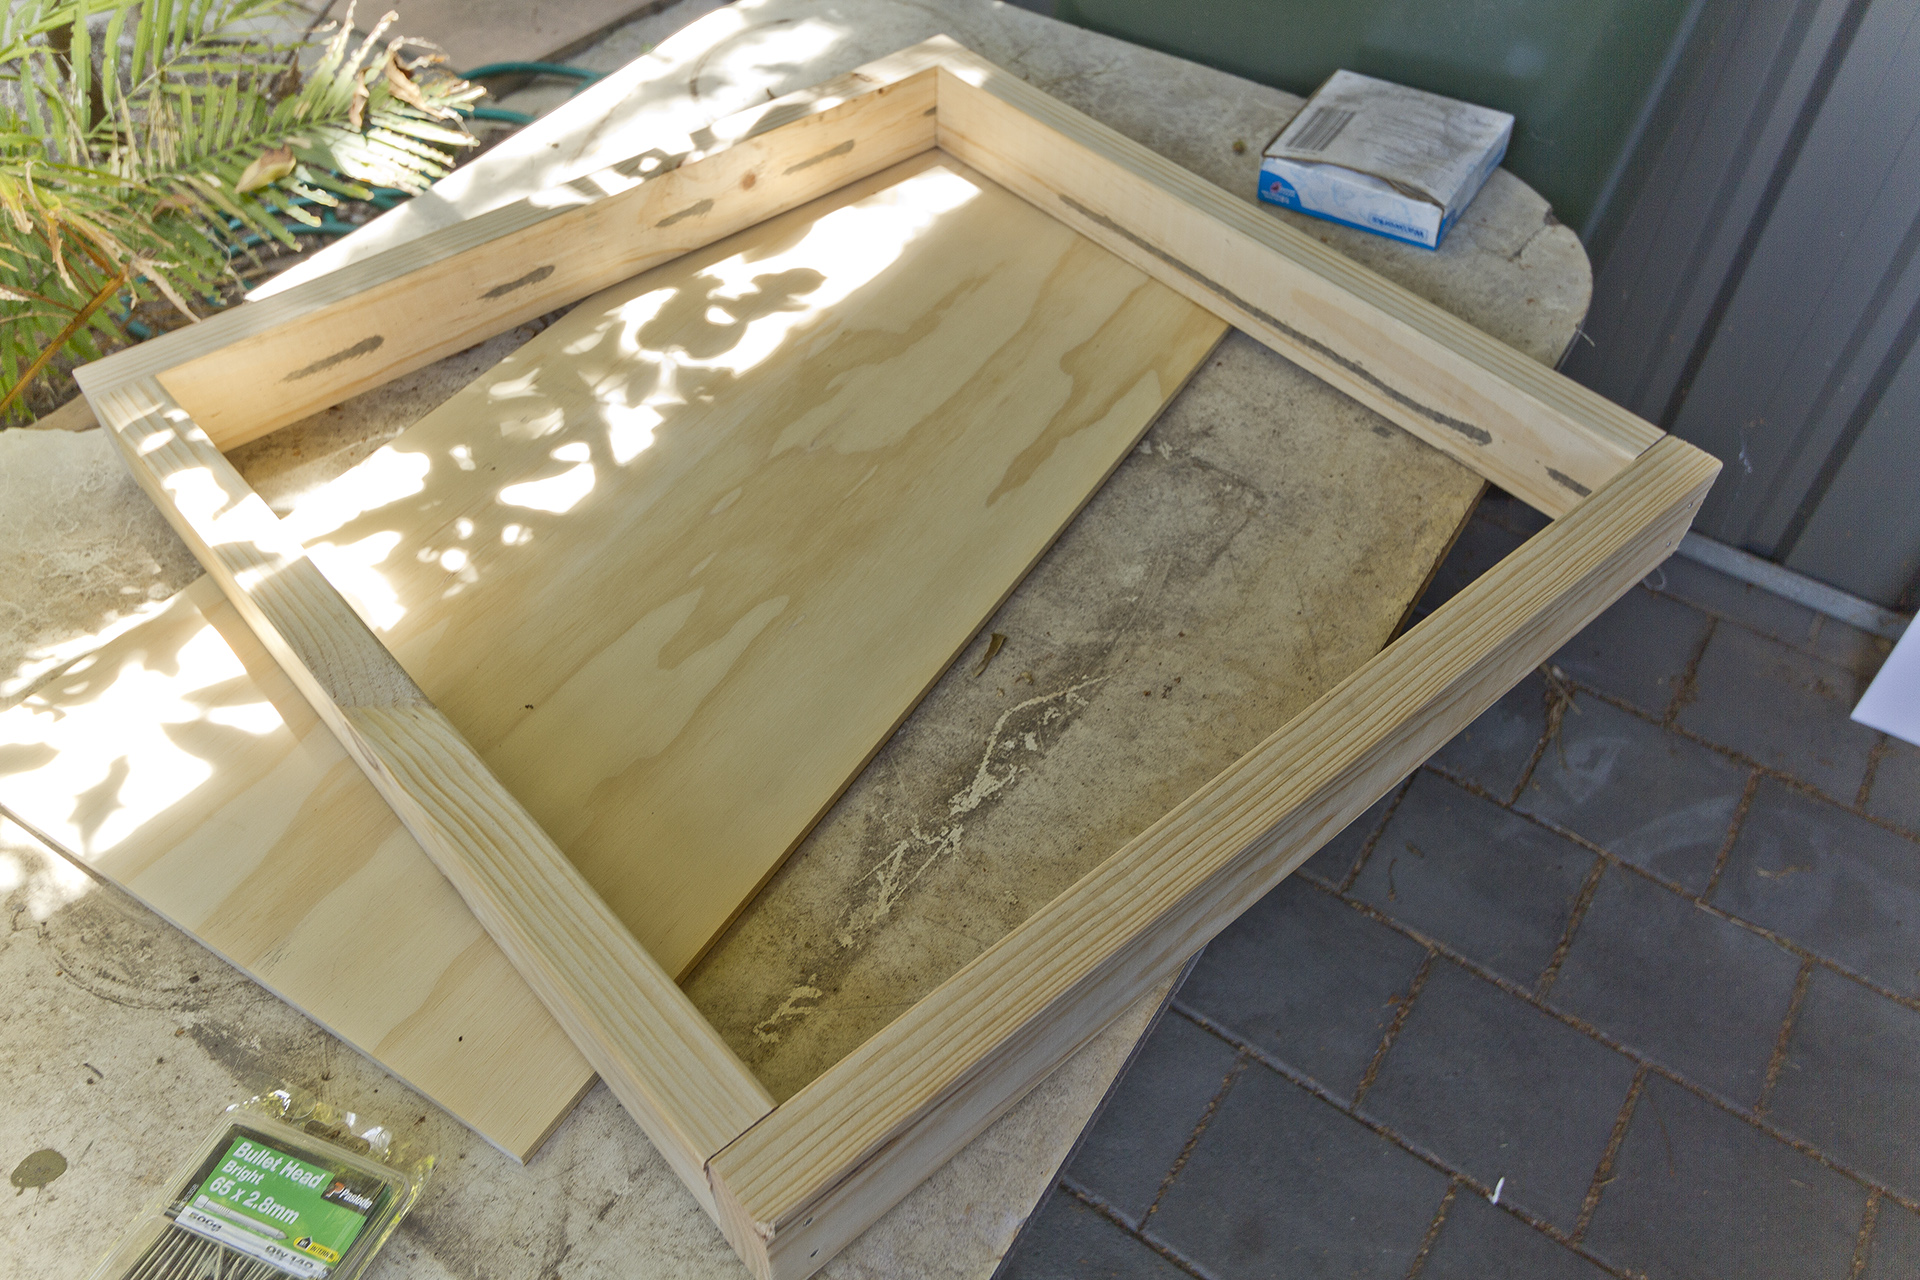
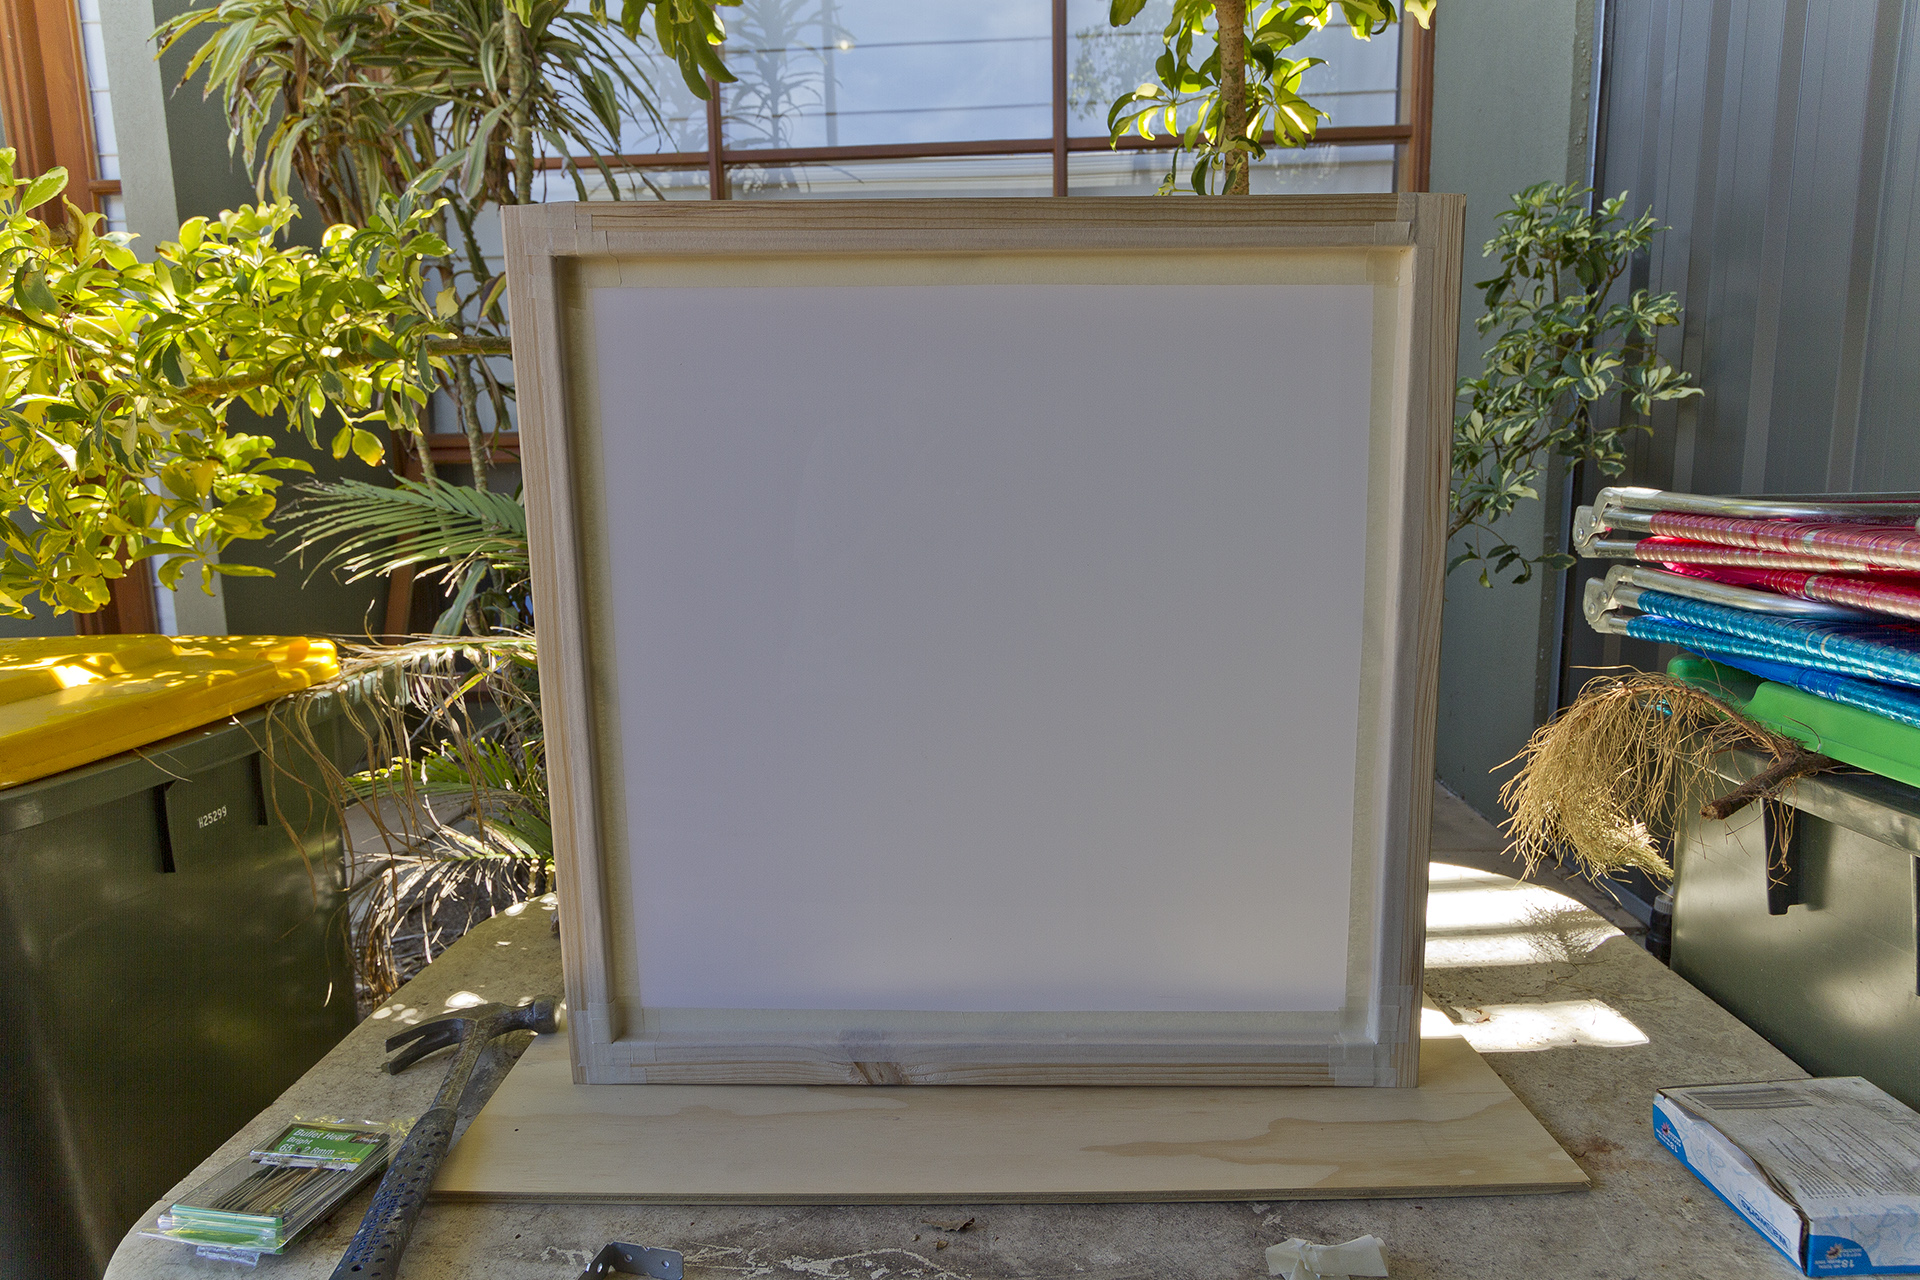
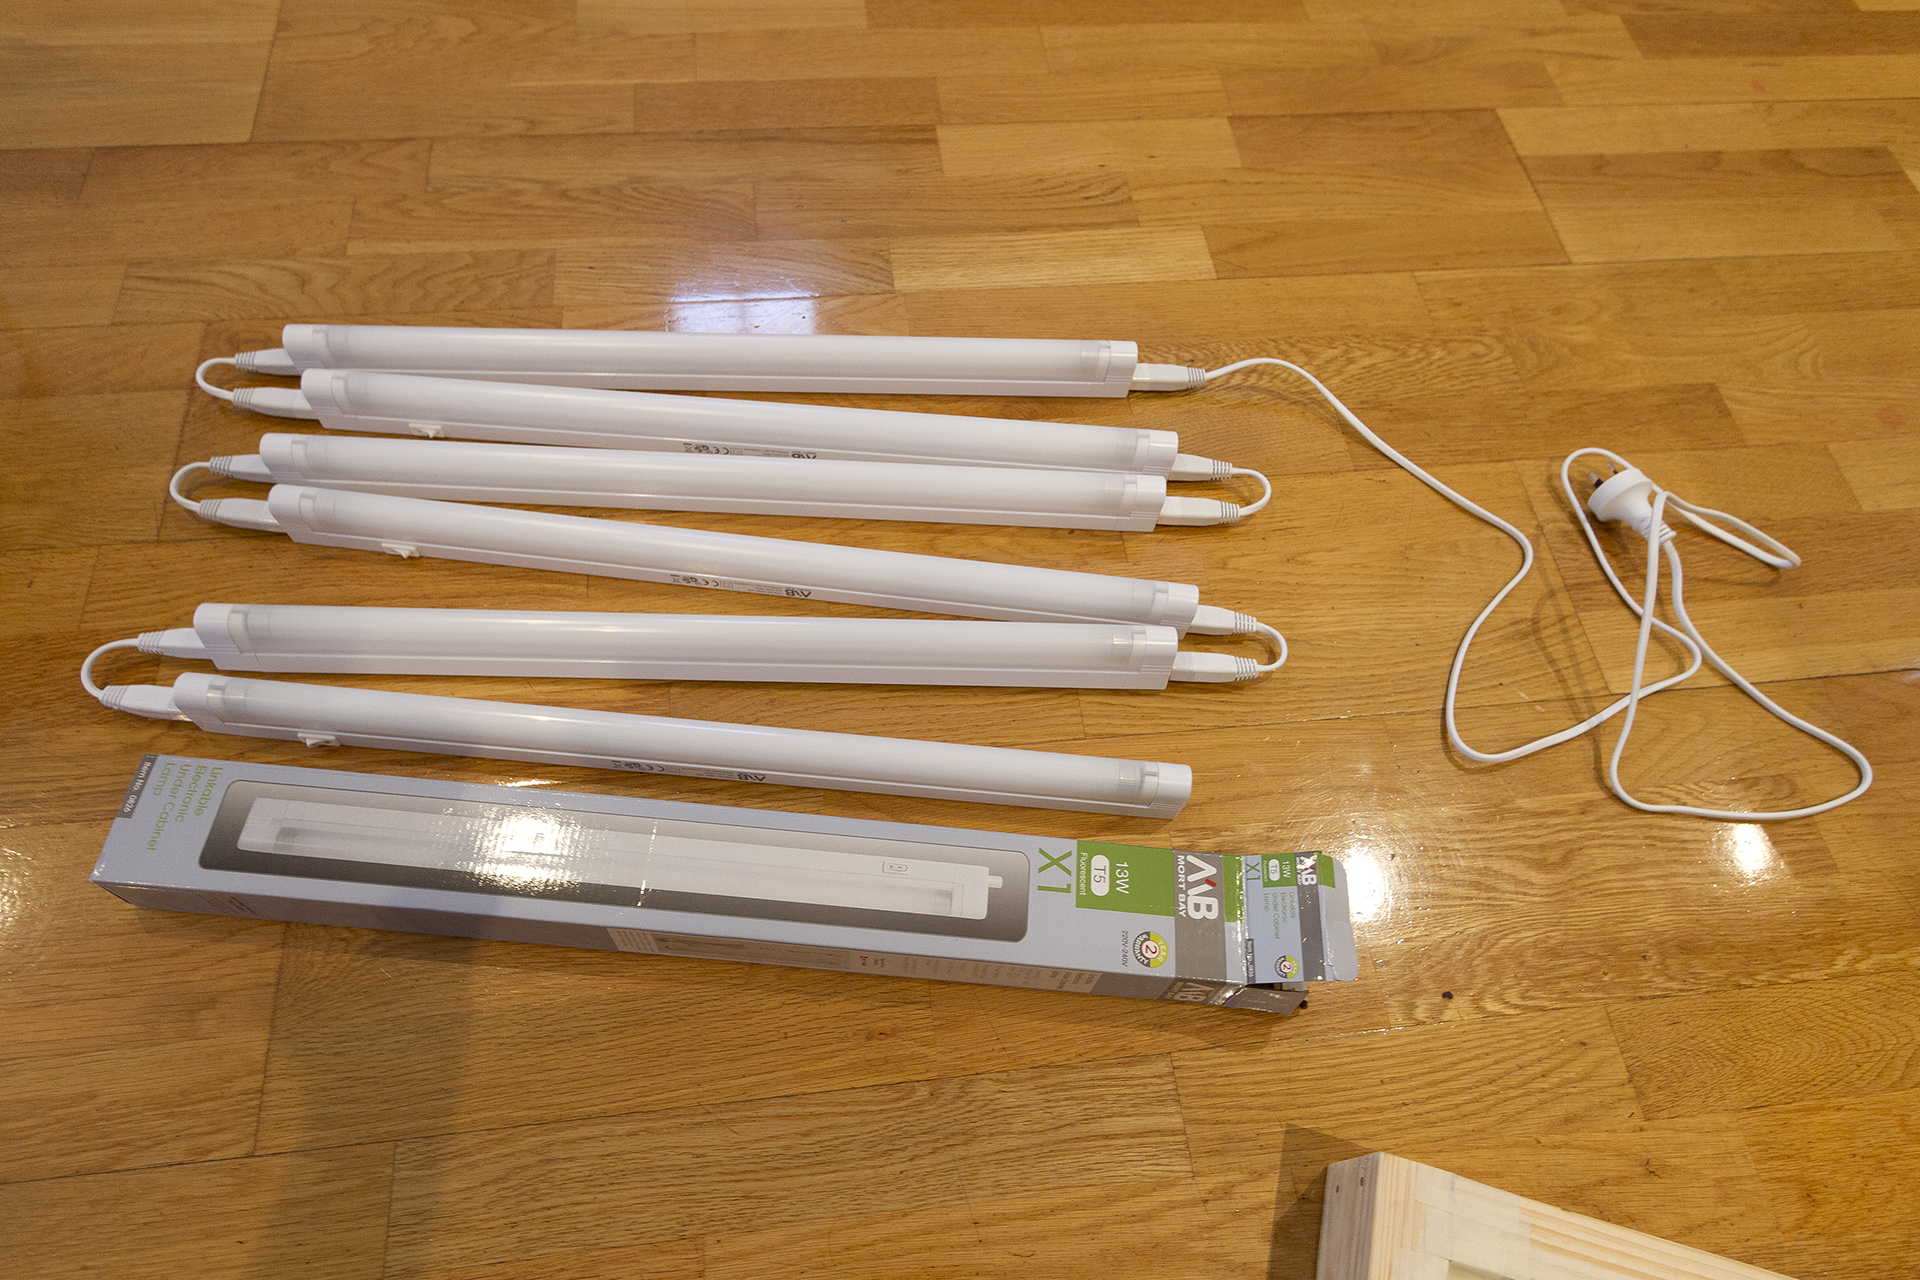
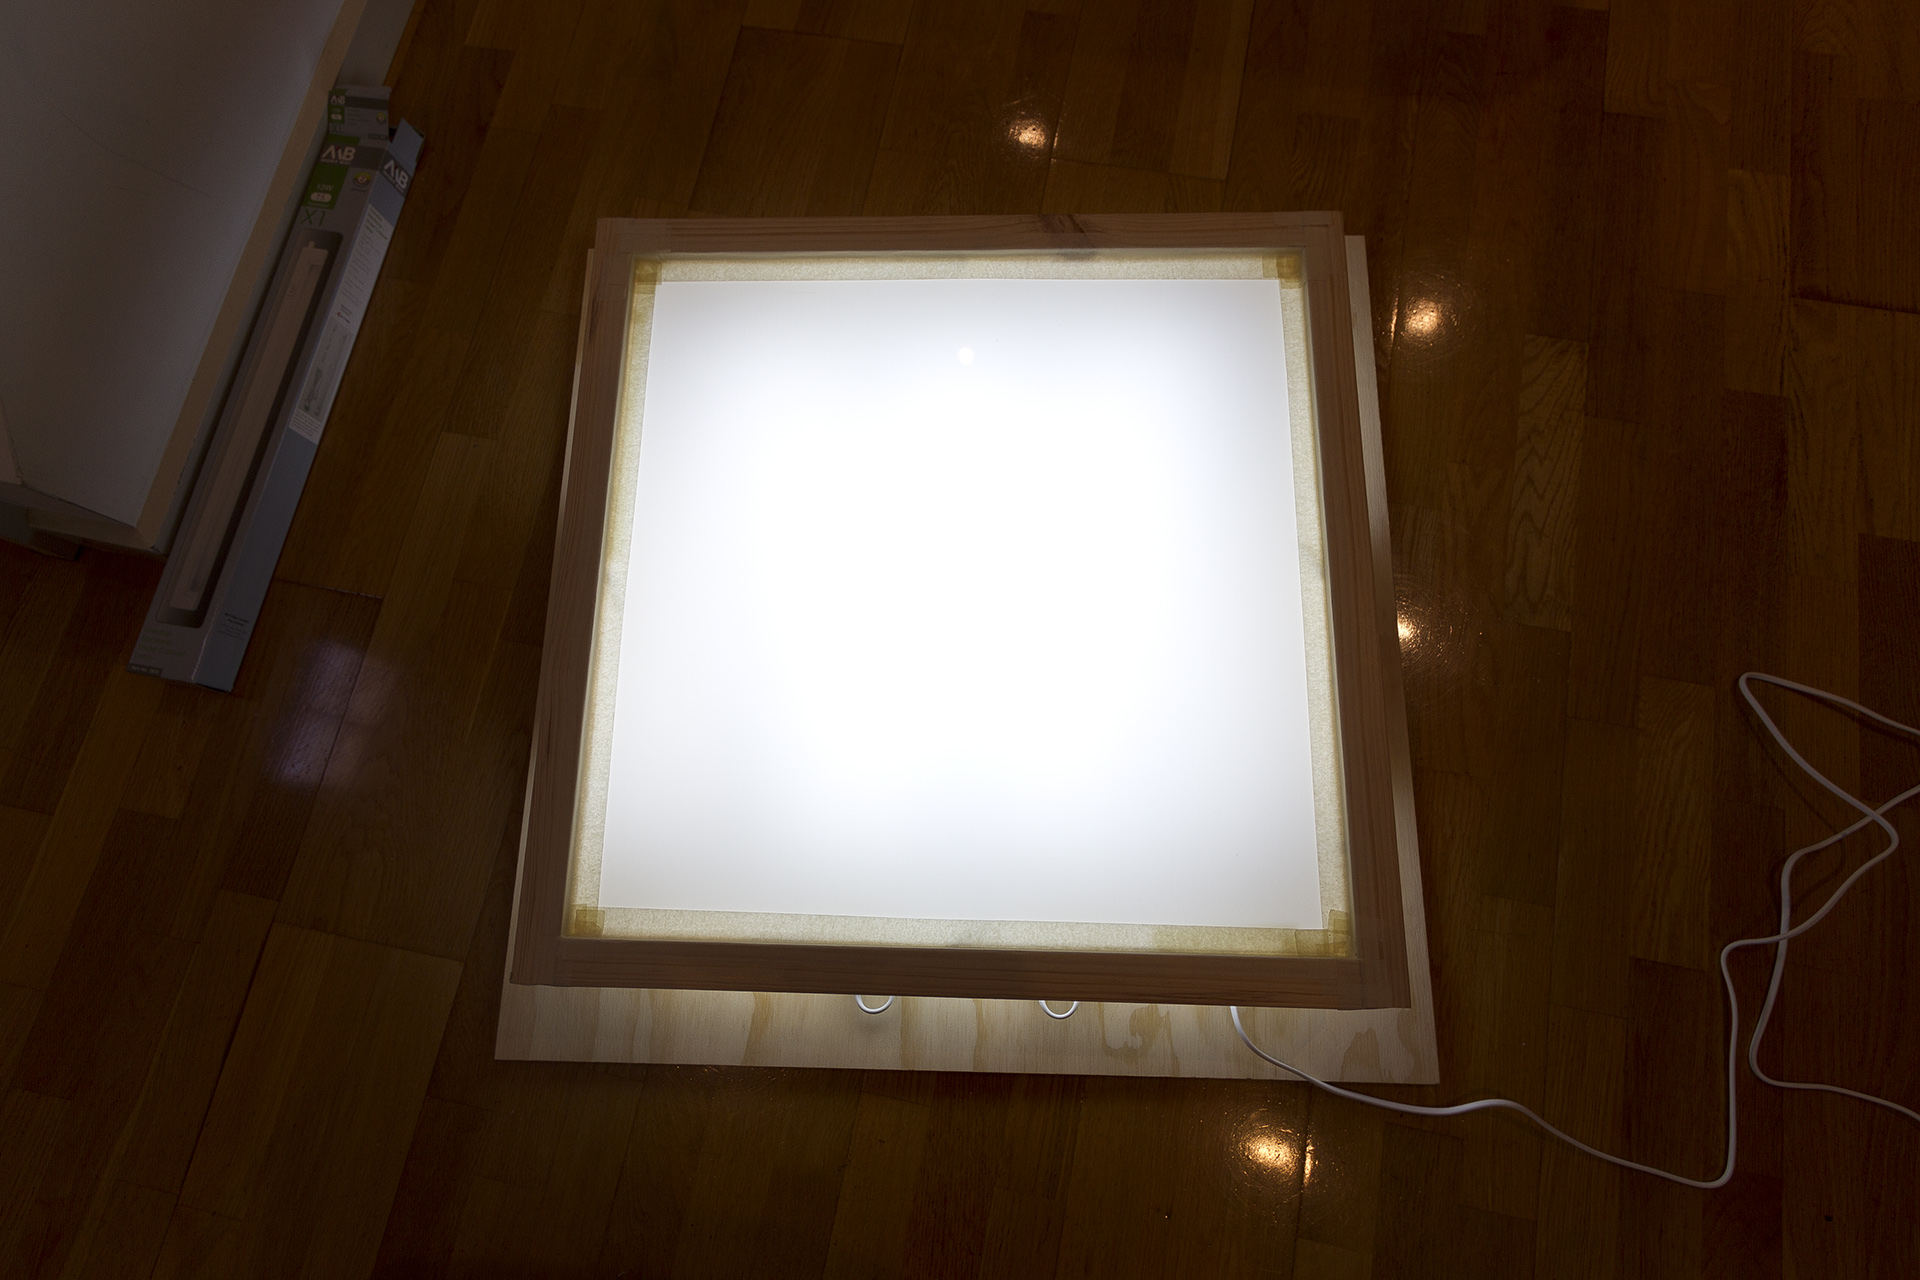
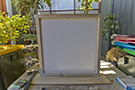
In January 2012, I became increasingly displeased with the sand scatter images I was painting in Photoshop that were being used as birthing masks of the particle systems. They looked unnatural, amateur and poorly made, not to mention the fact that they were also time consuming to make. I wanted natural sand patterns to photograph, which meant that I would need a lightbox. A quick search for lightboxes to purchase online showed me that they were either too small to be of any use for photographing scatter patterns (which I estimated I would need in excess of at least a metre squared), or that the lightboxes that were big enough were way too expensive. So I decided to make one. What I wanted didn't have to be too complicated, a simple wooden frame, a custom cut piece of translucent white perspex, a panel of lighting and some masking tape was all I needed really. I nailed together the frame, then used nails on the inside of the frame to rest the perspex on, and sealed it all up with the masking tape. I purchased a really handy type of fluorescent light that can be daisy chained so that I only needed a single power source. This little project barely took me an afternoon!

|
|

|
· (Left) I bought timber from my local hardware store, and had it precut there.
· (Centre) An hour later I had this.
· (Right) I was worried about how I was going to arrange all of the power cords needed to light this thing, until I came across these lights that can be daisy chained.
|
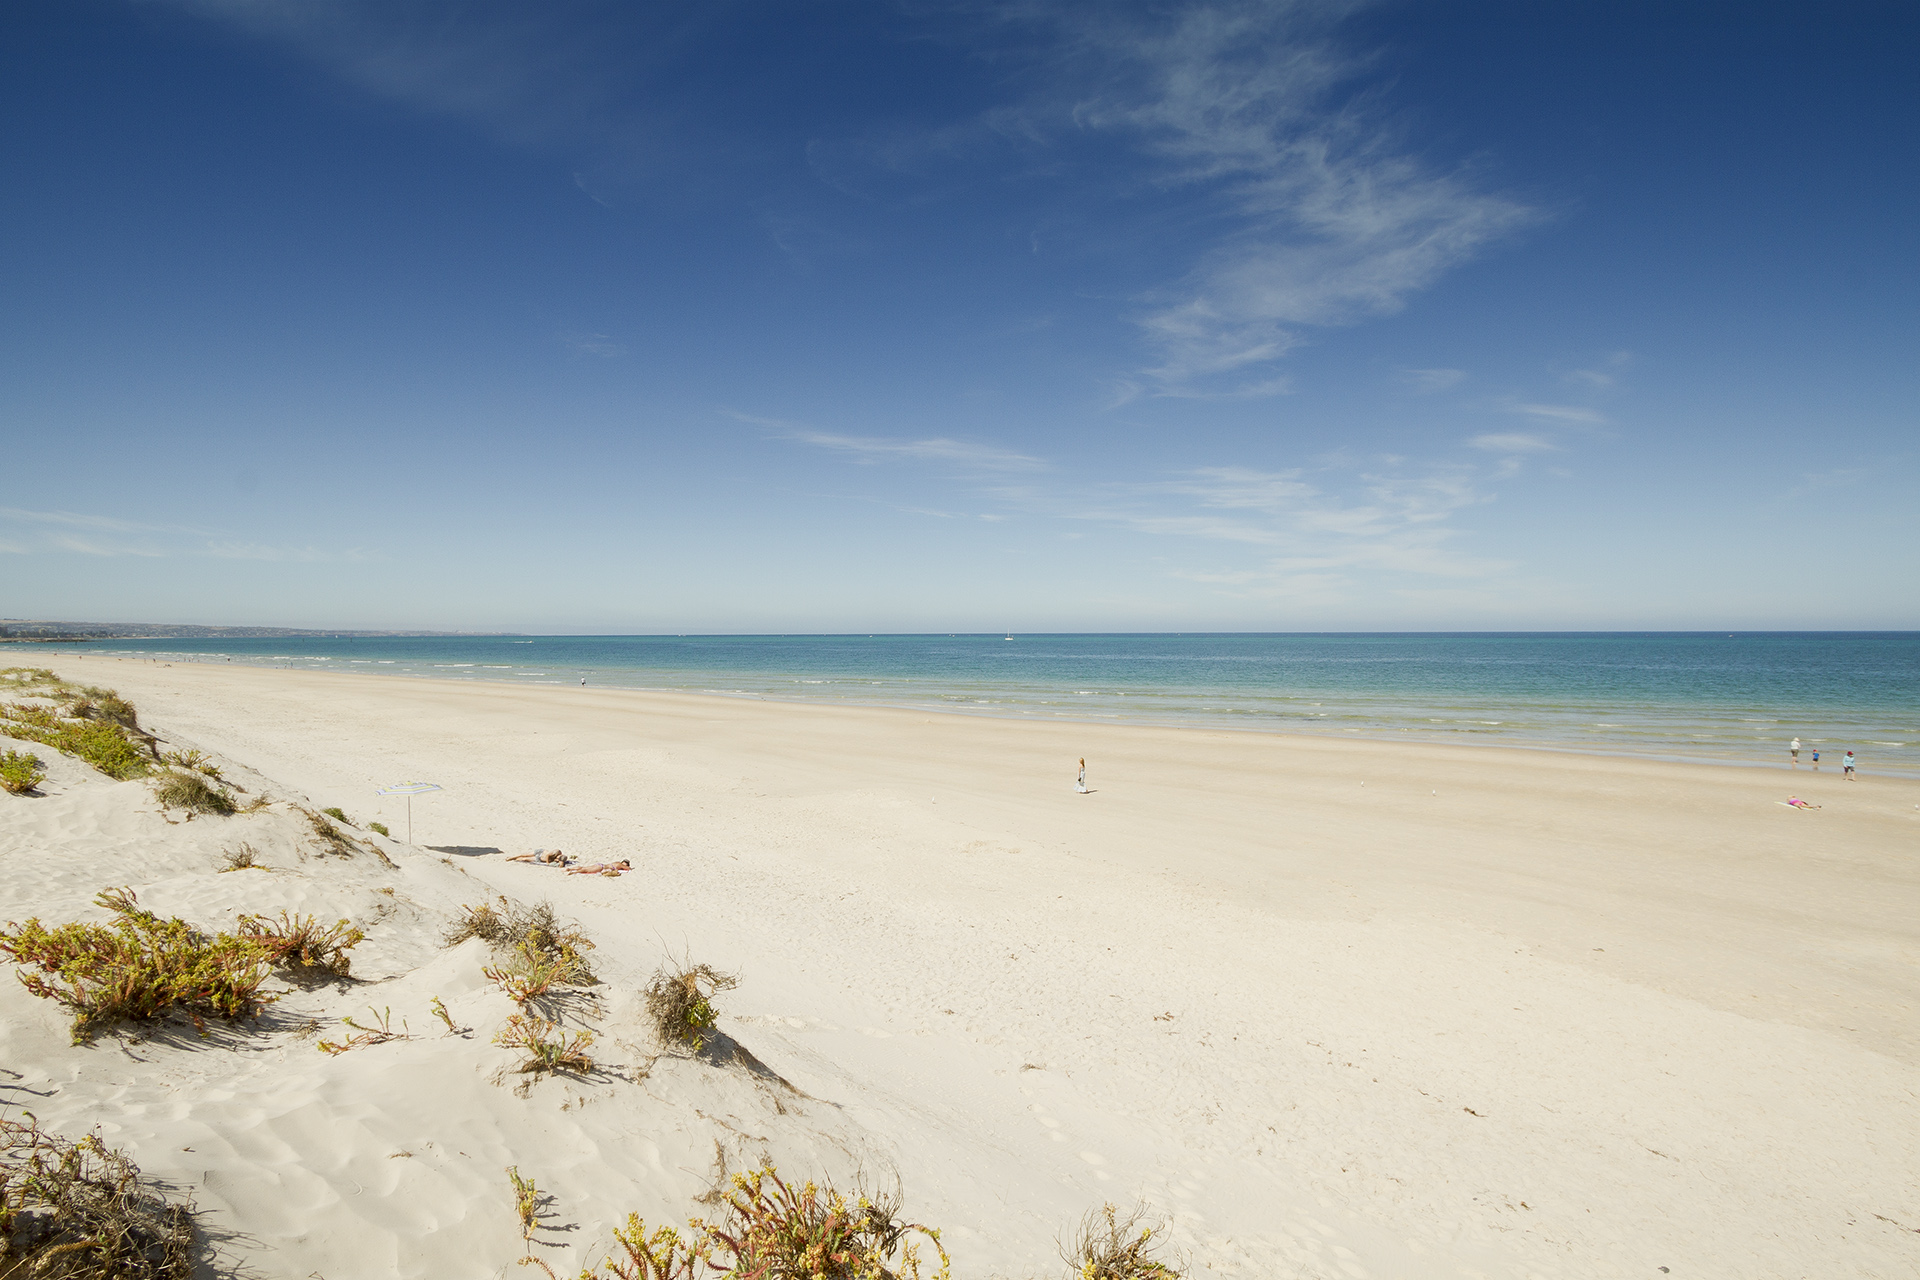
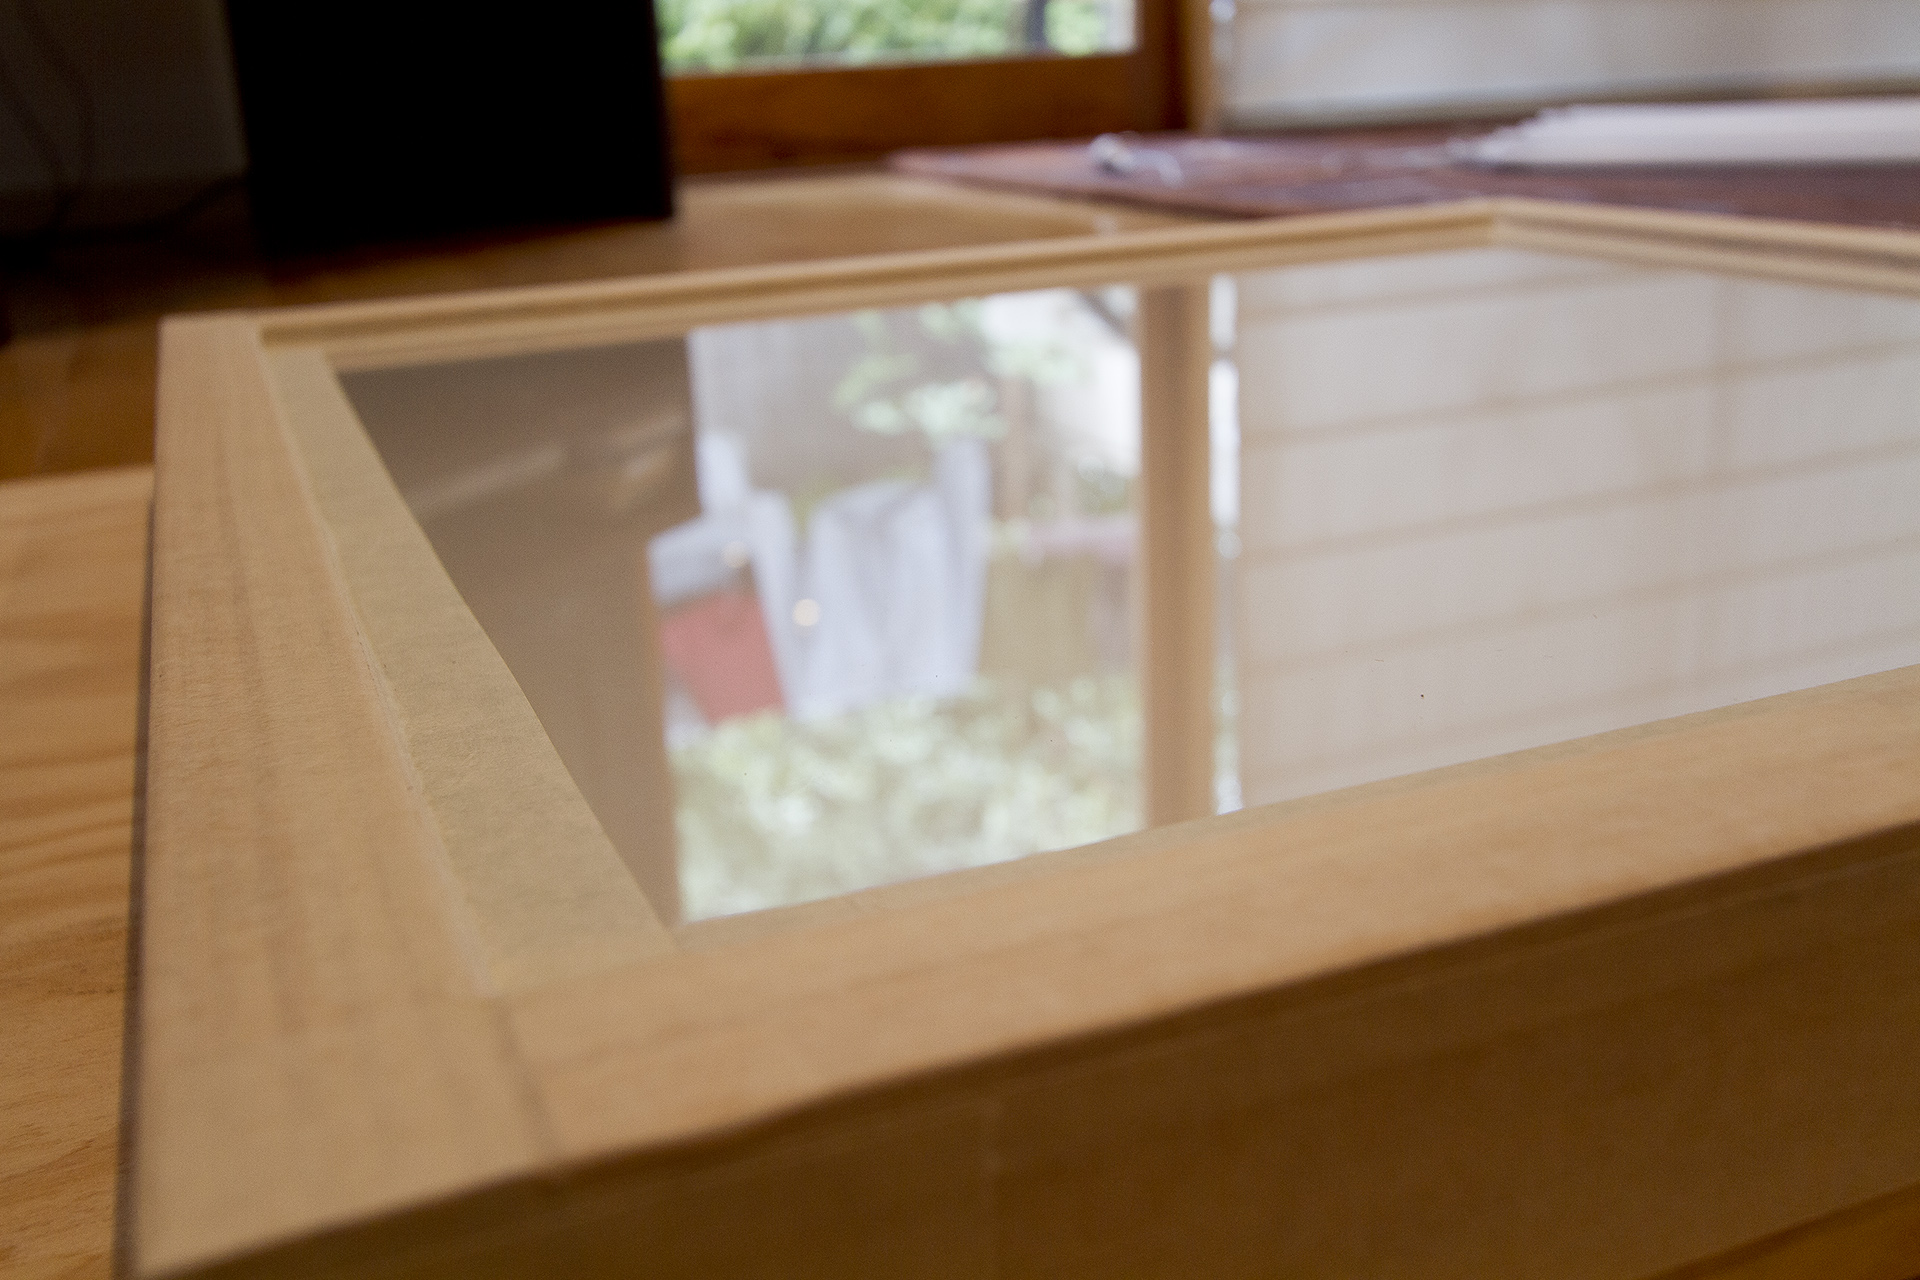
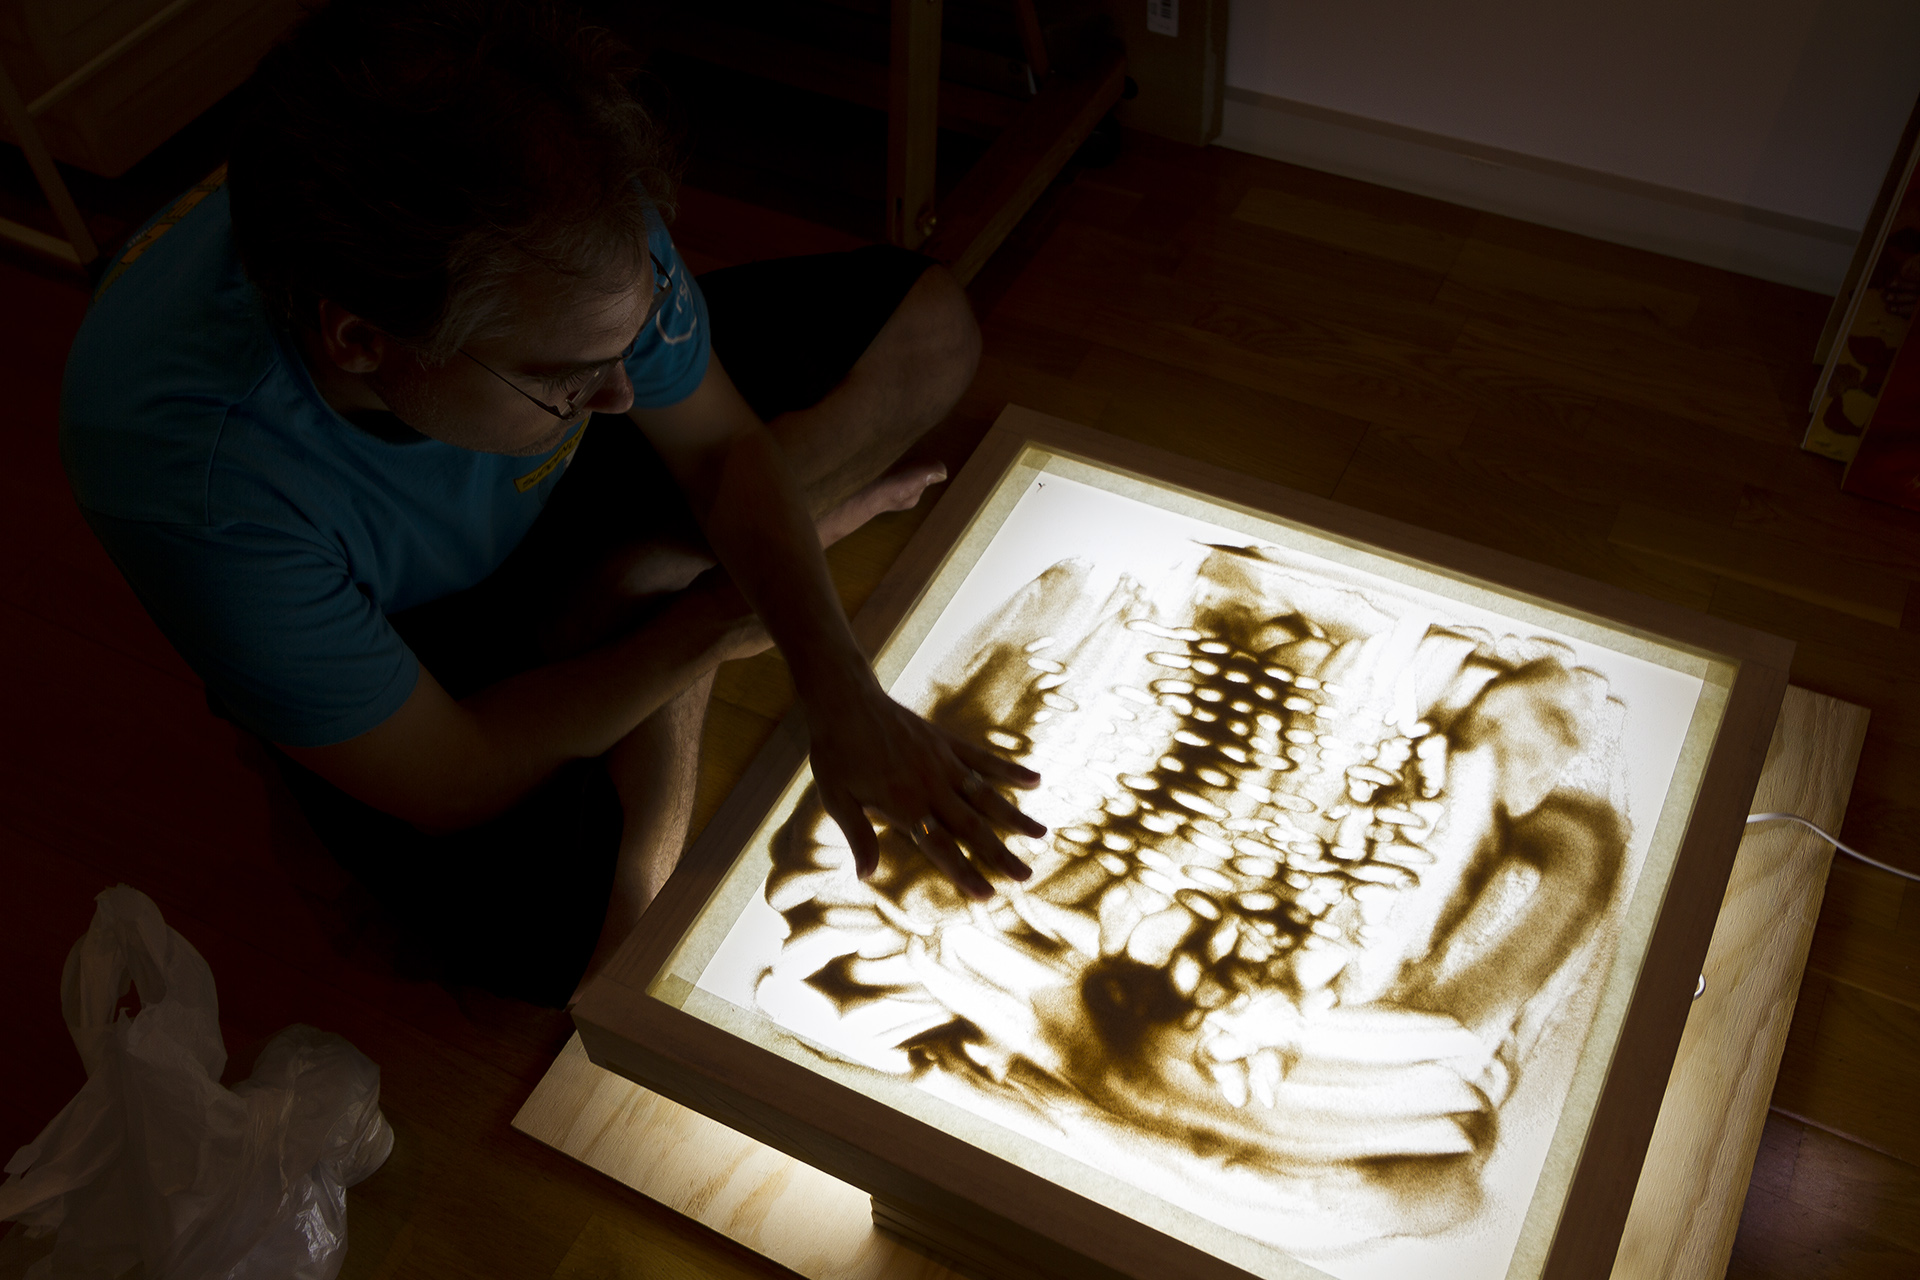
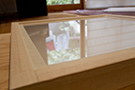
I went down to one of my local beaches that I remember had the highest quality sand, and grabbed a bag full. As soon as I poured some sand on the lightbox and started to push it around with my fingers, it became extremely apparent that I obviously hadn't taken into account the static electricity that quickly accumulates by rubbing fingers on a perspex surface full of sand. Within minutes, the sand was jumping all over the place every time I pushed it around and became almost unmanageable. I figured that a piece of glass would do the trick, so I ordered a custom square of glass that had a low iron content (iron tends to turn the glass a slight green colour). The next weekend I picked up the glass from the shop, ripped off the masking tape on the lightbox, laid the glass over the perspex and resealed it all up again. It worked perfectly. I had so much fun playing with this, and I felt a sense of satisfaction that I made something with my hands!

|
|

|
· (Left) A hard day at the office. Adelaide has some amazing beaches not more than 15 minutes from the city center to collect sand from.
· (Centre) Lightbox version 2, now with a glass top.
· (Right) All in all, a very easy hardware project to complete.
|
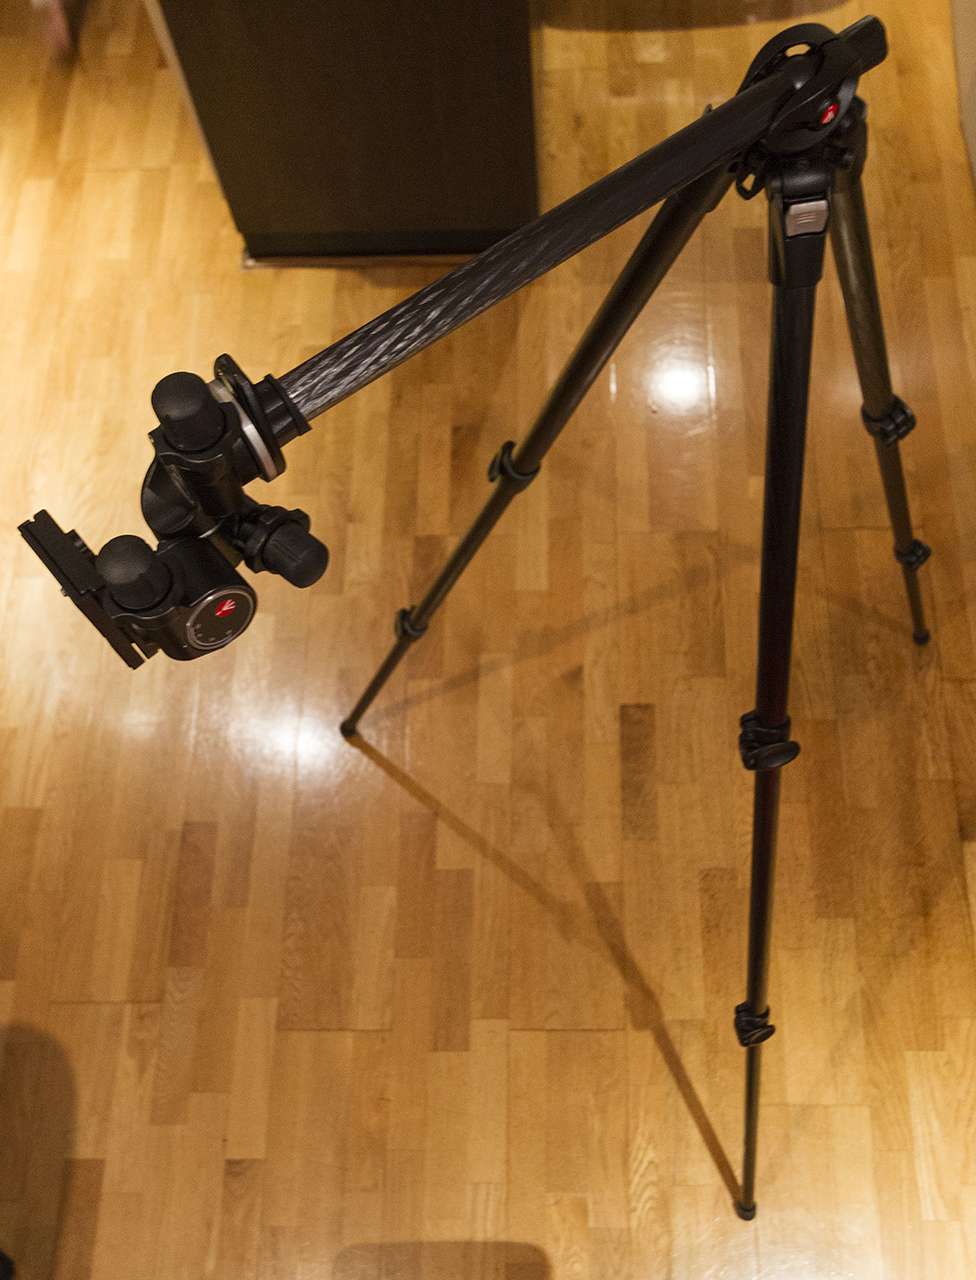
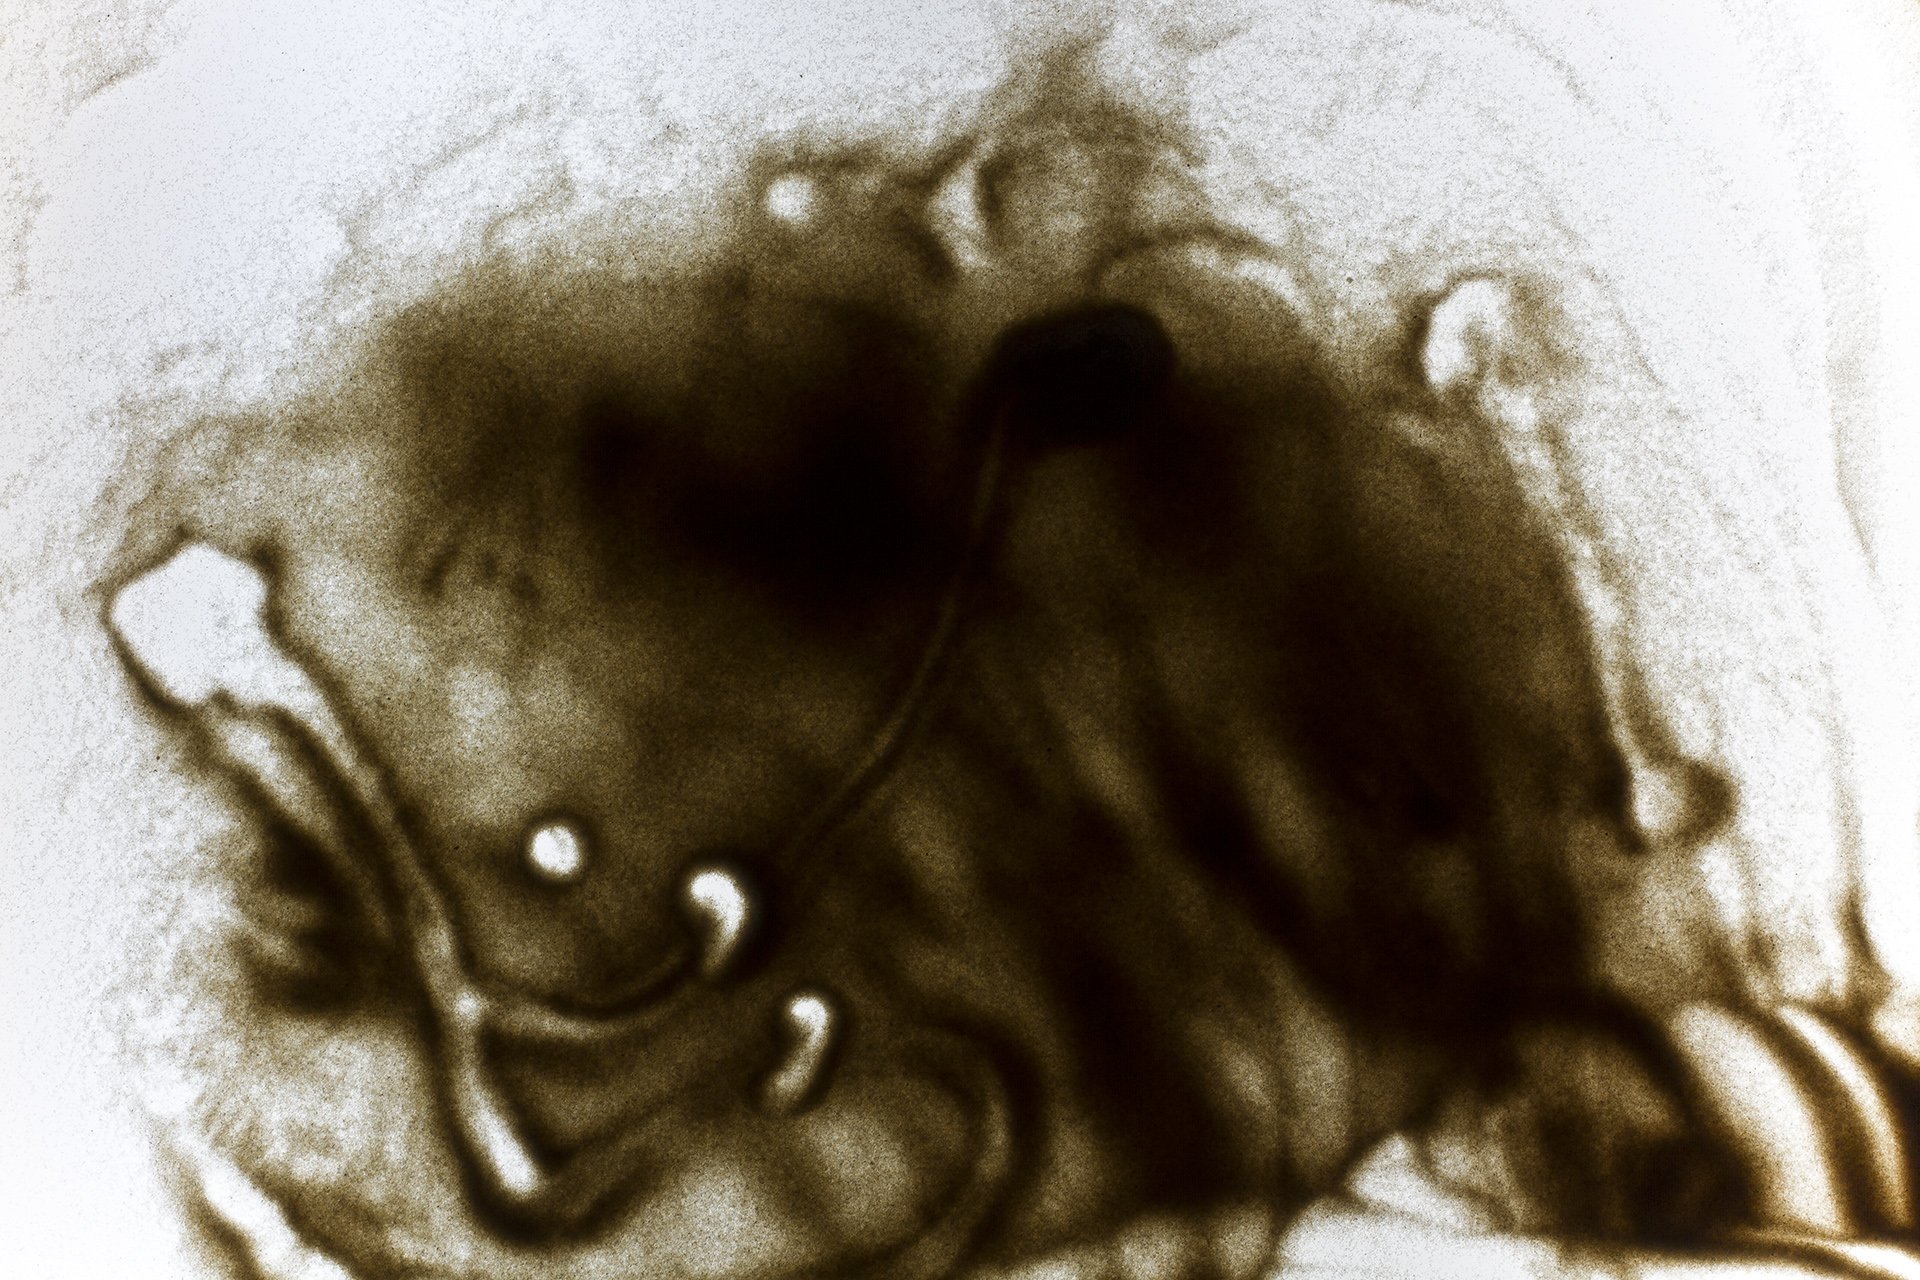
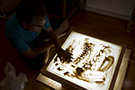
In order to photograph the sand properly I needed a stable setup to attach the camera too, so I bought a new Manfrotto camera tripod with a central column that could be set horizontally. Now I was all set. I spent the next few evenings photographing a few hundred patterns of random scatterings of sand, and they all turned out great. Over the following months I replaced all of my hand painted sand scatter images with the photographed versions cleaned up in Photoshop, it was a lot of work to redo (almost three quarters of the film) as each simulation needed to be redone, and all of the precomps needed to be re-rendered, but it was worth it. By July of 2012, I had five and a half minutes of the film beginning to look great. The major look of the film locked down and the camera was more or less finalised, but most of the sand plates were still static images at this stage. I would then spend a good portion of the next six months redoing particle simulations with the photographed sand scatter patterns, added extra layers all throughout the film to increase visual complexity and polishing off all of the effects.
|

|

|
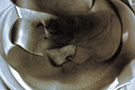
· (Left) Having a go for the first time. That evening I spent a few hours just playing around with it.
· (Centre) This handy tripod can have its center column extend out horizontally, making it perfect to photograph the lightbox.
· (Right) One of the first images photographed on the lightbox.
|
|
|
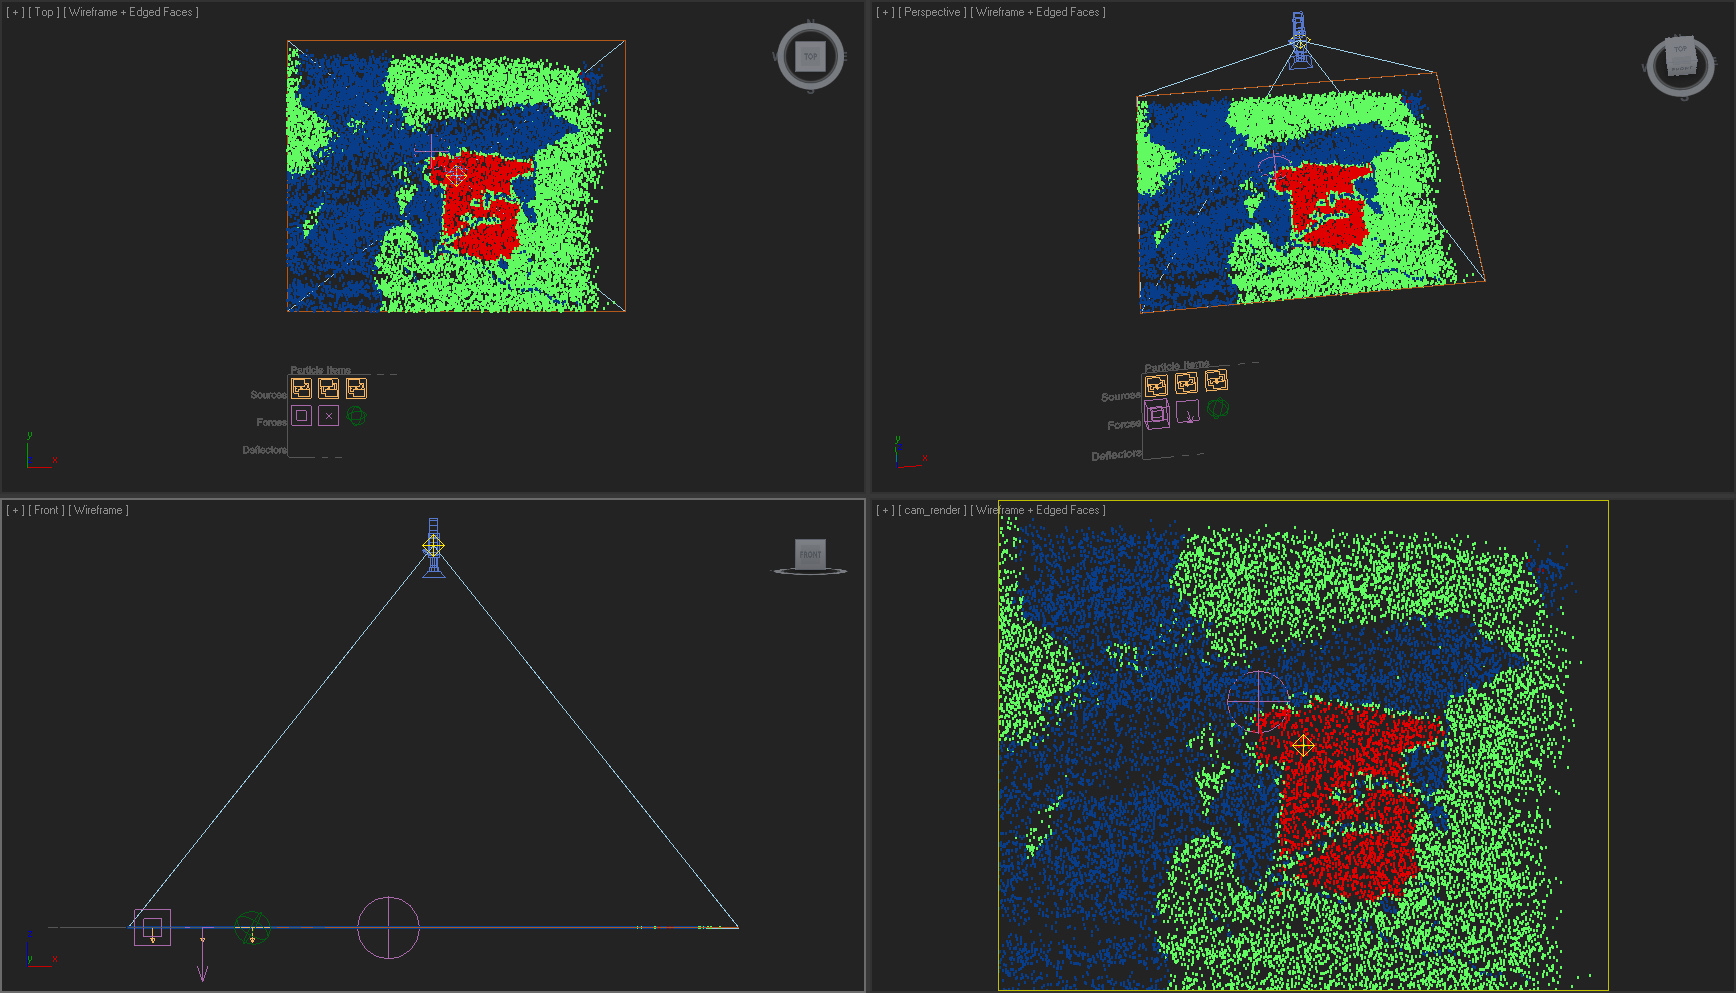
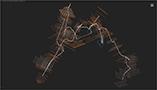
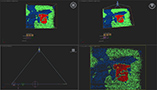
· (Left) One of the glass pane files 3DS Max showing off the different groups of particles that will be simulated.
· (Right) Each particle can sometimes pass through as many as 20 events to reveal the image they will eventually make up.
|
|
|
|
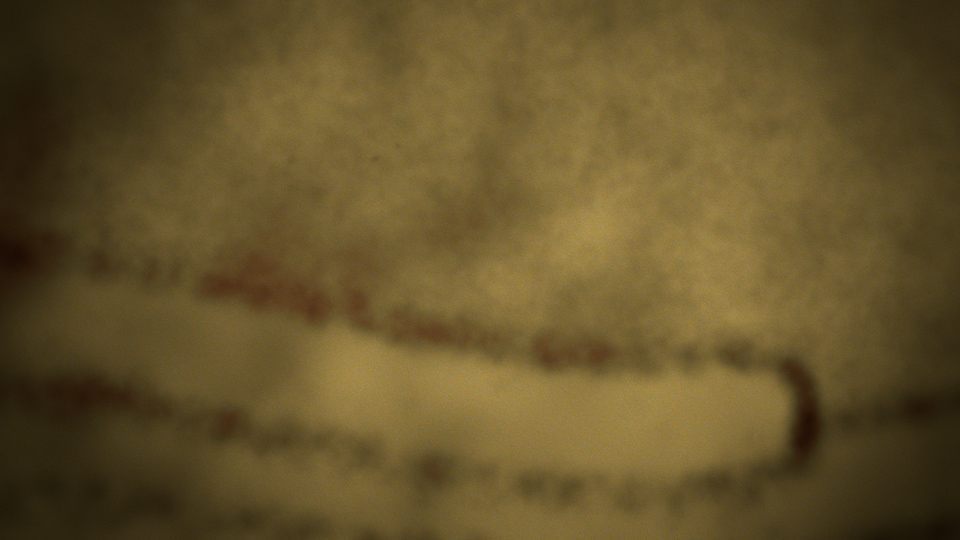
|
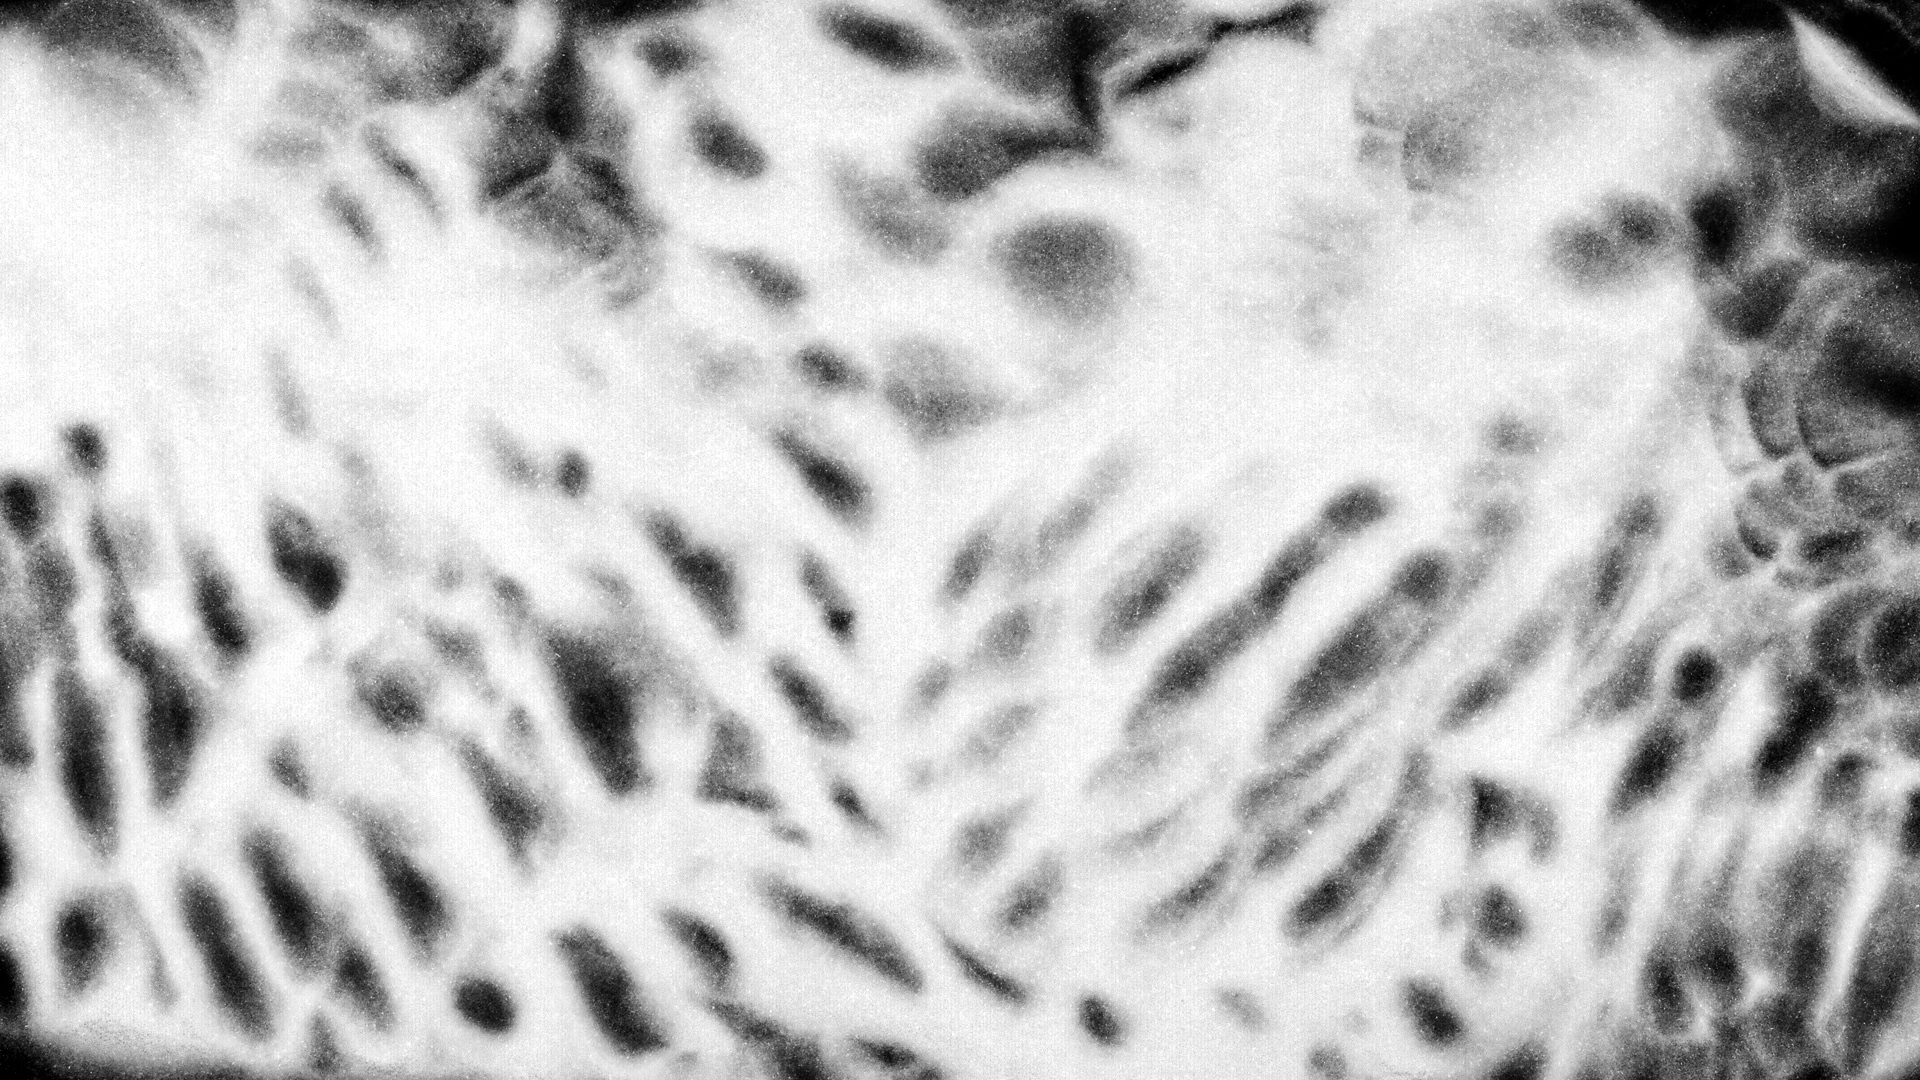
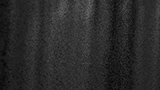
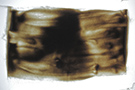
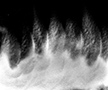
Raw and untreated photographed sand plates.
|
|
|
|
|
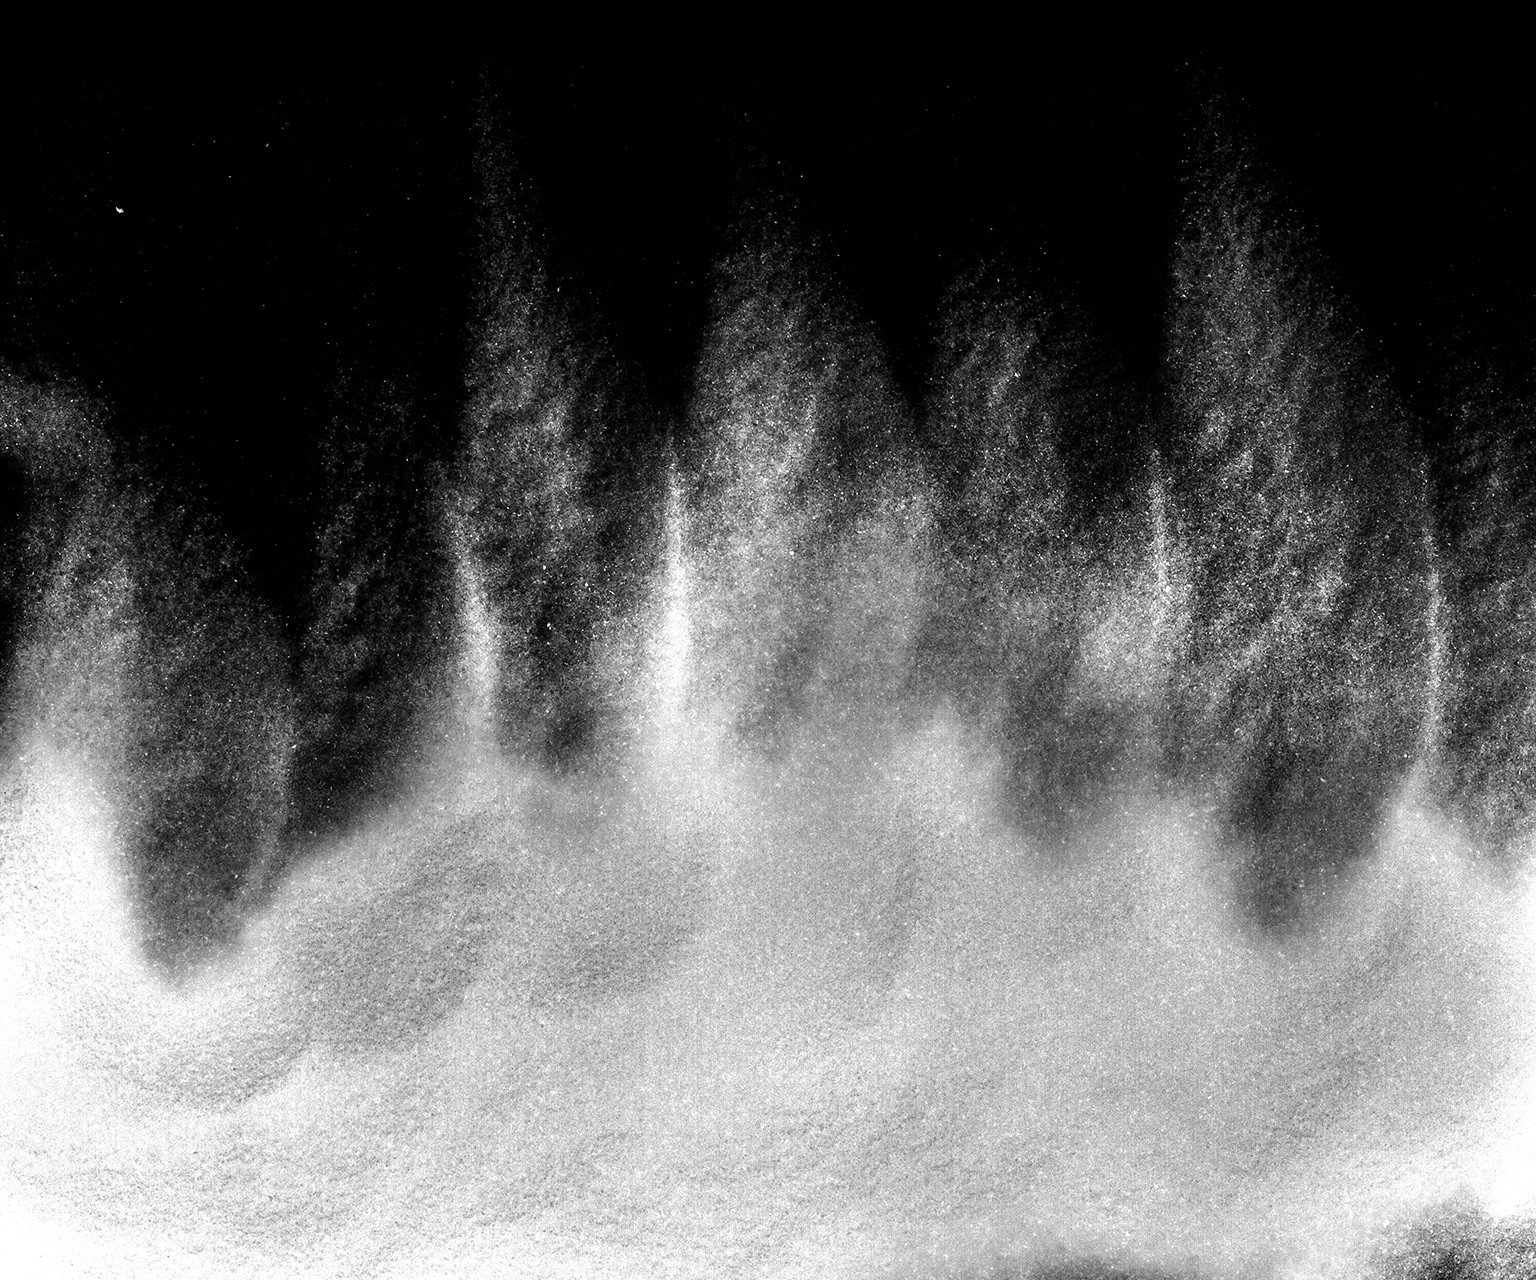
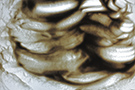
Sand plates that have have been cleaned up in Photoshop, and are ready to be used as birthing masks for particle simulations.
|
The film is all told in a single shot, and so the entire film fits inside a single Nuke script. Near the end of production, the Nuke script was taking longer and longer to open and load up. It ended up taking a couple of minutes at the very end. There were even times when I was editing the script directly in a text editor because it was faster to change values by searching for them.
|
|

|
|
|
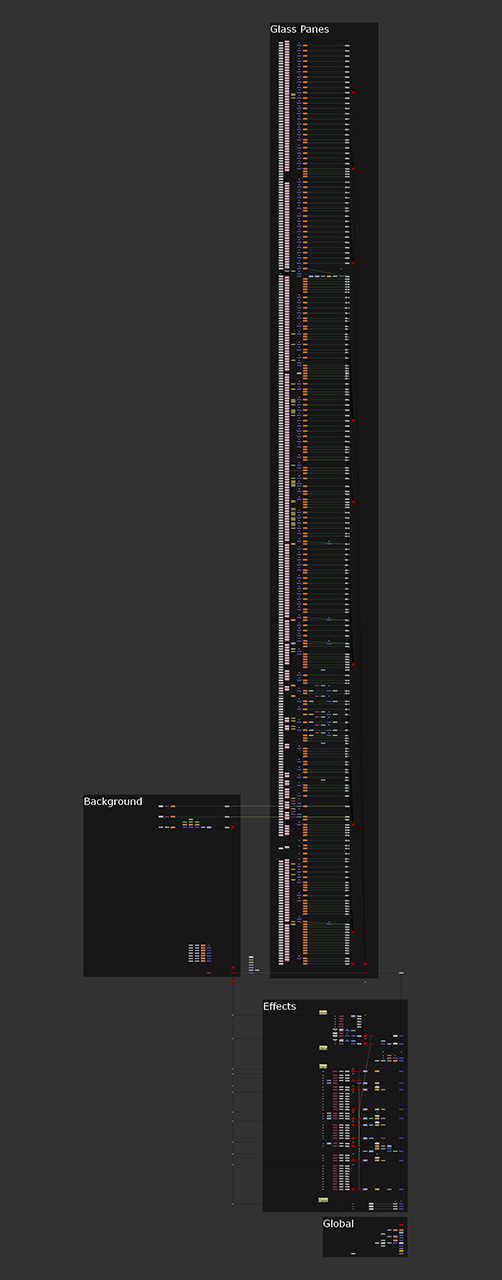
The whole film in a single Nuke script.
|
|
|
|
· Post Production
|
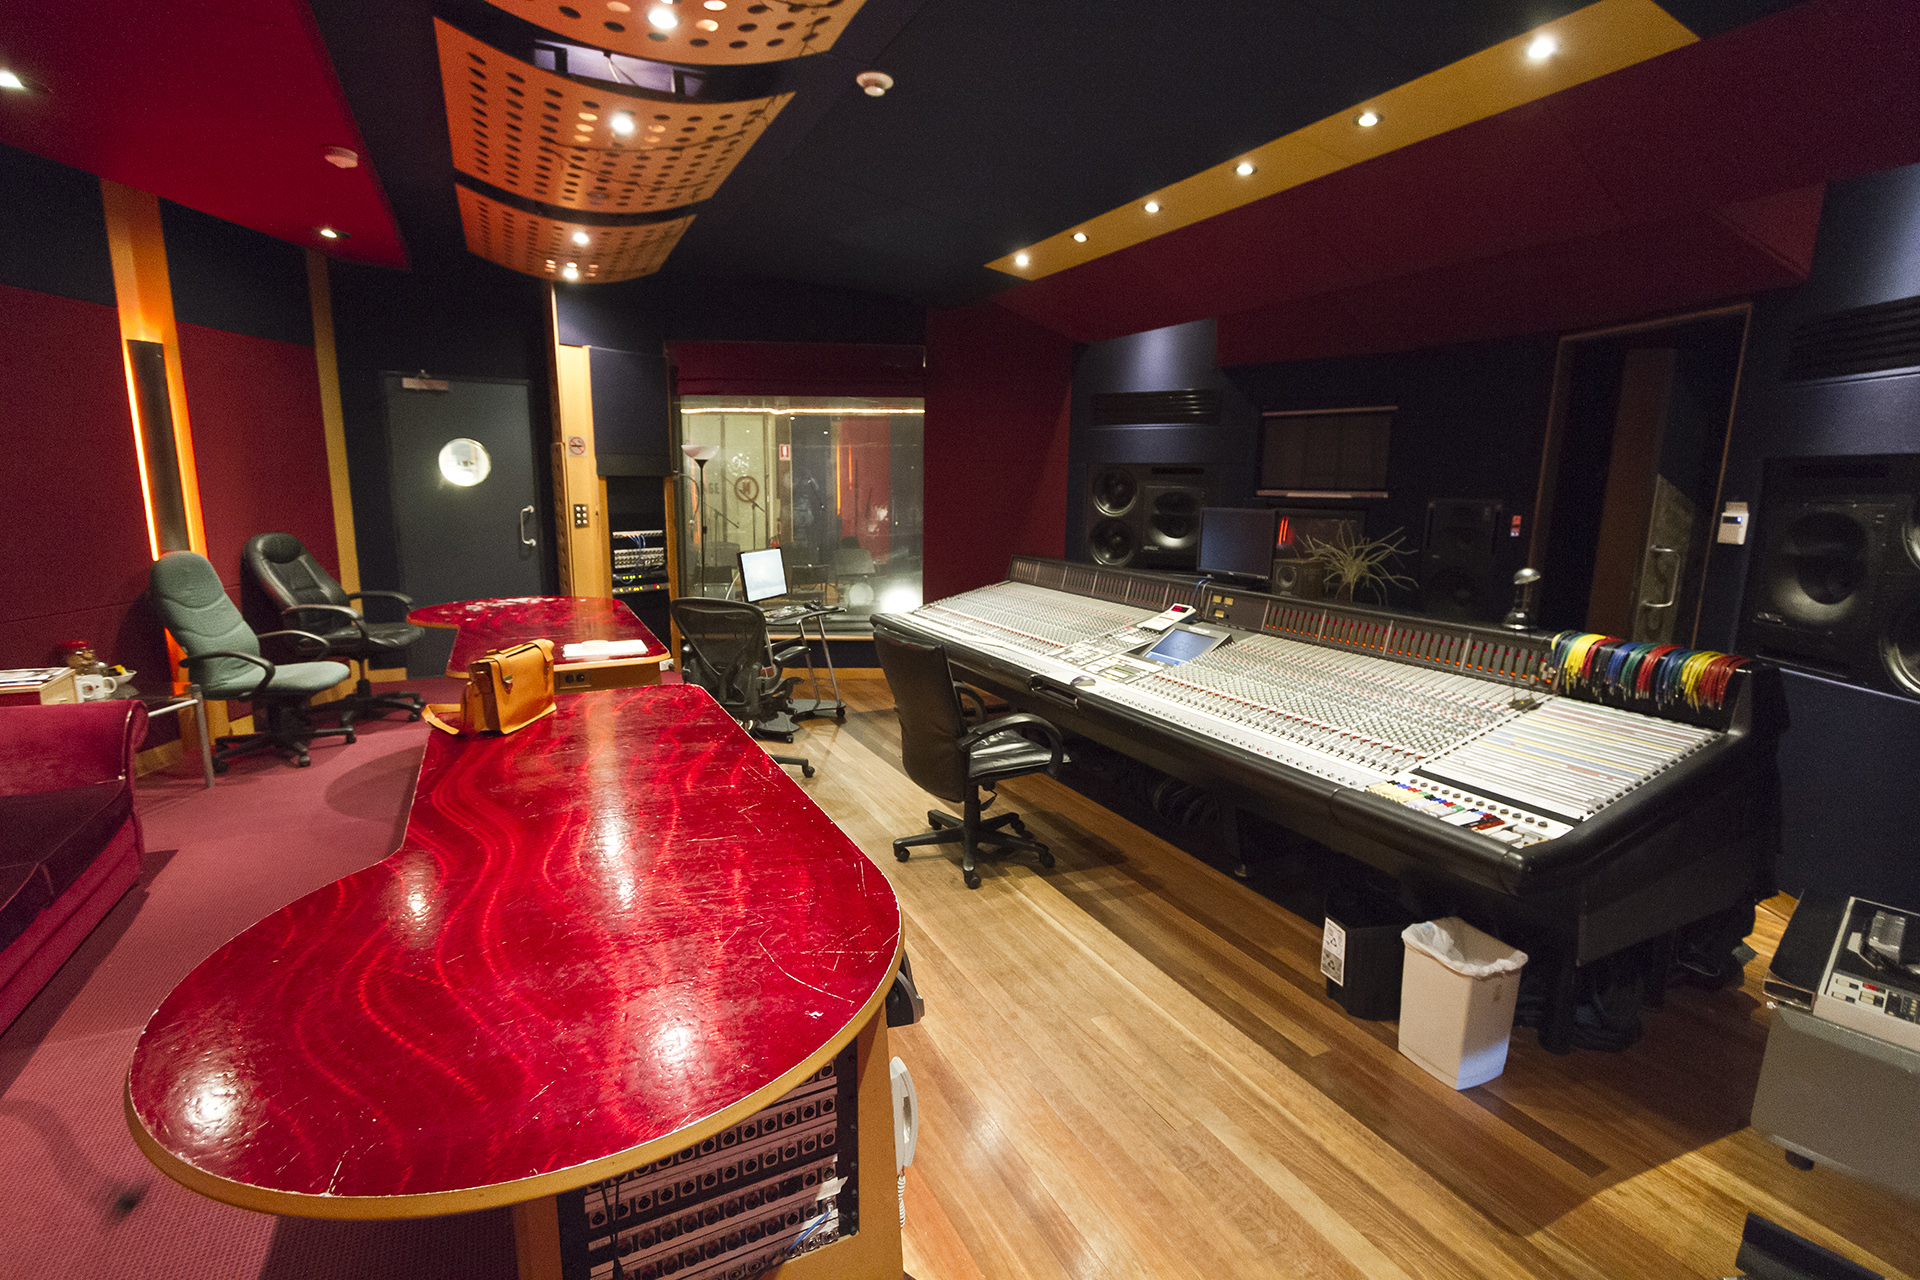
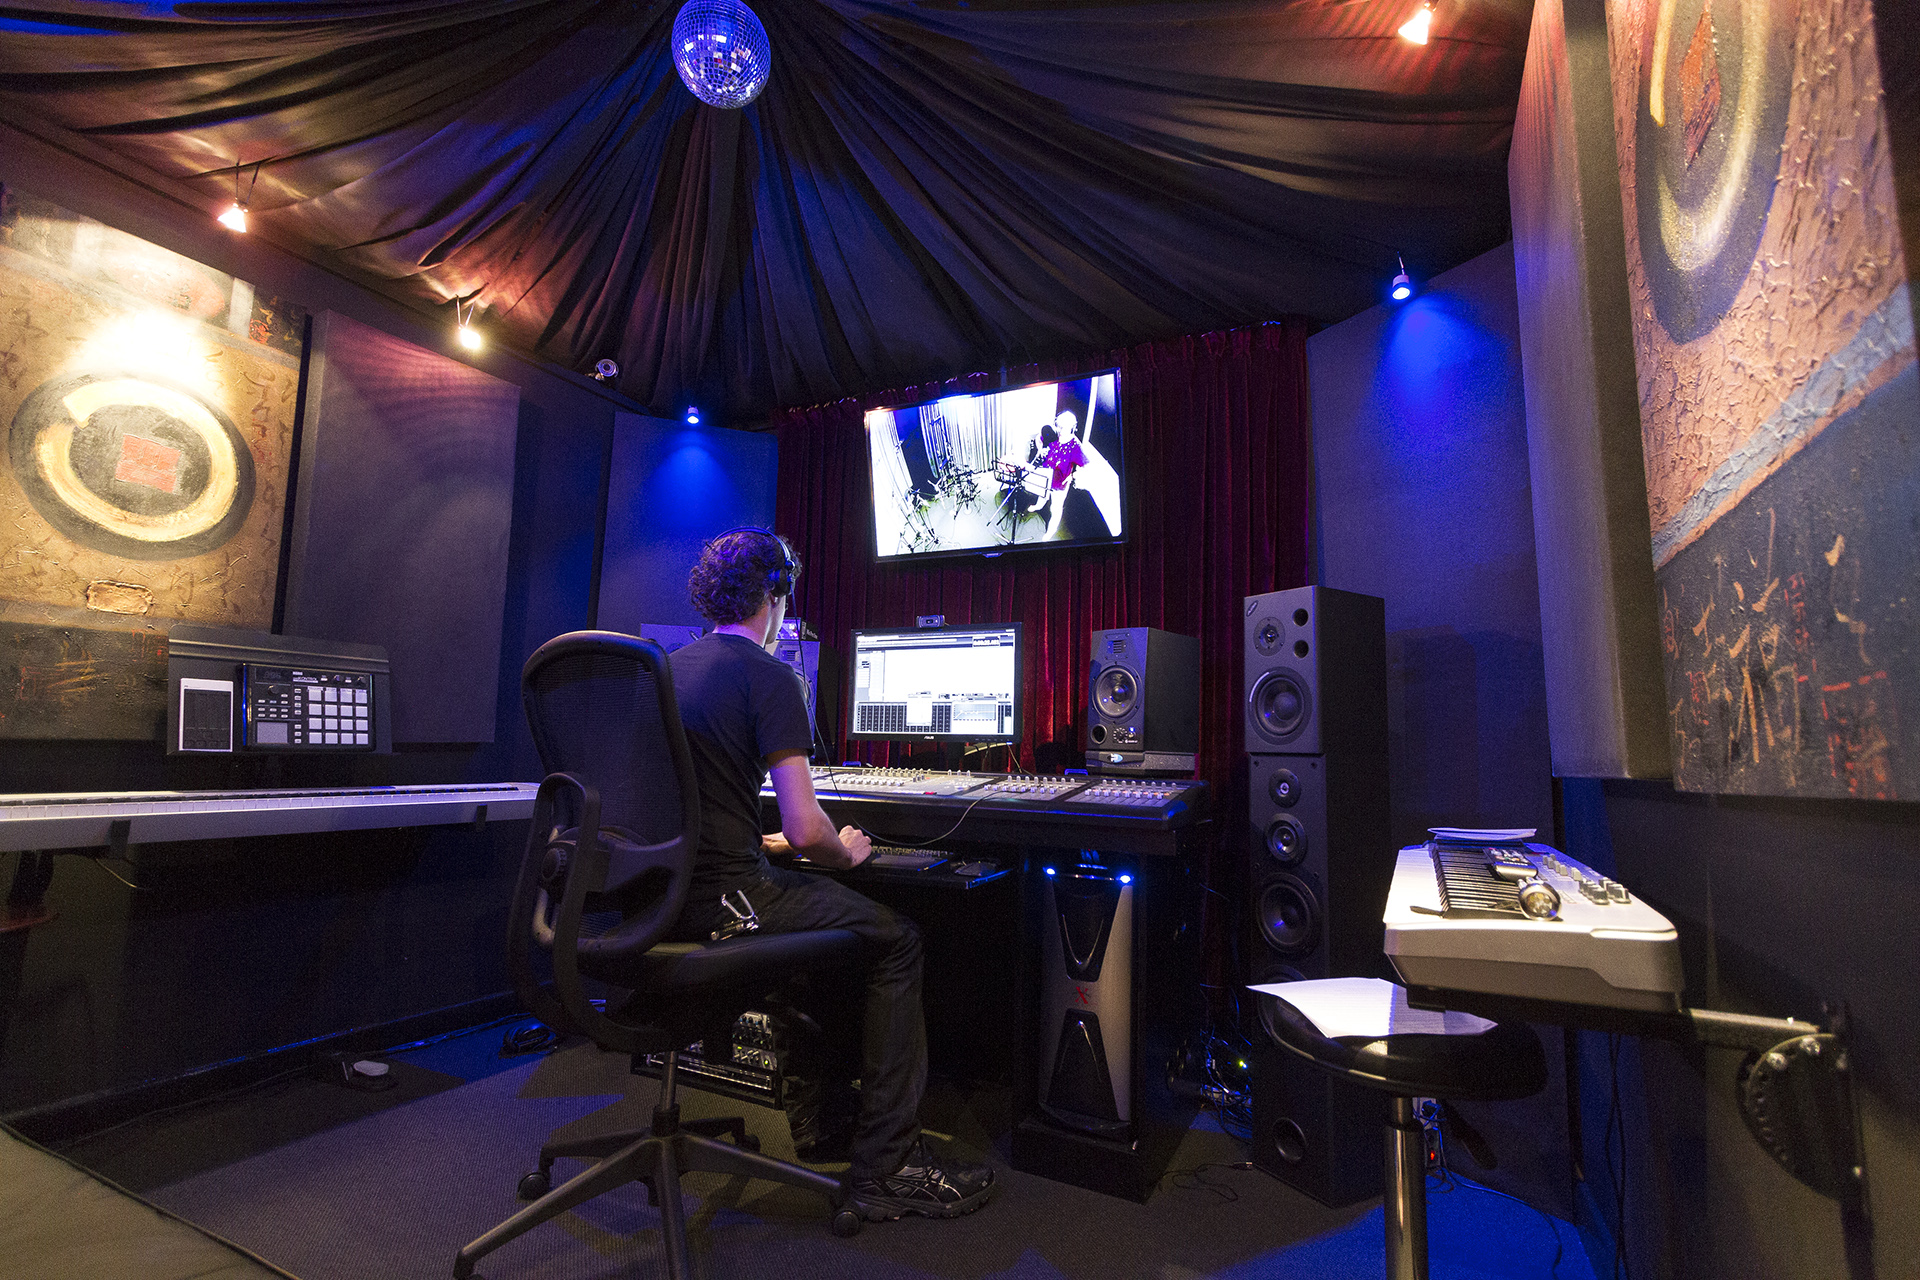
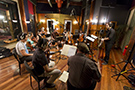
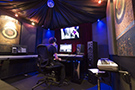
The composer I worked with on my last short film "Sneeze Me Away", Nicole Brady, provided the amazing score for The Rose of Turaida. But unlike Sneeze, which had a sixty piece orchestra, Rose was going to sound more intimate. Nicole and I spent a number of months figuring out what the music would sound like. She would compose mockups on the computer, and send them to me to comment on. Nicole is so well in sync for what I want musically, that I barely needed to change much, merely the suggestion of an addition of some percussion here, or a slight change in the emotion of a melody there. Right from day one, I wanted to have some sort of traditional Latvian musical sounds in the film, so Nicole planned to work in a few segments of music performed on an instrument called a kokle, but she soon found out that there were only a handful of experienced kokle players in all of Australia. In fact, in the few days leading up to the music recording session, we were almost in danger of not having a kokle player altogether, but thanks to some last minute research, Nicole was able to find someone. The music was recorded in the prestigious Studio 301 in Sydney, and the day went off without a hitch. As well as having three each of violins, violas and cellos, there was a Bulgarian vocalist who also provided the percussion.

|

|
|
· (Left) Studio 301 in Sydney.
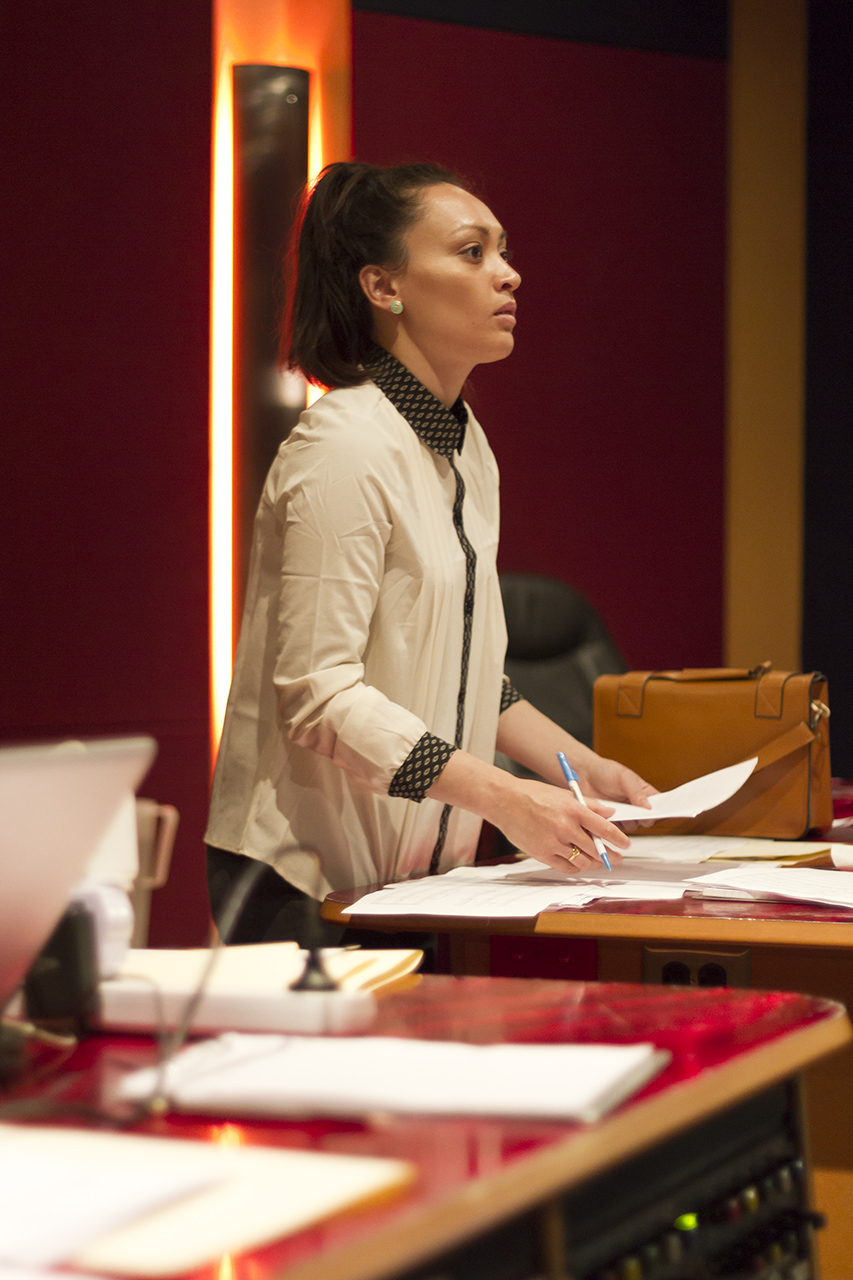
· (Centre) Nicole Brady, the film's composer, listens intently to a performance by the musicians.
· (Right) The string musicians are about to start, led by conductor, Tristan Coelho
|

|

|
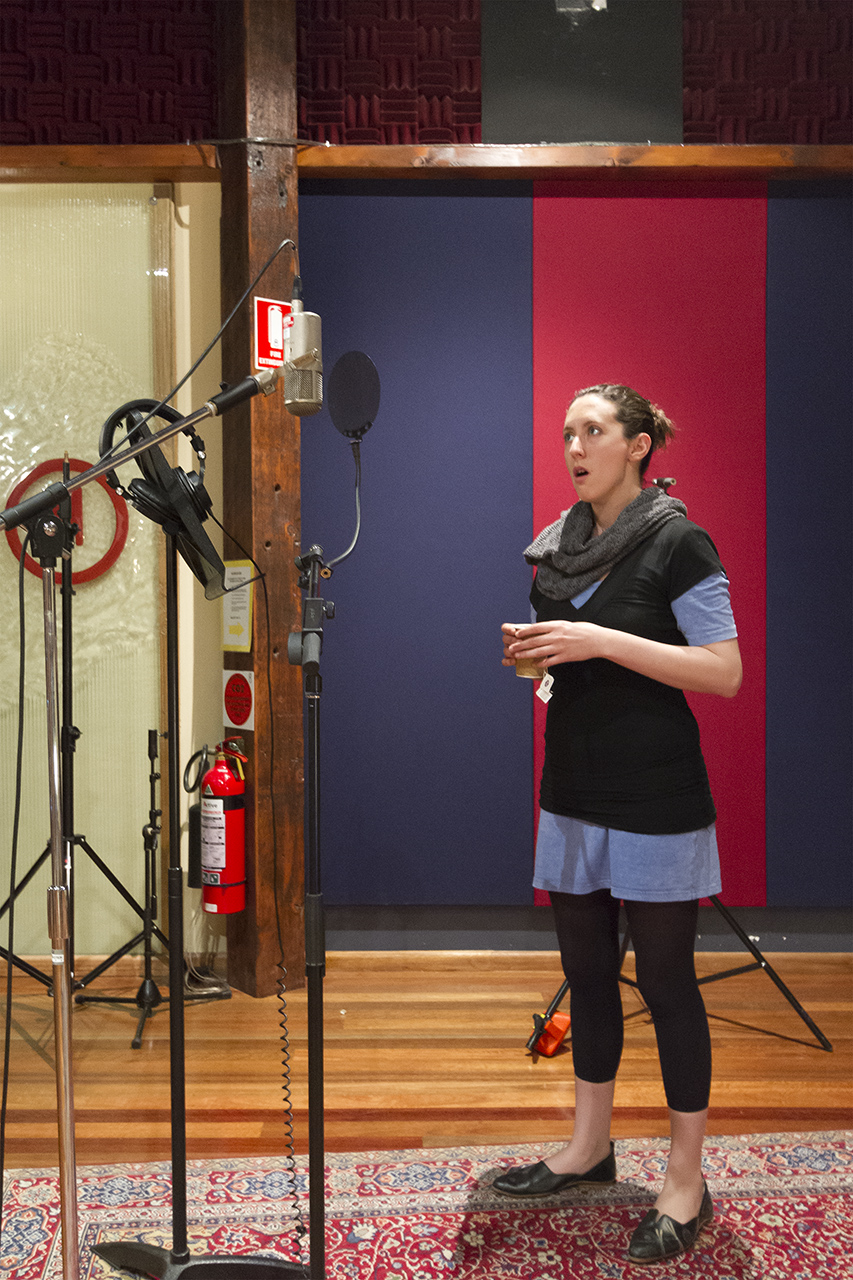
· (Left) Laura Bishop provides a beautiful and ethereal vocal component.
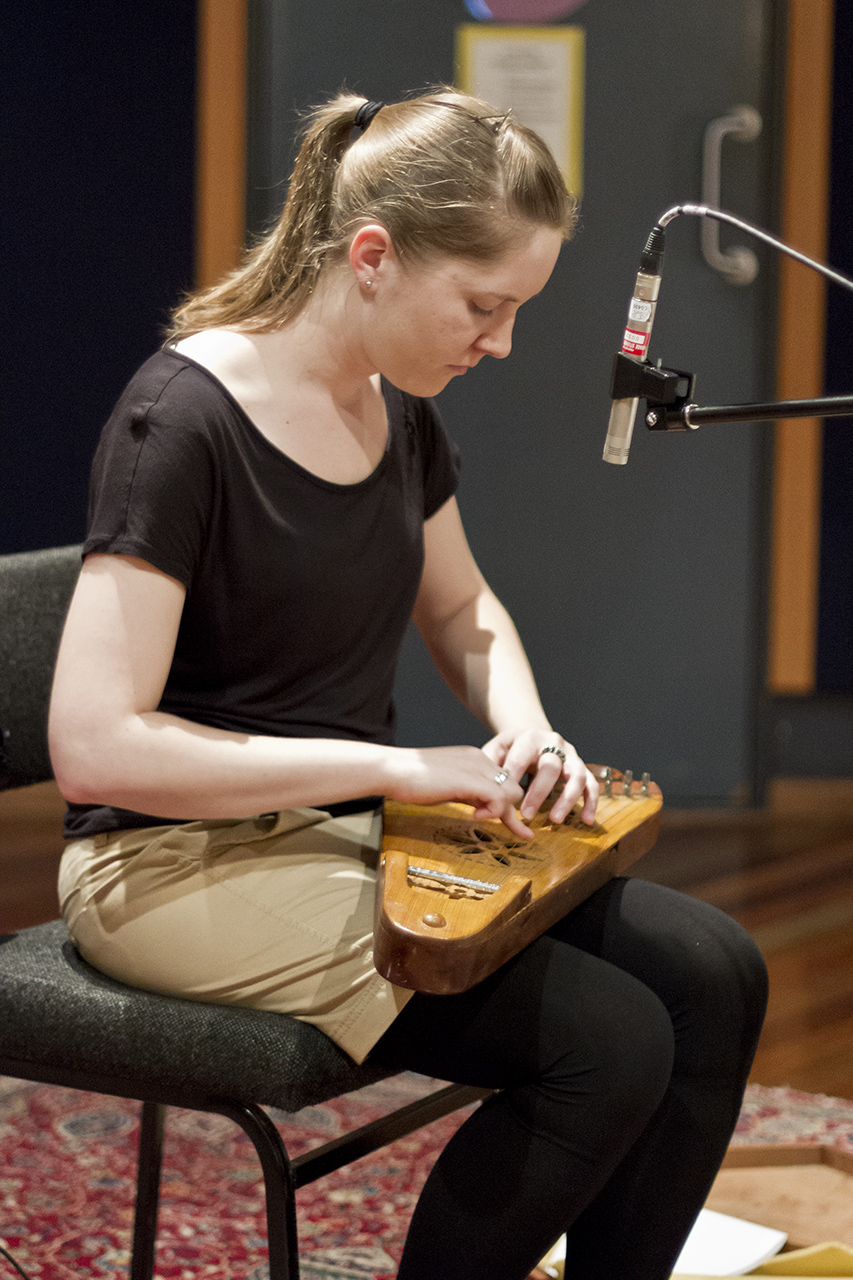
· (Right) Daina Kains provided a traditional feel by playing the Latvian instrument known as the kokle (pronounced "ko-ah-kley").
|
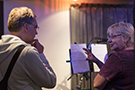
The film is narrated as if the main character was telling her story from beyond the grave. Early on in the production I had toyed with the idea of trying to secure a celebrity to provide the narration, and my first choice was Dame Judi Dench. I contacted her agent and over a period of a couple of months we exchanged emails on the availability of Ms. Dench, though in the end, it was concluded that she was too busy. I then made contact with the agent of the Australian actor, Emily Browning, as I had thought that maybe a younger voice might seem like a good fit for the film. Another exchange of emails over a period of six months ended with a polite decline, though I must confess that it seemed to me that it Miss Browning was close to agreeing. Production on the film was nearing completion, and I gauged that I only had one more shot at trying to secure a celebrity voice that I liked. I contacted Gemma Arterton's agent and after a month or so of communication, that too ended with a decline. While attempting to gain a celebrity voice was ultimately a failure, I learnt a lot about how to properly handle such requests and conversations. By now, the film was practically finished apart for the narration. I managed to find a local Latvian woman Astra Kronite, who was able to provide the narration in Latvian and English. She had never performed any type of narration or acting before, but in the end, she provided a fantastic vocal quality thick with accent and almost musical undertones. I was extremely pleased with the result. There are a total of four sound effects in the film, so I decided to take care of that myself. In fact, the sound effects I used were almost unchanged from an early temp edit I had made.
|
|
· (Left) Tom Watson records the vocals.
· (Right) Ryan Grobins gives direction to the narrator, Astra Kronite.
|
|
|
|
· The Release
|
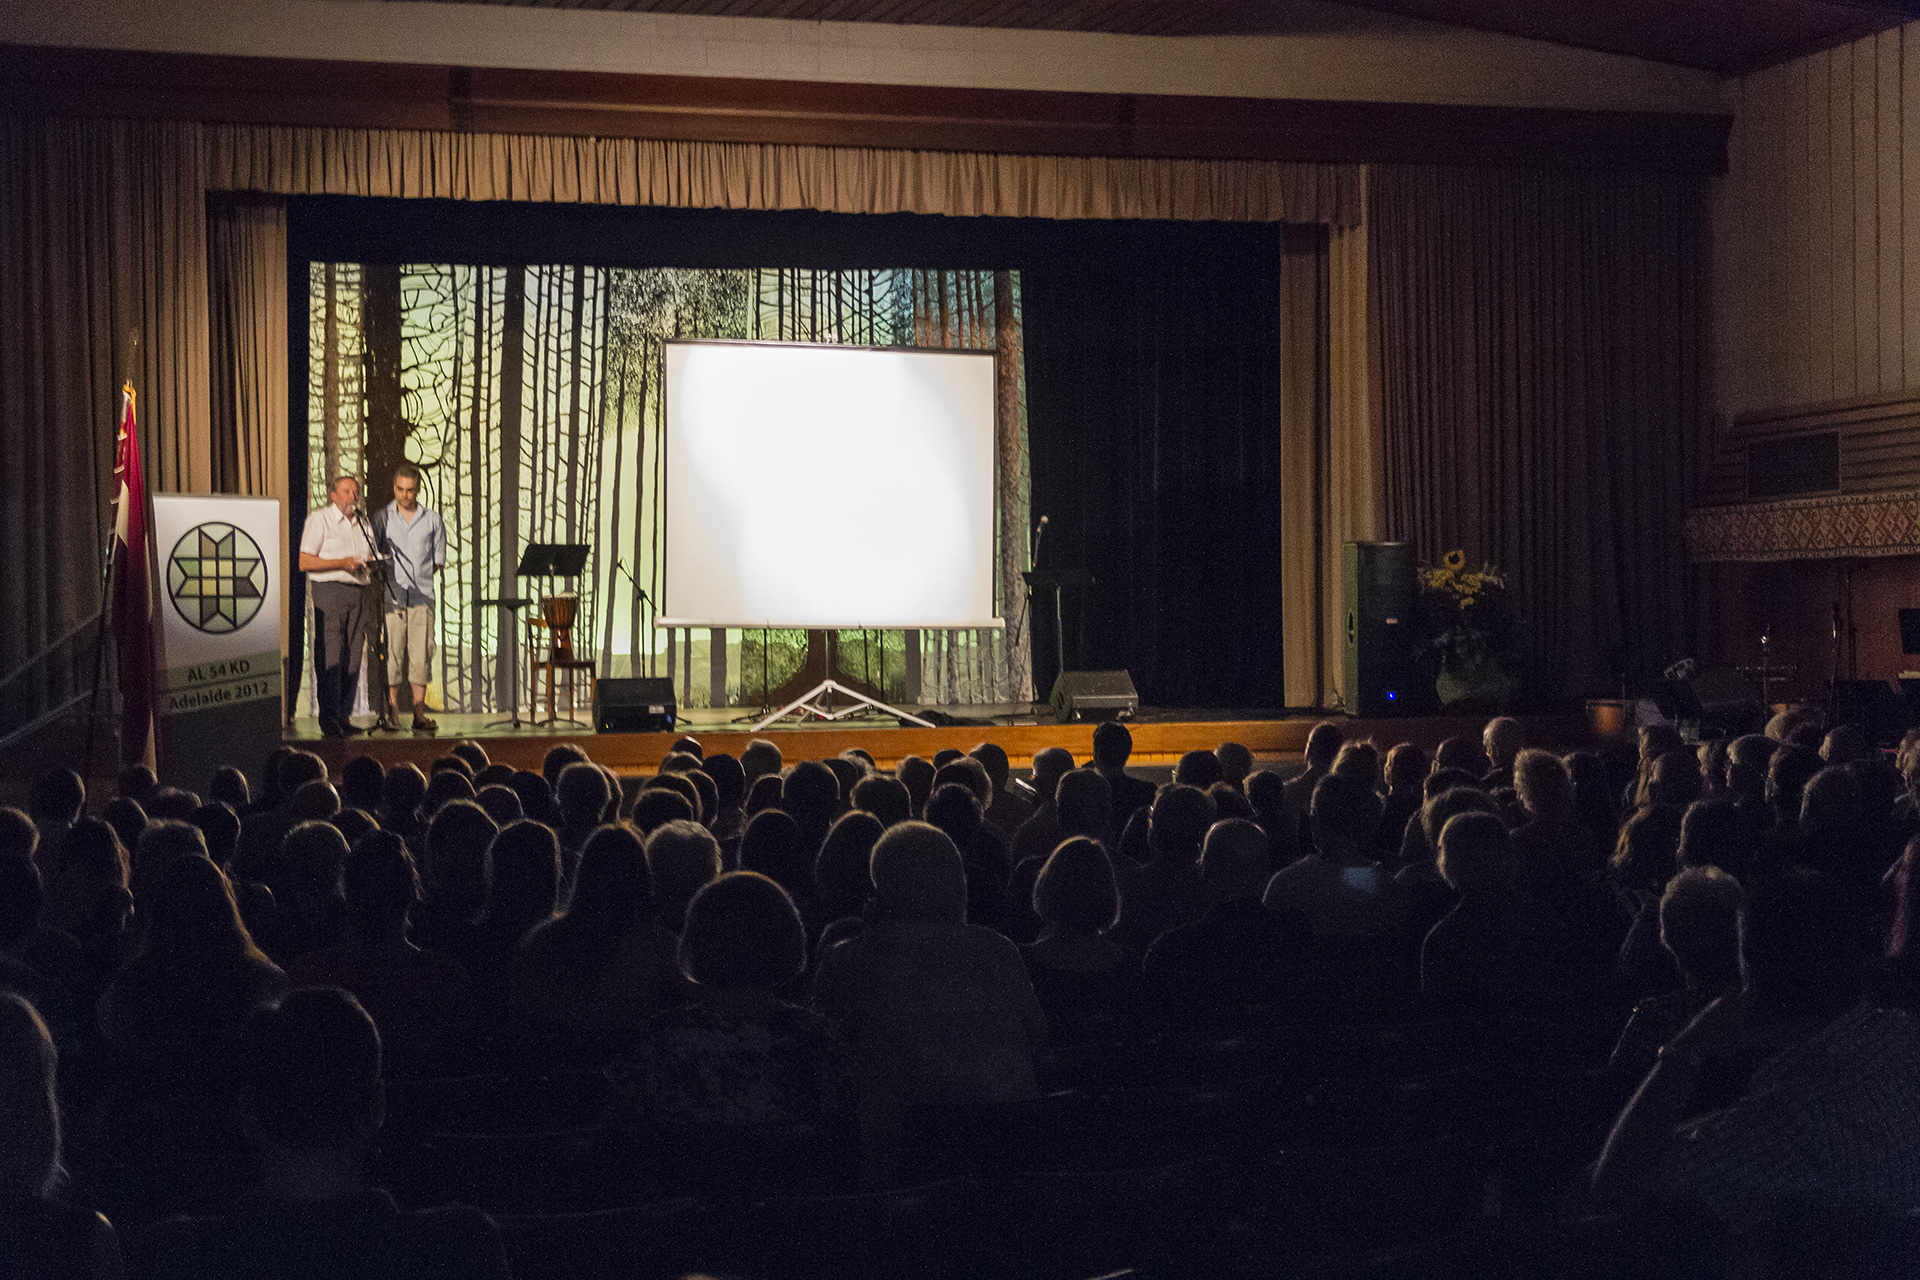
I had the opportunity and honour to first screen the film as a last minute addition in the Australian Latvian 54th Arts Festival, a biannual event that is held in different cities in Australia, which by a happy coincidence, just so happened that this time it was in my home city of Adelaide. This screening was made all the more important to me because I was able to invite my family members, and most importantly, my Latvian grandfather, to see the film as well as be able personally introduce and dedicate the film to my grandfather in front of a large audience.
|
|

|
|
|
The first public screening of the film was at the Australian Latvian 54th Community Arts Festival, where I was able to introduce my film personally to my extended family and the Latvian community.
|
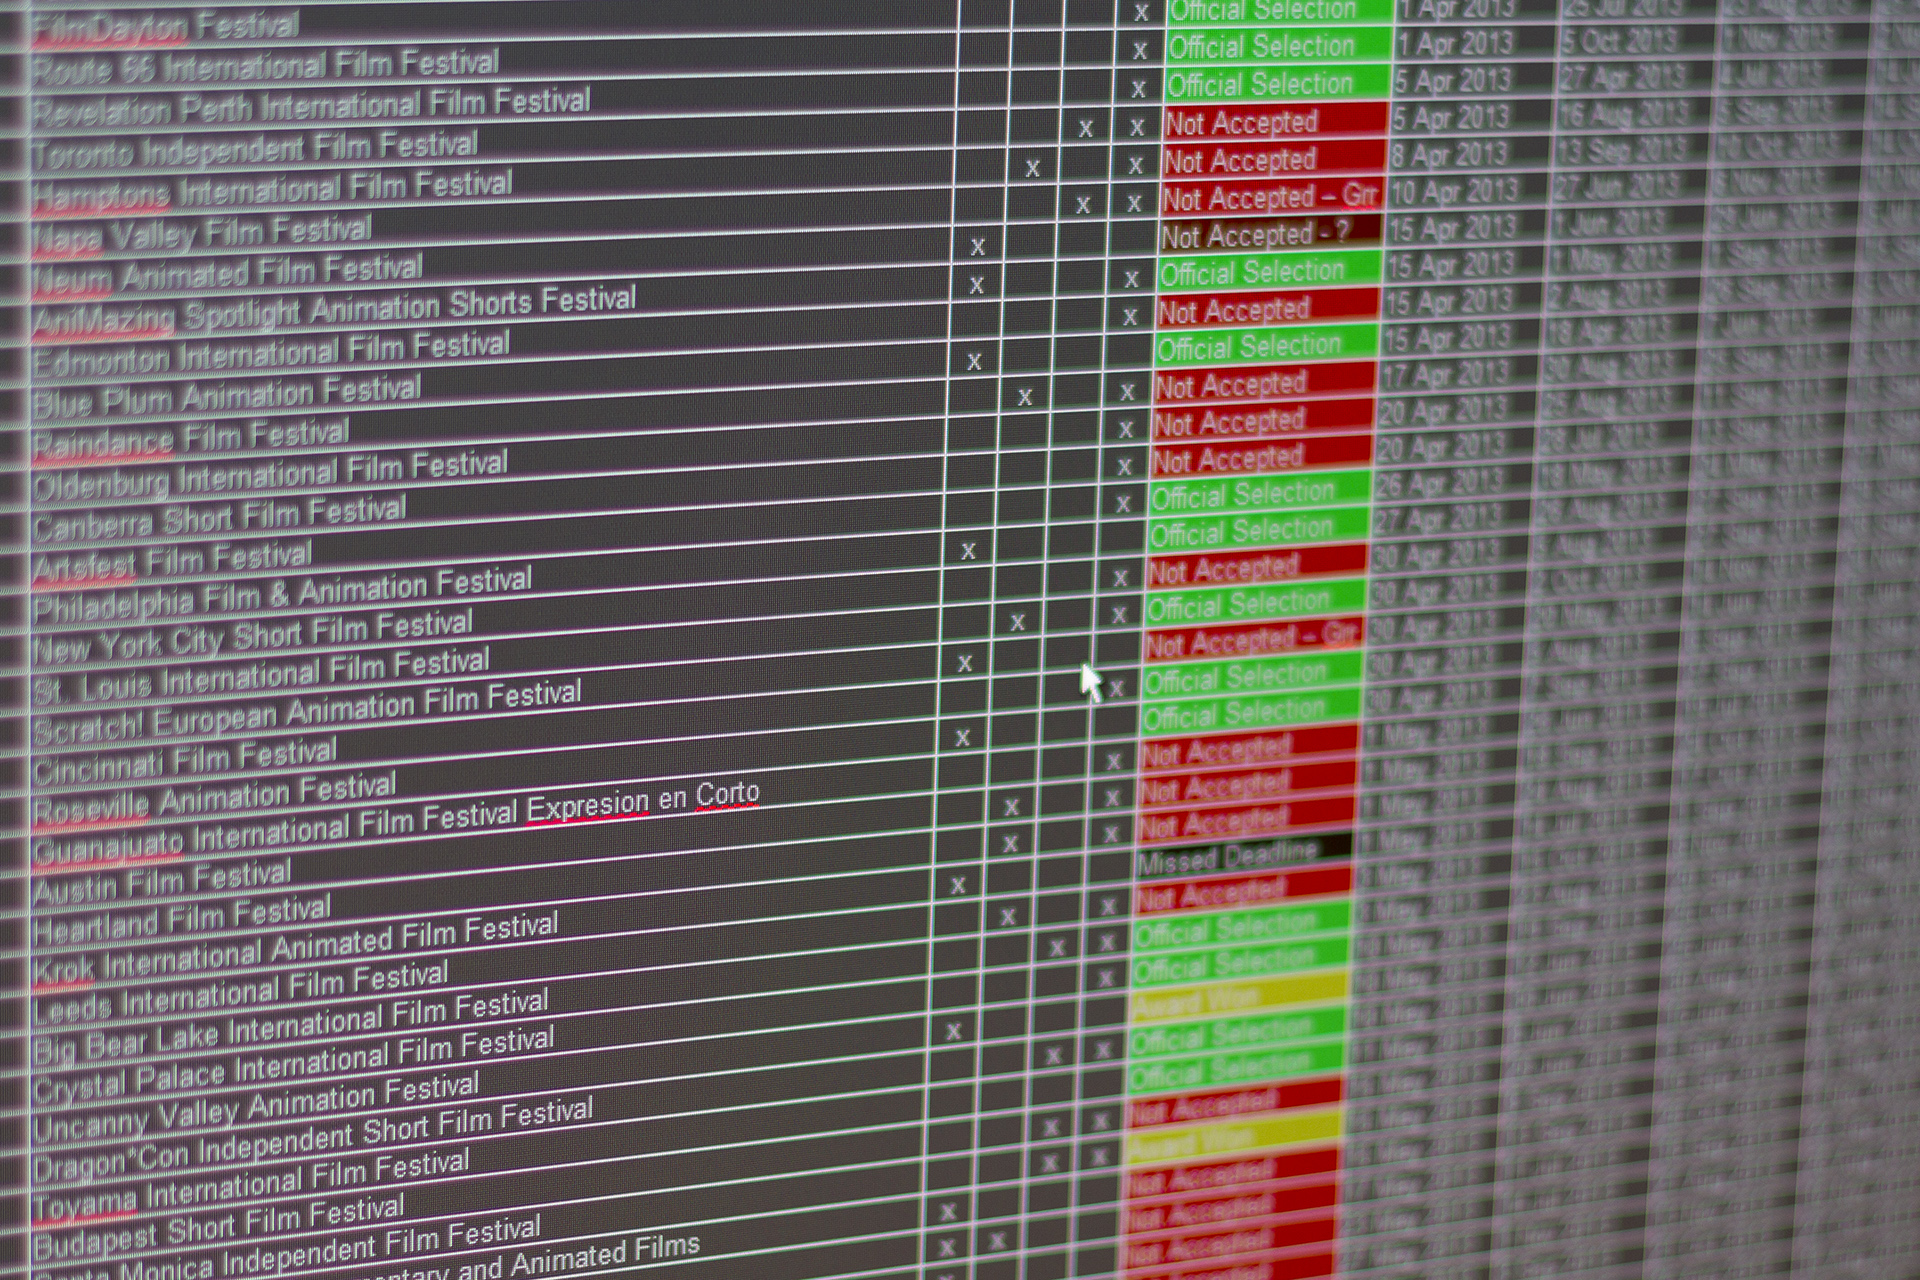
After this screening, I made the decision to spend a couple more weeks fixing up some small problems that kept bothering me. Now the film is finished, I was only half done. I spent a couple of months preparing the website, trailer, presskit, additional materials, editing and formatting subtitles, and preparing various versions of the film in different formats ready to send off to festivals. Then came the tedious and time consuming task of festival entries. I had an aggressive plan for Rose, creating a list of around two hundred festivals that I wanted to enter it into. This list will eventually grow to almost three hundred over the next twelve months. It is important to mention to people that have never done this before, that entering a film on the festival circuit can cost a lot of money, depending on the scope of release this can cost upwards of two or three thousand dollars.
After finishing two years on the festival circuit, and I had forgotten what a roller-coaster ride this can be. One day I am down in the dumps from discovering one festival has not accepted my film in their official selection, the next day I am overjoyed with winning an award, then the next day again I am at near depression when two prominent festivals also don't accept my film. But rejection is something that must be lived with if one is to go down this path, though it can be frustrating more times than not. I have noticed a lot that film makers rarely talk about their festival acceptance rate, and rightly so, as for the majority of film makers, it usually shows a lot of rejections. Rose was entered into 273 festivals in total, and with 76 acceptances, translates to a 28% acceptance rate. Sure that doesn't sound very good, but I have to remember that there are a lot of films made each year, and every festival jury has wildly different tastes. Just because I was selected in one Oscar affiliated festival, does not mean I will be selected in others.
|
|

|
|
|
The spreadsheet I use to keep track of all of the festivals the film has been entered into.
|
|
|
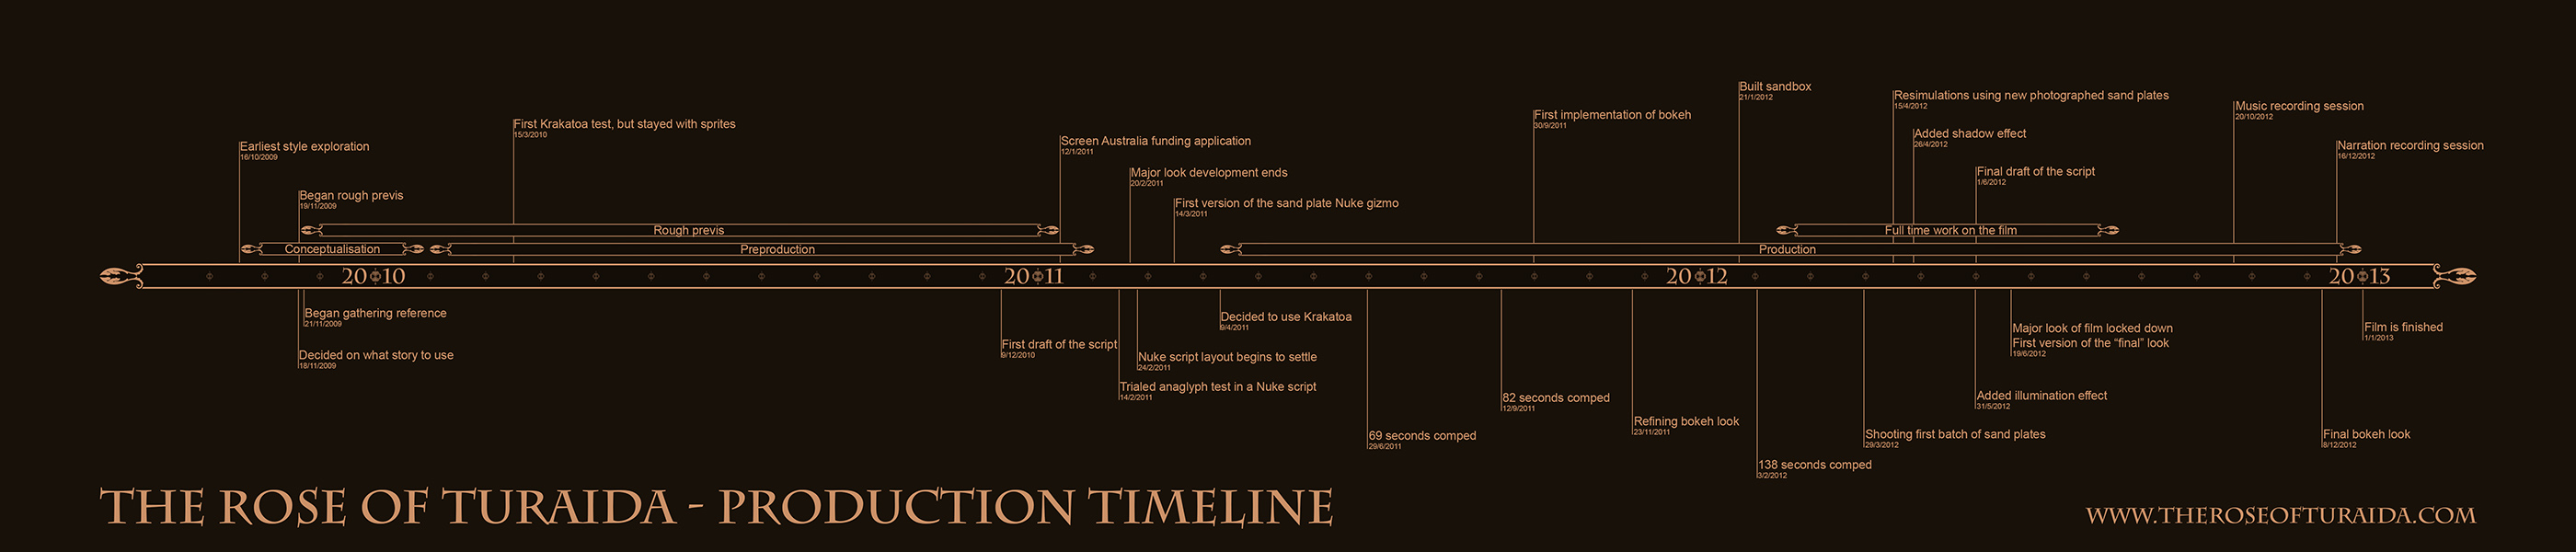
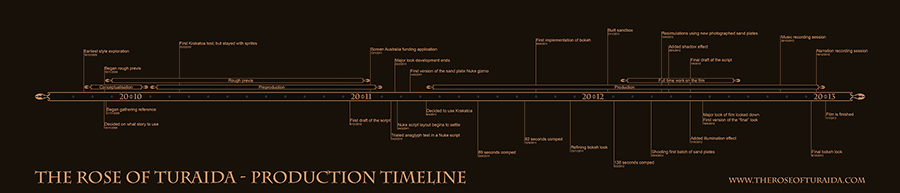
The production timeline of the film (click on the image for a larger version).
|
It was interesting to go back through the production and document when all of the milestones were based on dates of certain files, my memory had distorted the amount of time in weird ways. Making the above graphic was very satisfying.
Earlier on in the article you may remember that I wrote about that I would "finally get the recognition I was looking for", well that came about in the form of being selected in the worlds most prestigious, and longest running computer graphics conference in the world, Siggragh's Electronic Theater. It is one of only nine films (alongside Pixar's latest short) chosen for the Shorts & Features category, and is definitely the high point in my fledgling directorial career. I can go to sleep at night knowing that I created a unique style of animation and was rightfully recognised for my efforts.
· A version of this "making of" appeared in the journal Animation Practice, Process & Production, Volume 3 / Issue 1 & 2, edited by Paul Wells.
|